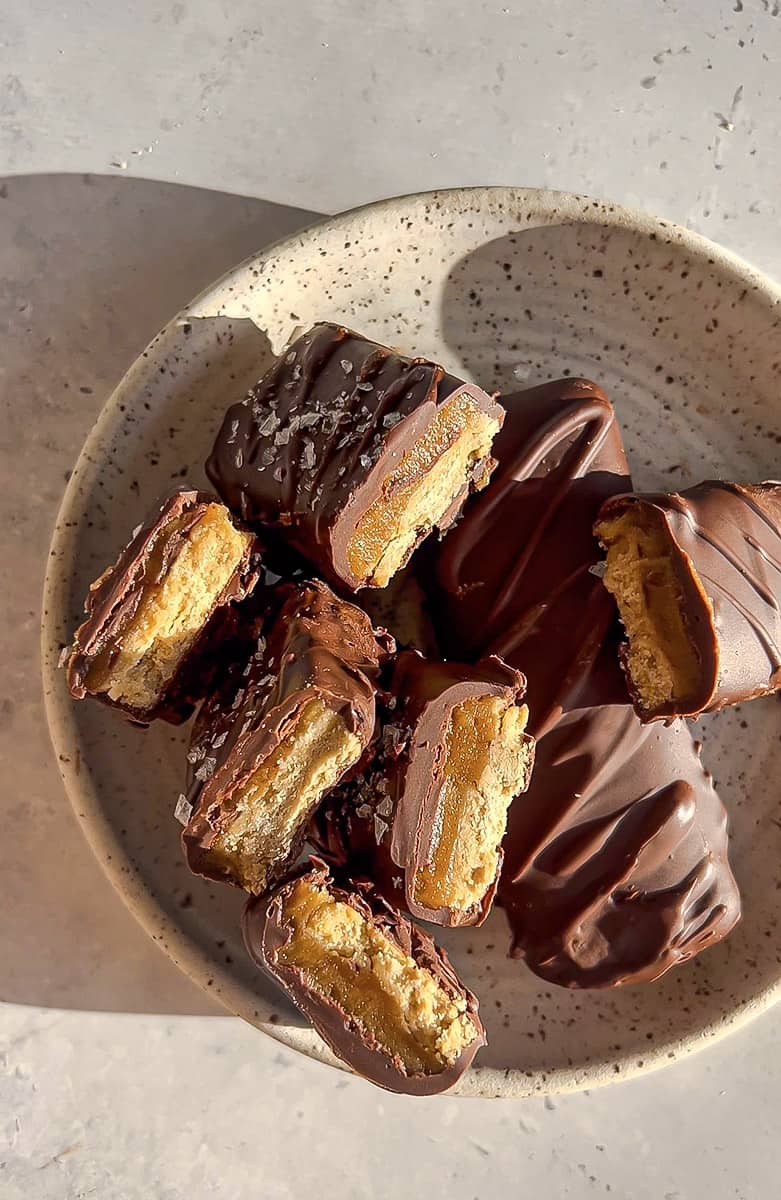
These Vegan Twix bars are a homemade candy bar that combine wholesome almond flour, creamy caramel, and melty chocolate for a delectable plant-based treat. It’s a healthier treat that’s both delicious and nutritious and guaranteed to satisfy your sweet cravings!
Vegan Twix Recipe: Satisfy Your Cravings with This Plant-Based Delight
Looking for a healthier treat to satisfy your sweet tooth? Look no further because we’ve got a scrumptious solution for you – Vegan Twix Bars! These delightful homemade candy bars are not easy to make with only 5 ingredients. Not only are these healthy twix bars dairy-free and vegan, but they also capture the irresistible flavors of the classic Twix bars we all know and love.
Whether you’re a seasoned vegan or just dipping your toes into the world of plant-based desserts, these homemade Twix Bars are sure to satisfy your cravings.
Ingredients You’ll Need:
Cookie Layer
- Oat Flour or Superfine Blanched Almond Flour: Provides a wholesome base for the bars. Cassava flour, gluten-free 1-to-1 baking flour or even all purpose flour will all work too if you’re not gluten-free
- Pure Maple Syrup: Adds natural sweetness. You can also sub with another sticky liquid sweetener of your choice. For a lower sugar option, opt for sugar-free maple syrup, yacon syrup or allulose.
- Vegan Butter or Coconut Oil: Creates a rich, buttery texture.
- Vanilla Extract: Enhances the flavor profile.
- Salt: Balances the sweetness.
Caramel Layer
- Creamy Peanut Butter: Lends creaminess and a nutty flavor. You can also sub with cashew butter or any other nut butter or seed butter if you need a peanut-free option but the flavor may not be quite the same.
- Maple Syrup: Sweetens the caramel. You may opt for another sticky liquid sweetener of your choice.
- Vegan Butter or Coconut Oil: Offers a smooth, melt-in-your-mouth consistency.
- Vanilla Extract: Adds depth to the caramel.
- Fine Sea Salt: Balances the sweetness with a touch of saltiness.
Chocolate Layer
- Dairy-Free or Regular Chocolate Chips: Provides that signature chocolatey coating.
- Coconut Oil: Aids in melting and creates a glossy finish.
Instructions: How to make Vegan Twix Bars
- Preheat and Prep: Begin by preheating your oven to 350°F and line an 8×8 square baking pan with parchment paper, allowing for an overhang to facilitate removal.
- Make the Cookie Dough: Mix your flour, melted vegan butter or coconut oil, maple syrup, vanilla, and salt in a bowl until a sticky dough forms.
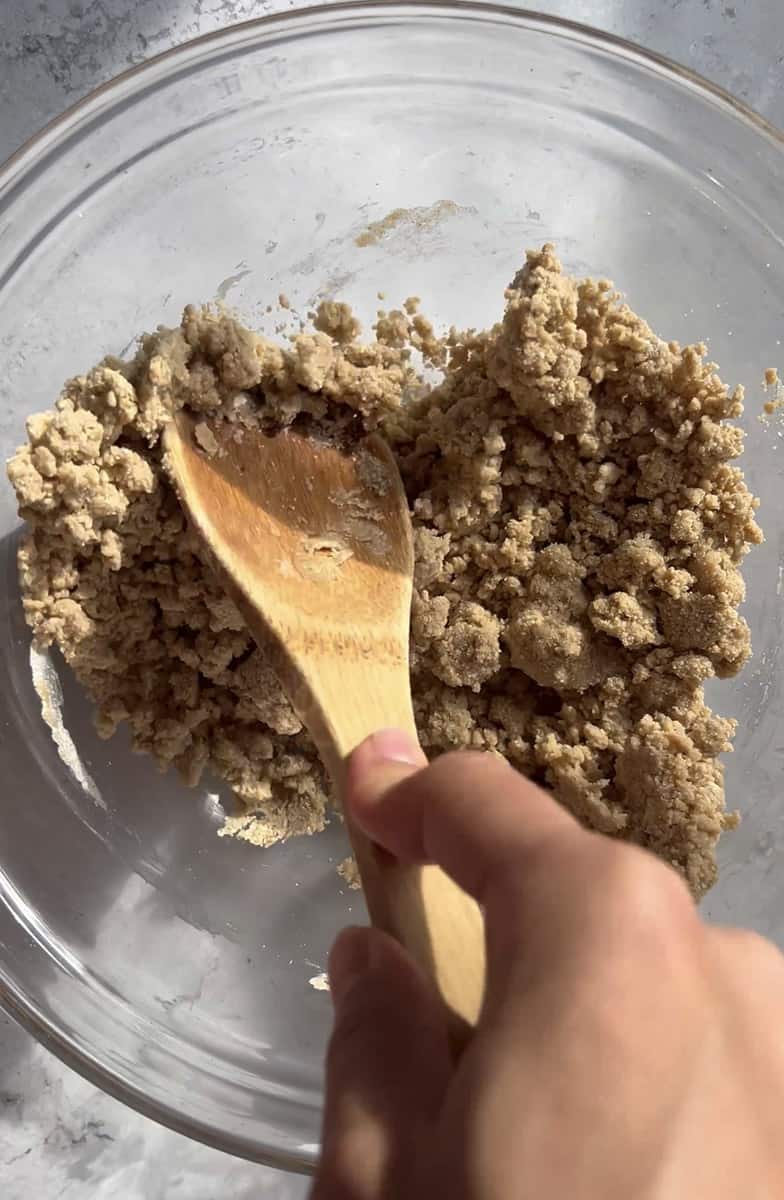
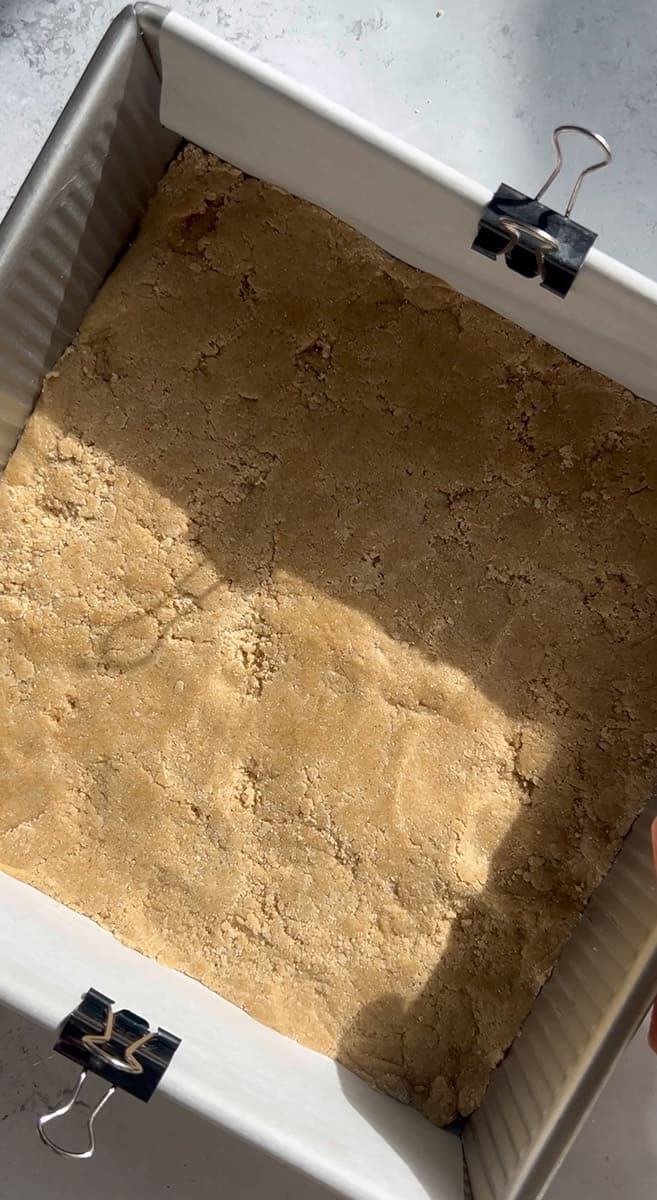
- Transfer to Pan and Bake: Spread this dough evenly in the lined pan, pressing it down firmly. Bake for 10-12 minutes until it turns golden brown. Let it cool for at least 15 minutes before proceeding.

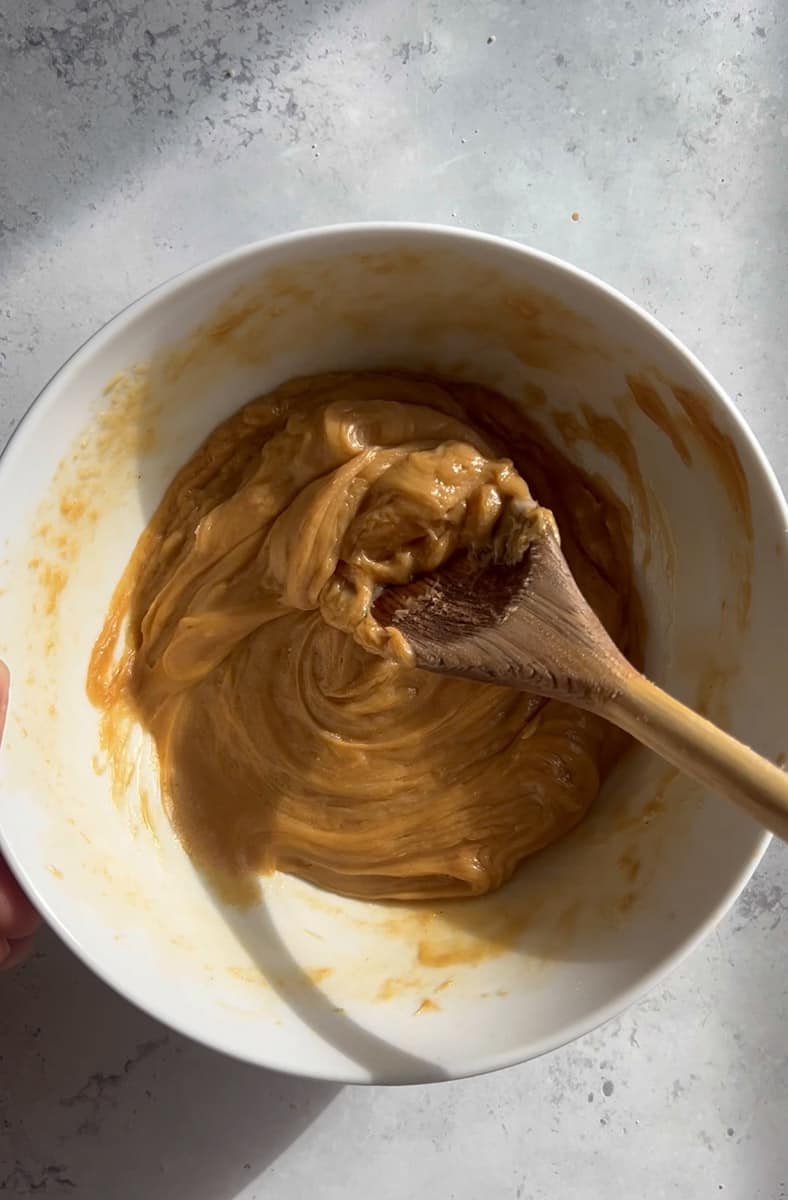
- Make the Caramel: Combine your nut butter, maple syrup, vegan butter or coconut oil, vanilla, and salt in a microwave-safe bowl or pot. Heat in the microwave or on the stovetop until it’s melted and begins to bubble slightly.

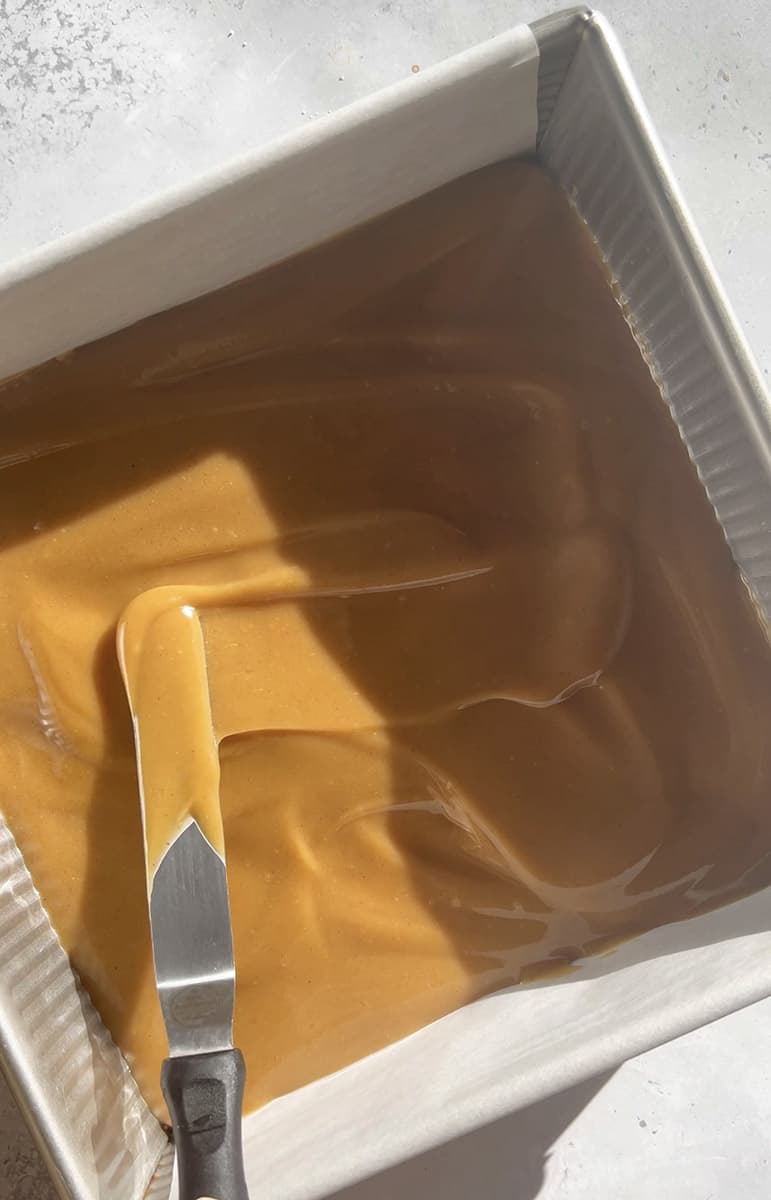
- Spread Caramel onto Cookie Base: Pour this caramel mixture over the cooled cookie layer and place it in the freezer for 1-2 hours until it’s firm and frozen.

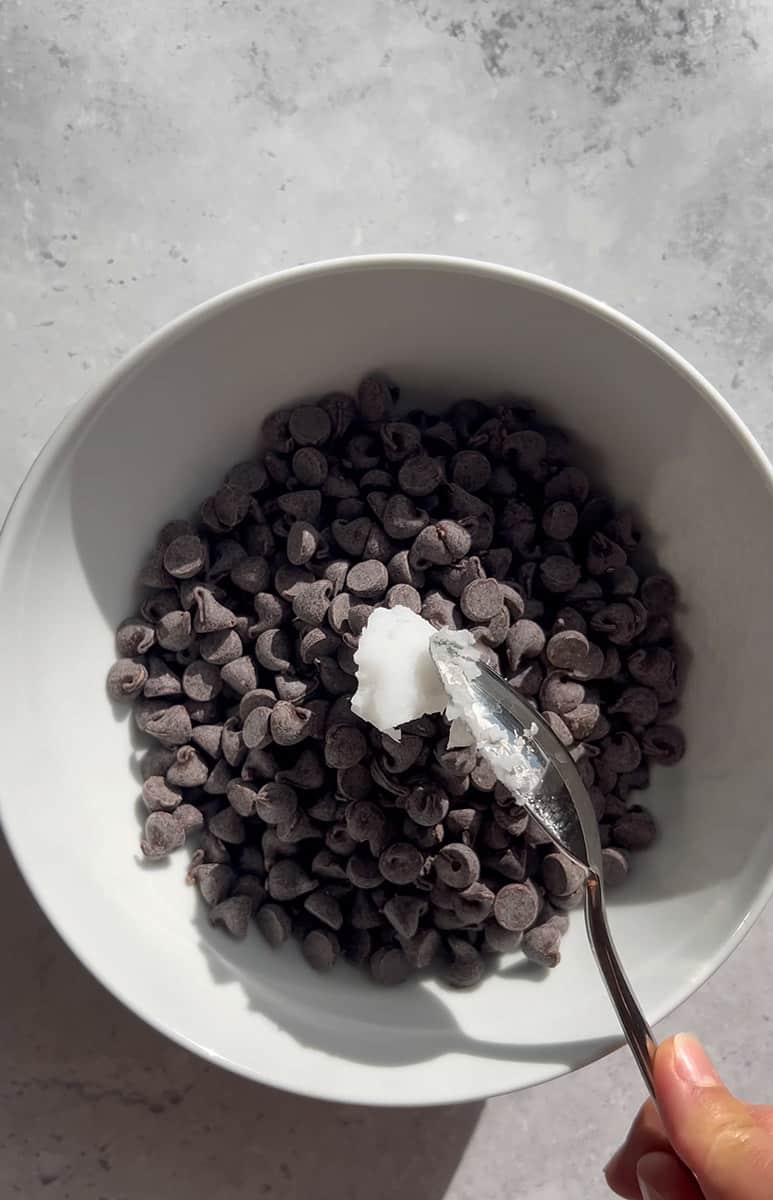
- Melt the chocolate: To coat the bars, melt the chocolate chips and coconut oil in the microwave or using a double boiler.

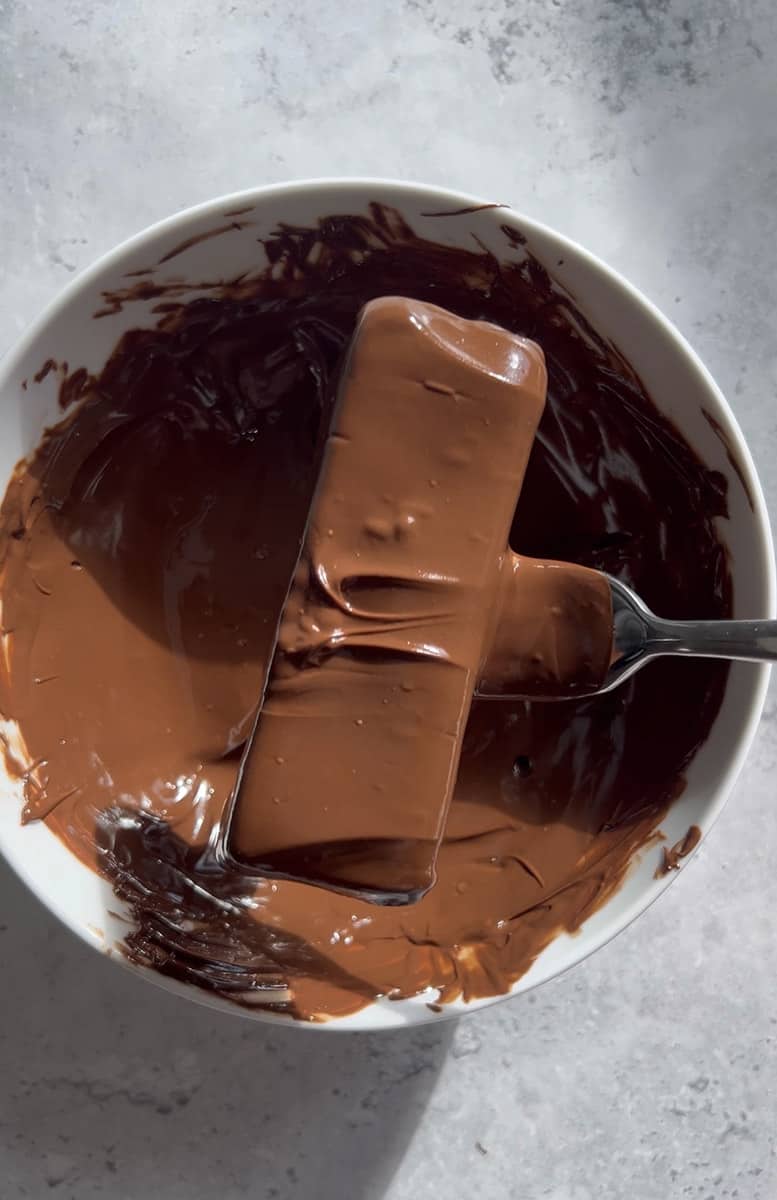
- Coat bars in chocolate: Dip each bar into the melted chocolate, flipping as needed for even coverage. You may need to dip a second time for a thicker coating.

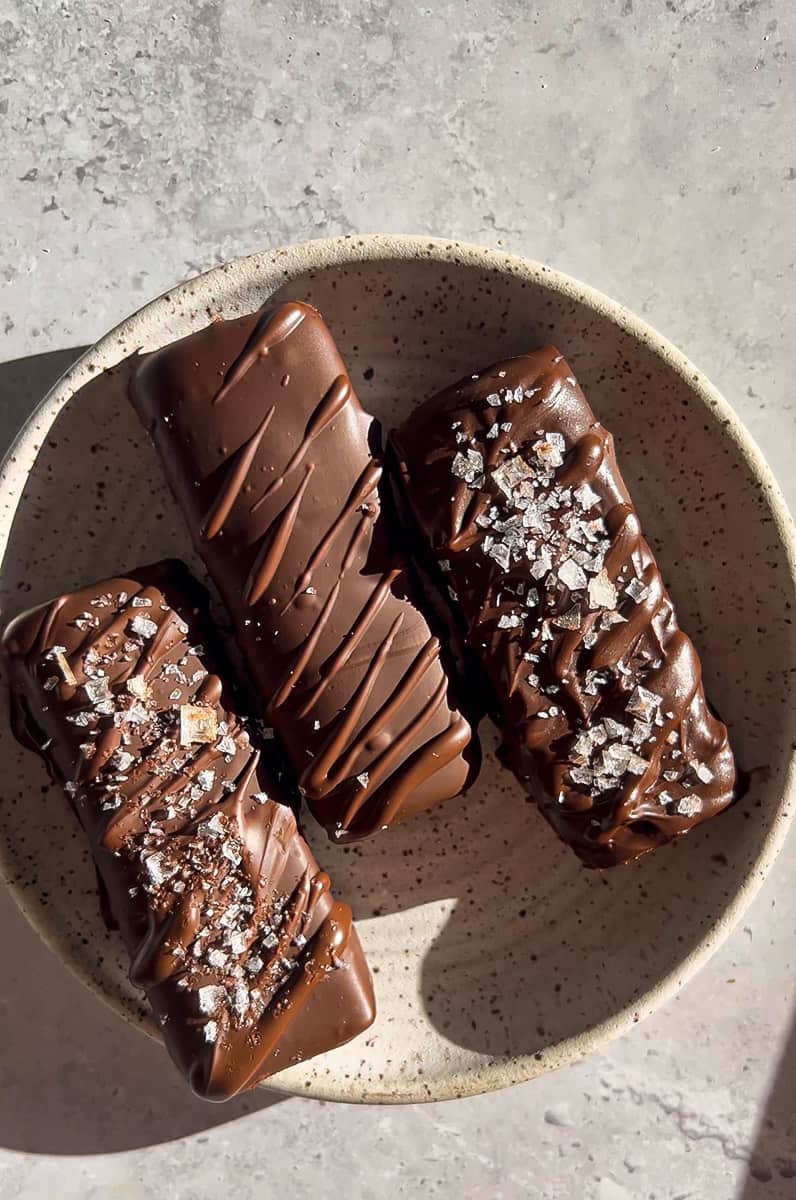
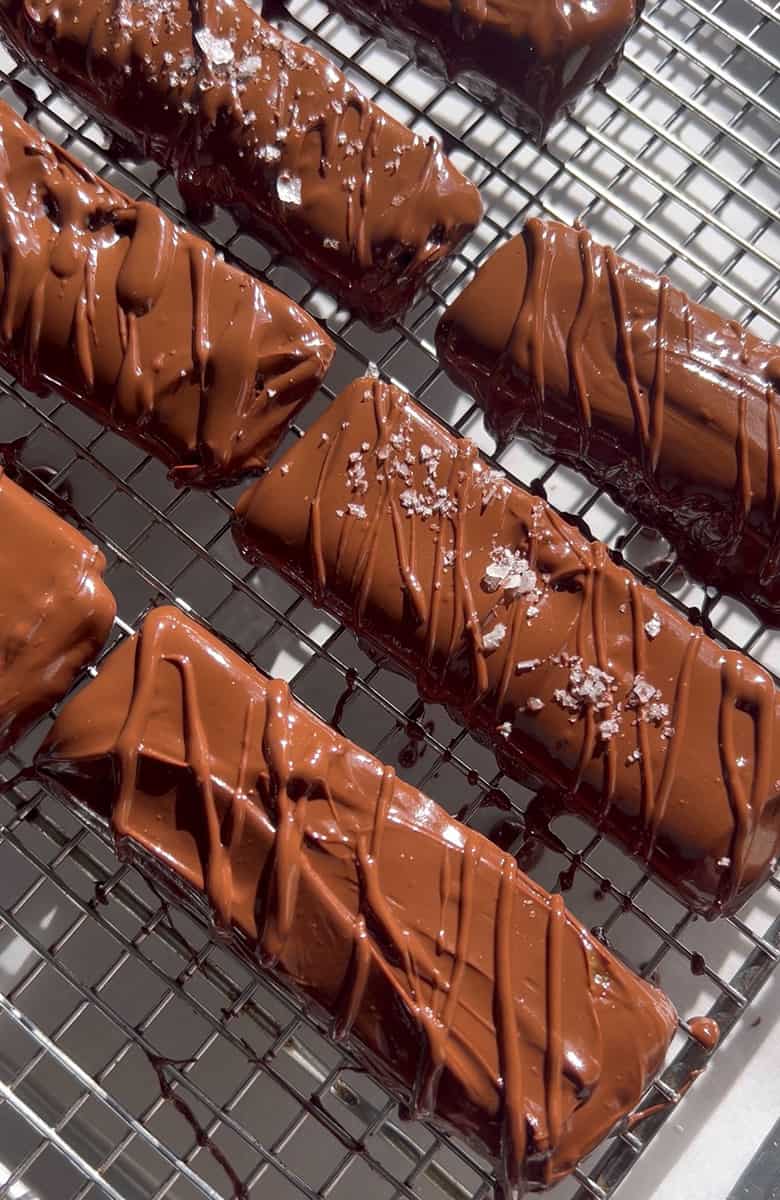
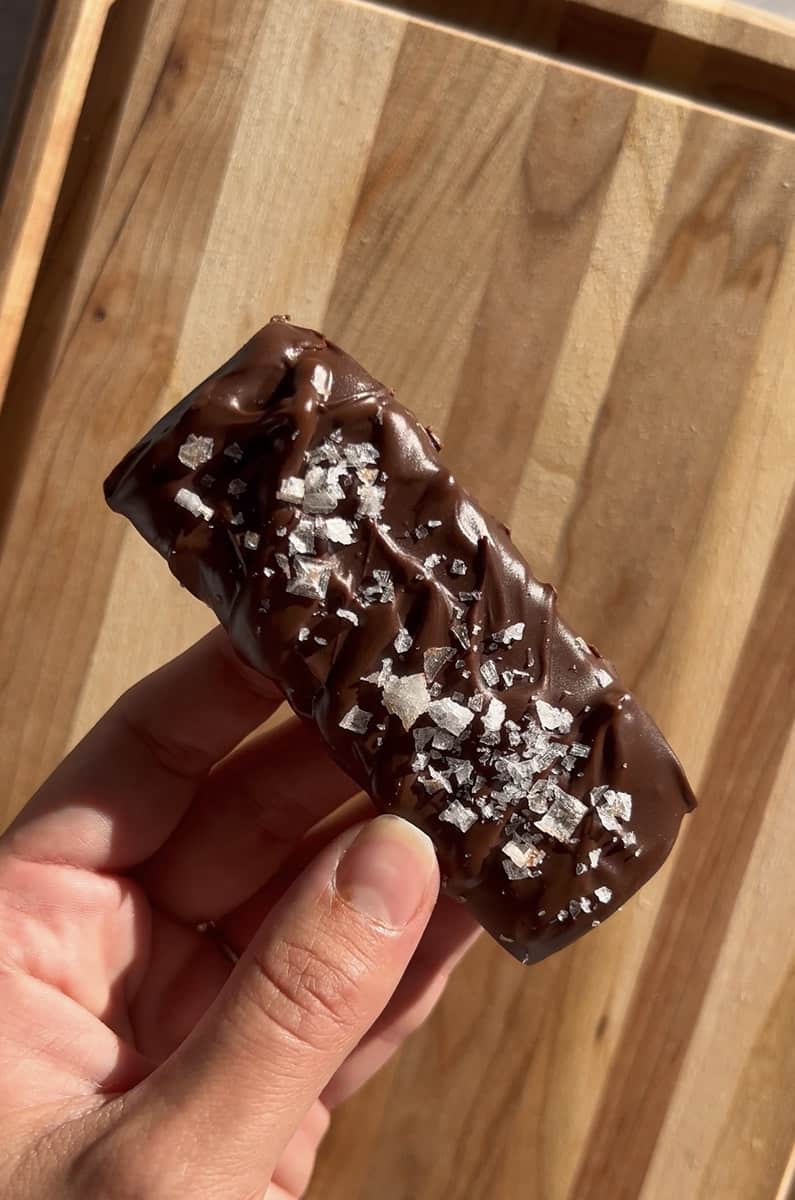
- Allow Chocolate to Set: Place the coated bars on a cooling rack, drizzle a zig-zag pattern over each, and sprinkle some flaky salt for an extra layer of flavor. Freeze the bars for at least 20 minutes until the chocolate sets.

Tips for Success
- Food scale: Use a food scale to ensure precise measurements.
- Layers: Allow each layer to cool and set properly before moving on to the next step.
- Even coating: Work quickly when dipping the bars in chocolate to ensure even coating.

Serving Suggestions
These healthy Twix Bars are perfect as a standalone treat, but you can also serve them with a scoop of vegan vanilla ice cream or a warm cup of matcha latte or a glass of Cold Brew Coffee for an indulgent dessert experience.
Variations and Substitutions
- Nut butters: Experiment with different nut butters for unique flavor profiles.
- Flour: Try using almond flour or cassava flour for a grain-free option. If you’re not gluten-free, all purpose flour will all work.
- Crushed nuts: For an added crunch, sprinkle crushed nuts or seeds on top of the caramel layer.
Storage and Freezer Instructions
Refrigerate: Store your homemade Twix Bars in an airtight container in the fridge for up to one week.
Freezing: You can also freeze these homemade candy bars in an airtight container for up to two months.
Defrost: To serve, defrost these healthy candy bars at room temperature for 10 minutes or more if they were frozen.
Frequently Asked Questions (FAQs)
Q1: Can I substitute almond flour for oat flour in this recipe?
A1: Absolutely! You can use almond flour as a gluten-free alternative.
Q2: How long do these bars stay fresh in the freezer?
A2: Vegan Twix Bars can be stored in the freezer for up to two months. Just remember to defrost them before serving for the best texture and flavor.
Q3: Are there any other nut butter options for the caramel layer?
A3: Yes, you can use creamy cashew butter as an alternative to peanut butter for a milder flavor.
More healthy homemade candy bar recipes you will love:
These Vegan Twix bars are a homemade candy bar that combine wholesome almond flour, creamy caramel, and melty chocolate for a delectable plant-based treat. It’s a healthier treat that’s both delicious and nutritious and guaranteed to satisfy your sweet cravings!
- 1 ½ cups finely ground oat flour , or superfine blanched almond flour. You can also sub with cassava flour, gluten-free 1-to-1 baking flour or all purpose flour if you're not gluten-free
- 3 tbsp pure maple syrup , you can also sub with preferred sticky liquid sweetener of your choice. For a lower sugar option, you can try sugar-free maple syrup, yacon syrup or allulose.
- 1 1/2 tbsp melted and cooled vegan butter , or coconut oil. You can also sub with ghee or unsalted butter if you're not dairy-free.
- 1 tsp vanilla extract
- ⅛ tsp salt
- ⅔ cup creamy peanut butter , you can also sub with cashew butter or any other nut butter or seed butter but the flavor will not be quite the same.
- 6 ½ tbsp maple syrup , you can also sub with preferred sticky liquid sweetener of your choice. For a lower sugar option, you can try sugar-free maple syrup, yacon syrup or allulose.
- 2 ½ tbsp vegan butter , or coconut oil. You can also sub with ghee or unsalted butter if you're not dairy-free.
- 1 tsp vanilla extract
- ⅛ tsp fine sea salt
- 1 2/3 cups dairy-free or regular chocolate chips , more or less as needed to coat the bars well
- 2 tsp coconut oil for easier melting, more or less as needed
- Preheat the oven to 350 F. Line an 8x8 square baking pan with parchment paper, leaving an overhang for easier removal. Set aside.
- Add the flour, melted butter, maple syrup, vanilla and salt to a bowl and mix until a sticky dough forms. If the dough seems too dry or too wet, add a little bit more sweetener or flour, only as much as needed, to form a thick cookie-dough texture. Add the cookie dough layer evenly into the bottom of the lined pan, pressing down firmly with a spatula. Bake in a preheated oven for 10-12 minutes, until golden brown. Allow to cool for at least 15 minutes, before pouring the caramel layer on top.
- Add the nut butter, maple syrup, vegan butter / coconut oil, vanilla and salt to a medium bowl or pot. Mix until combined, then place the bowl in the microwave and heat in 30 second ingredients, stirring well in between or heat in the pot over medium-low heat, until the mixture is melted and the caramel just starts to bubble up slightly. Pour the mixture over the cooled crust.
- Place in the freezer for 1-2 hours, or until firm and frozen. Once frozen, use the parchment paper to remove the cookie / caramel filling from the pan and use a sharp knife to cut into even-sized candy bars, about 18 miniature bars or 12 large bars. Place the bars back in the freezer while you melt the chocolate.
- Line a large baking tray with parchment paper and place a cooling rack on top of the parchment paper.
- Melt the chocolate chips and coconut oil in the microwave in 30-second increments, stirring well in between or in a double boiler. Working quickly and with 1 bar at a time, dip each bar into the melted chocolate, flipping the bar as needed, until the bar is coated well completely. You may have to dip a second time, for a thicker coating. Transfer the coated bar to the cooling rack. Drizzle a thin zig-zag pattern over each bar. Sprinkle a tiny bit of flakey salt over just some of the bars. Repeat with remaining bars. Freeze for at least 20 minutes, or more until the chocolate is set.
- Enjoy once set or store the bars in an airtight container in the fridge for one week or freeze for up to 2 months. Defrost at room temperature for 10 minutes, or more, if frozen before serving.
Refrigeration: For the best taste and texture, store your homemade Twix bars in an airtight container in the fridge for up to one week.
Freezing: If you plan to keep them longer, freeze them for up to two months. When you're ready to enjoy, simply defrost at room temperature for about 10 minutes if frozen.

 Did you try this recipe?


Leave a Comment