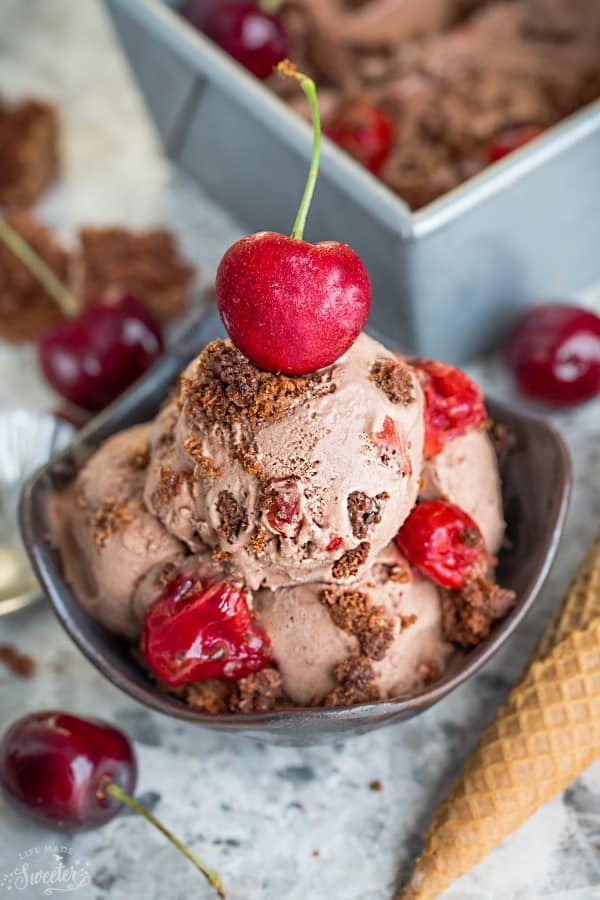
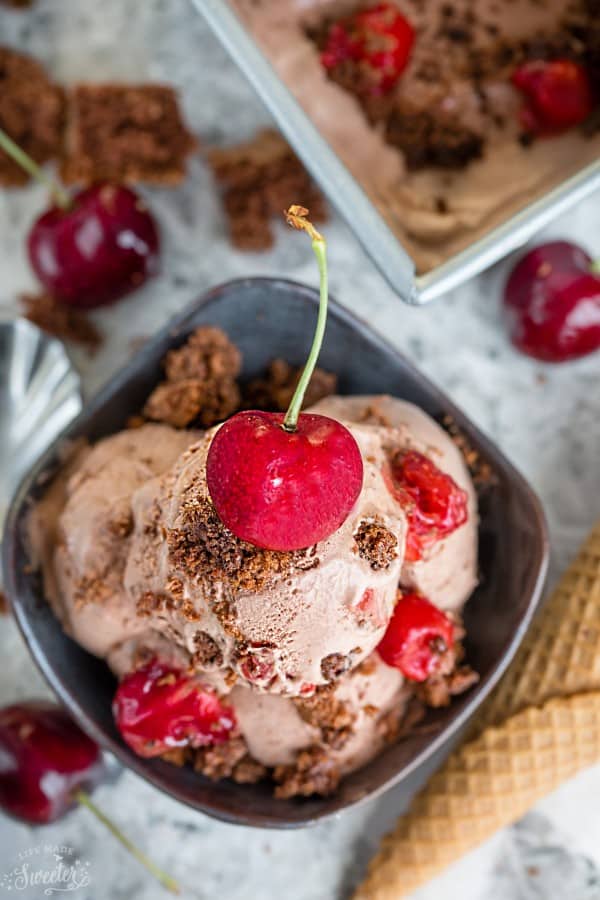
This Black Forest Ice Cream is an irresistible way to enjoy the popular cake without having to turn on your oven! It’s cool, creamy, and made with a delectable blend of coconut cream, cacao powder, fresh cherries, and brownie pieces and requires no ice cream maker! Indulge in the symphony of flavors that this frozen treat brings to your palate.
PIN HERE for later AND follow my Recipes Board for more frozen treats!
Updated August 2023
Black Forest Ice Cream: A Dreamy Treat for Any Occasion
Are you ready to embark on a journey of flavor and indulgence? Look no further than this irresistible Black Forest Ice Cream recipe. Whether you’re a die-hard dessert enthusiast or simply seeking a delightful treat to satisfy your cravings, this exquisite concoction is sure to become a staple in your recipe repertoire.
Bursting with the rich and timeless combination of rich chocolate and cherries, and the delightful surprises of brownie chunks in every mouthful, this Black Forest Ice Cream brings together the finest ingredients to create a symphony of taste that dances on your palate.
Recipe Ingredients
Before we dive into the step-by-step guide to crafting this culinary masterpiece, let’s explore the star-studded lineup of ingredients that make this ice cream a showstopper:
- Coconut Cream: Elevate the creaminess factor with luscious coconut cream. Opt for Trader Joe’s or chilled full-fat coconut milk for that perfect texture. You can opt for heavy cream, whipped until stiff peaks, if not plant-based or vegan.
- Full-Fat Coconut Milk: The magic of this ingredient lies in its chill. When used straight from the fridge, it adds an unparalleled creaminess to your ice cream.
- Creamy Cashew Butter: Unlock a burst of flavor with creamy cashew butter. While cashew butter reigns supreme, feel free to experiment with nut butters, seed butter, or tahini.
- Maple Syrup: Infuse a touch of natural sweetness with maple syrup or your liquid sweetener of choice. A refined sugar-free hint of sweetness that elevates the overall taste.
- Pure Vanilla Extract: Embrace the essence of vanilla, a timeless companion to the chocolate and cherries.
- Cacao Powder: Immerse yourself in deep, rich flavor with cacao powder or unsweetened cocoa powder. A must-have for any chocolate lover.
- Fresh Cherries: Delight in the juicy explosion of fresh cherries, adding vibrant bursts of flavor to each bite.
- Cherry Pie Filling (optional): Elevate the cherry experience with a hint of convenience and extra indulgence using your favorite homemade or store-bought cherry pie filling. For a fully fresh approach, blending cherries will work wonders.
- Brownie Squares: The delightful chunks of brownie provide a satisfying crunch and a delightful contrast to the creamy base. Whether you choose to make our gluten-free and paleo brownies from scratch, use a box-mix, or opt for store-bought, they’re bound to be a highlight.
Instructions: How to make Black Forest Ice Cream
Follow these concise instructions to create a Black Forest Ice Cream masterpiece that’s sure to dazzle your taste buds. Customize and enjoy your frozen creation to the fullest!
Step 1: Creamy Fusion
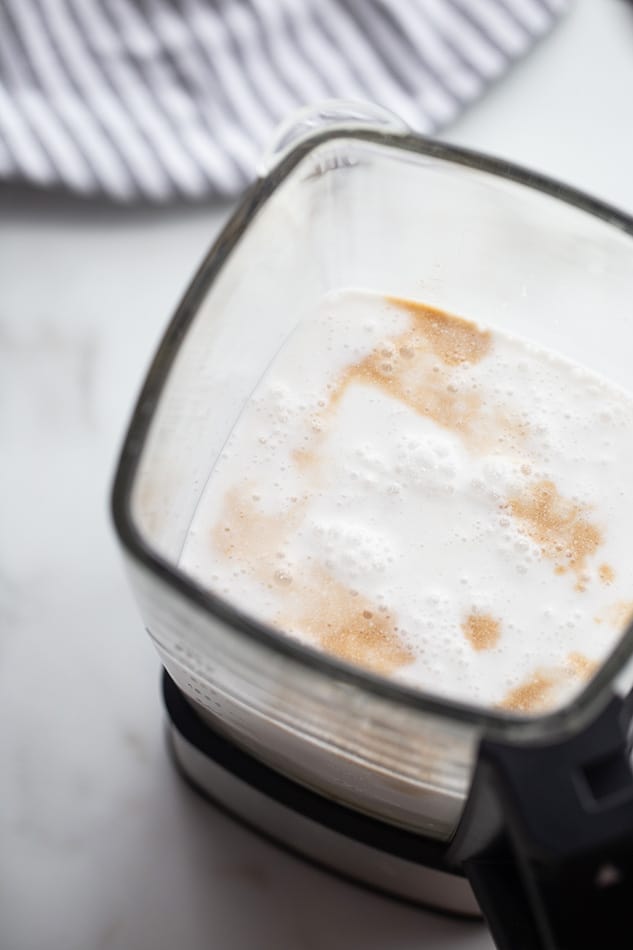
- Blend coconut cream, chilled full-fat coconut milk, creamy cashew butter, maple syrup (or your chosen sweetener), and pure vanilla extract until silky smooth.
Step 2: Ice Cream Maker Marvel
- If you have an ice cream maker, pour your blended mixture into it and churn until it reaches a firm consistency.
Step 3: Ice Cream Maker Alternatives
- No ice cream maker? Freeze the mixture in ice cube trays for about 2 hours, then blend the frozen cubes until velvety.
Step 4: Layered Symphony and Freeze
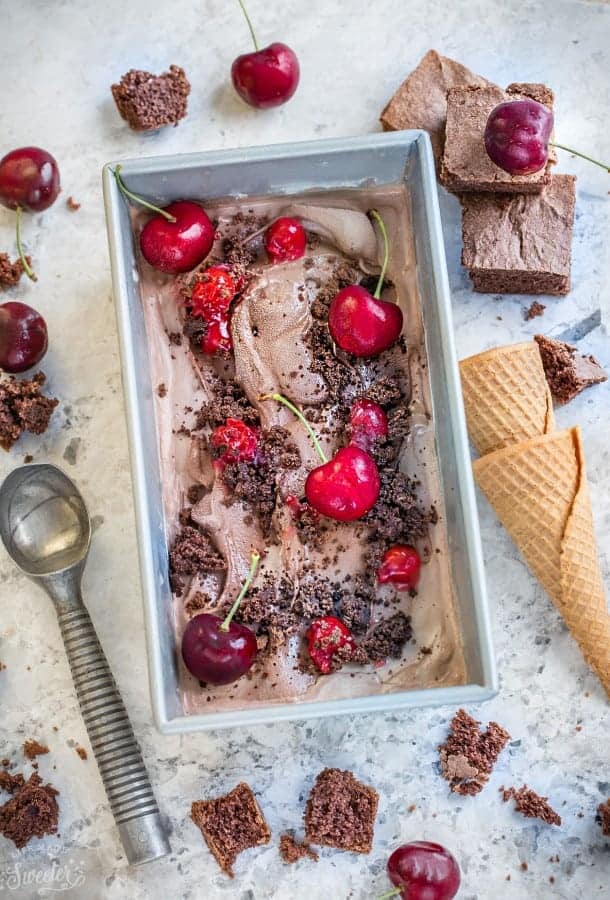
- Layer your ice cream mixture, chopped cherries, and brownie pieces in a loaf pan or ice cream container.
- Repeat the layering process, ensuring even distribution.
- Cover and freeze for a minimum of 4 hours or overnight for perfect texture.
- Let sit for a few minutes before serving if too firm.
Tips for Crafting the Perfect Black Forest Ice Cream
Creating the ultimate Black Forest Ice Cream is a delightful journey that’s both rewarding and indulgent. To ensure your culinary masterpiece turns out perfectly, follow these expert tips for a scoop-worthy experience:
1. Creamy Dreaminess:
Ensure your coconut cream and milk are well-chilled before using. The cold temperature contributes to the luxurious texture of your ice cream.
2. Nut Butter Nirvana:
Opt for creamy cashew butter for the best flavor infusion. However, feel free to experiment with other nut butters, seed butter, or tahini for a unique twist.
3. Sweet Sensations:
Whether using maple syrup or an alternative liquid sweetener, balance the sweetness to your preference. Adjust the amount based on how sweet you like your ice cream.
4. Blend with Finesse:
When blending the ingredients, ensure the mixture is silky smooth. A high-speed blender, like a Vitamix, works wonders in achieving that velvety consistency.
5. Temperature Matters:
If using an ice cream maker, make sure the machine’s bowl is adequately chilled before starting. This helps the ice cream churn to the perfect consistency.
6. Embrace Layers:
Layering your ice cream with cherries and brownie pieces creates a symphony of flavors. Distribute these layers evenly to ensure every scoop is a delightful surprise.
7. Timing Is Key:
Allow your ice cream to freeze for at least 4 hours or overnight. This ensures the flavors meld beautifully and the texture is just right for serving.
8. Texture Tempering:
If your ice cream is too firm to scoop, let it sit at room temperature for a brief period (about 20 minutes) before serving. This allows it to soften slightly, making scooping a breeze.
9. Get Creative:
Don’t hesitate to explore variations and additional toppings. Consider drizzling with chocolate sauce or sprinkling crushed nuts for added texture and decadence.
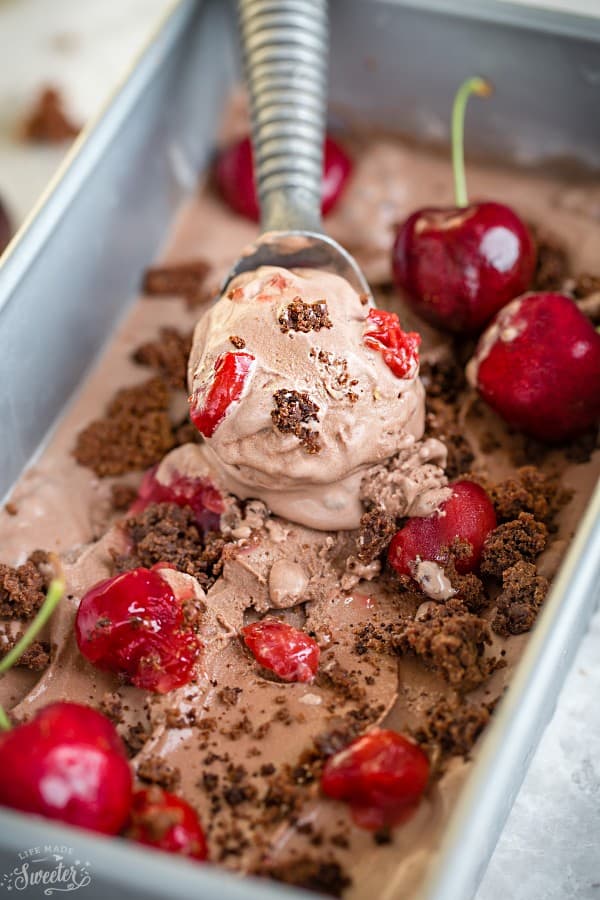
Storage and Serving Suggestions
- Storing your Black Forest Ice Cream is a breeze. Simply keep it in an airtight container in your freezer for up to two weeks, ensuring it remains in peak condition for your next indulgence.
- If the ice cream is too hard to scoop, let it sit on the counter for 5-10 minutes before serving, allowing it to soften just enough for that perfect scoop.
Variations and Substitutions
While our Black Forest Ice Cream is already a masterpiece, don’t hesitate to put your personal touch on it. Here are a few variations and substitutions to explore:
- Nutty Delight: Add chopped nuts like almonds or walnuts for a delightful crunch and extra richness.
- Caramel Magic: Drizzle caramel sauce over your ice cream layers for an extra layer of decadence.
- Gluten-Free Option: Opt for gluten-free brownies to make this treat accessible to those with dietary restrictions.
Frequently Asked Questions
- Can I use dairy cream instead of coconut cream?
- Absolutely! If you’re not following a dairy-free diet, whip up some heavy cream until stiff peaks form for a creamy alternative.
- How long can I store Black Forest Ice Cream?
- When stored properly, your ice cream will remain delicious for up to two weeks.
- Can I use frozen cherries?
- Fresh cherries provide the best flavor and texture, but thawed frozen cherries work beautifully in this recipe.
- What’s the best way to soften the ice cream for serving?
- Simply let the container sit on the counter for a few minutes to achieve the perfect scoopable consistency.
- Is an ice cream maker necessary?
- While an ice cream maker adds an extra layer of creaminess, you can still achieve excellent results without one.

This Black Forest Ice Cream is an irresistible way to enjoy the popular cake without having to turn on your oven! It's cool, creamy, and made with a delectable blend of coconut cream, cacao powder, fresh cherries, and brownie pieces and requires no ice cream maker! Indulge in the symphony of flavors that this frozen treat brings to your palate.
- 1.5 cups coconut cream , we like to buy the one from Trader Joe's or you can spoon out the thick part chilled full-fat coconut milk
- 2 ounce 14-oz cans full-fat coconut milk , chilled (we like to use the one from Arroy-D or Trader Joe's)
- 1/4 cup creamy cashew butter , cashew butter has the best flavor but you can sub with any other nut butter, seed butter or tahini
- 1/2 cup maple syrup OR sub with any liquid sweetener of choice
- 2 teaspoons pure vanilla extract
- 1/4 cup cacao powder or unsweetened cocoa powder
- 1-1/3 cup fresh cherries , pitted and chopped (or use thawed frozen pitted cherries)
- 1/3 cup cherry pie filling, optional for the swirls , you use your favorite homemade or store-bought cherry pie filling. Or can use all blended cherries if desired.
- 2-3 brownie squares broken into small pieces , can use our homemade gluten-free brownies from scratch, box-mix or store-bought brownies
- 2/3 cup 2/3 cup chopped dark chocolate OR dairy-free chocolate chips , divided
- 1/3 cup drippy unsalted almond butter , can also sub with any other nut OR seed butter you have1
- 1/3 cup coconut oil , melted
- 1/4 cup coconut sugar (can also sub with golden monk fruit sweetener OR even brown sugar)
- 1/3 cup maple syrup (can also sub with Lakanto sugar-free maple syrup)
- 2 large eggs , room temperature (sub with 2 Tablespoons ground flaxseeds + 5 Tablespoons water for vegan brownies)
- 2 tsp pure vanilla extract1
- 1/2 cup blanched finely ground almond flour
- 1/3 cup cacao powder OR unsweetened cocoa powder
- 1/2 tsp baking soda
- 1/8 tsp fine sea salt
Blend:
Place the coconut cream, milk, nut butter, sweetener and vanilla into a Vitamix or a high-speed blender. Blend on high for 30 seconds, or until smooth and the mixture is combined.
Ice Cream Maker Method:
If you have an ice cream maker, have it ready and the bowl chilled prior to starting. Pour the blended mixture directly from your blender into the ice cream maker while it is moving. Churn for 20-25 minutes until it becomes a firm ball or the ice cream maker stops rotating.
Without an Ice Cream Maker:
If you don't have an ice cream maker, pour the mixture into ice cube trays for 2 hours, or until frozen. Blend frozen ice cubes in a high-speed blender until smooth.
Transfer to Ice Cream Container:
Spoon half of the ice cream mixture into a 9 x 5 loaf pan or 2-quart ice cream container. Pour half of the chopped cherries and/or cherry pie filling evenly. Sprinkle in half of the brownie pieces. Pour in remaining half of the ice cream then top with more cherries/cherry pie filling. Top with rest of the brownies.
Freeze:
Cover and freeze for at least 4 hours or overnight. When ready to serve, remove from freezer and allow to stand at room temperature for at least 20 minutes (or more) until desired consistency.
Preheat oven to 325 F. Line an 8x8 square pan with parchment paper, leaving a slight overhang (for easier removal). Set aside.
In a large heat-safe bowl, melt 1/2 cup of the chocolate, almond butter and coconut oil over a double-boiler or in the microwave in 20 second increments, stirring well until chocolate is just melted and smooth (stir well in between - do not overheat).
Remove from heat then whisk in coconut sugar, maple syrup and vanilla. Add eggs and whisk until incorporated. Stir in cocoa powder followed by the almond flour until just combined. Fold in remaining chocolate. The batter will be thick.
Bake in preheated oven for 28-32 minutes - underbake for fudgier brownies. Allow to completely cool before slicing into even squares.
Spread batter into prepared pan and smooth with an offset spatula.
Bake in preheated oven for 28-32 minutes - underbake for fudgier brownies. Allow to completely cool before slicing into even squares.

 Did you try this recipe?



Alice @ Hip Foodie Mom -
Kelly, I LOVE this ice cream!!!! especially the cherry pie filling!!!! what a great idea!
Angie@Angie's Recipes -
wow…I want a large scoop right now! This looks so very tempting, Kelly.
Gayle @ Pumpkin 'N Spice -
You make the best ice cream, Kelly! I just want to dive right into this for breakfast! Kids in my area are starting school today, but some already started last week. Where has the summer gone?! I would love to curl up with a big bowl of this. Looks SO good!
Amy -
Kelly this is definitely on my list for my next bbq gathering. Yes so dreamy-licious!!
Melissa – Skinny Mom Loves Food -
This DOES look dreamy-licious! Black Forest Cake was my favorite so this is HAPPENING soon! Gorgeous photos too!!