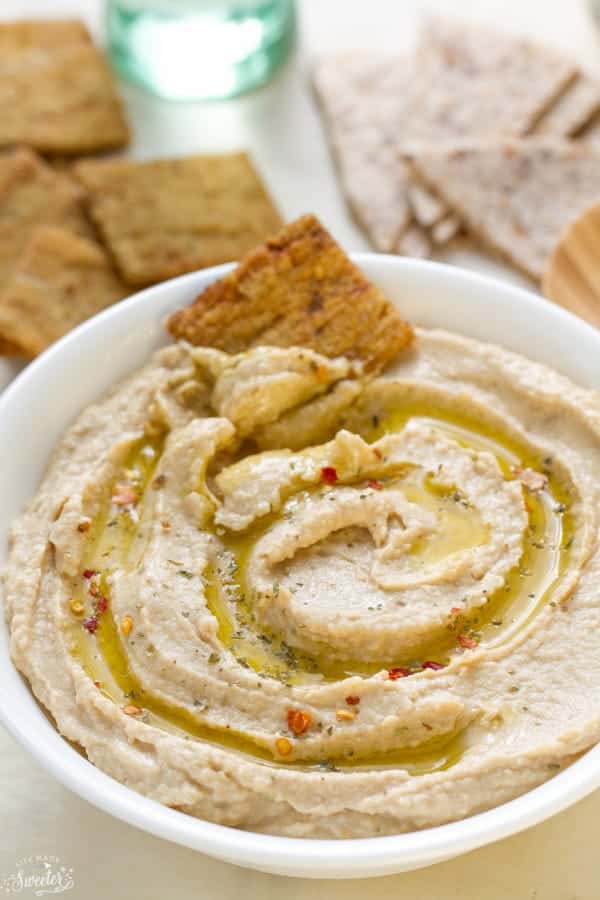
This Homemade Hummus is easy to make in less than 10 minutes with just chickpeas, garlic and some simple seasonings and no tahini required! It’s the perfect healthy snack and so much cheaper and better than the store!
PIN HERE for later and follow me on Pinterest for more recipe ideas
A Simple Homemade Hummus Recipe Without Tahini
Looking for an extra tasty and easy snack idea? This creamy and simple Hummus recipe comes together with a handful of ingredients and couldn’t be more simple to make!
Hummus is one of those things that just tastes better when it’s homemade. Once you discover how ridiculously simple it is to make homemade hummus, your life will be forever changed. Basically, if you own a food processor or a blender you can whip up delicious homemade hummus in less than 10 minutes. All you need are some chickpeas, olive oil, garlic, some seasonings and you’re set!
This hummus is so easy, simple and super satisfying. Serve with some pita bread, chips or some raw veggies. It’s also delicious as a sandwich spread – or enjoy it straight from the bowl.
My family loves spreading it on toast, sandwiches and wraps to add a little something extra.
Looking for more easy hummus recipes? We also love this Sweet Potato Hummus or our Spinach and Arugula Hummus.
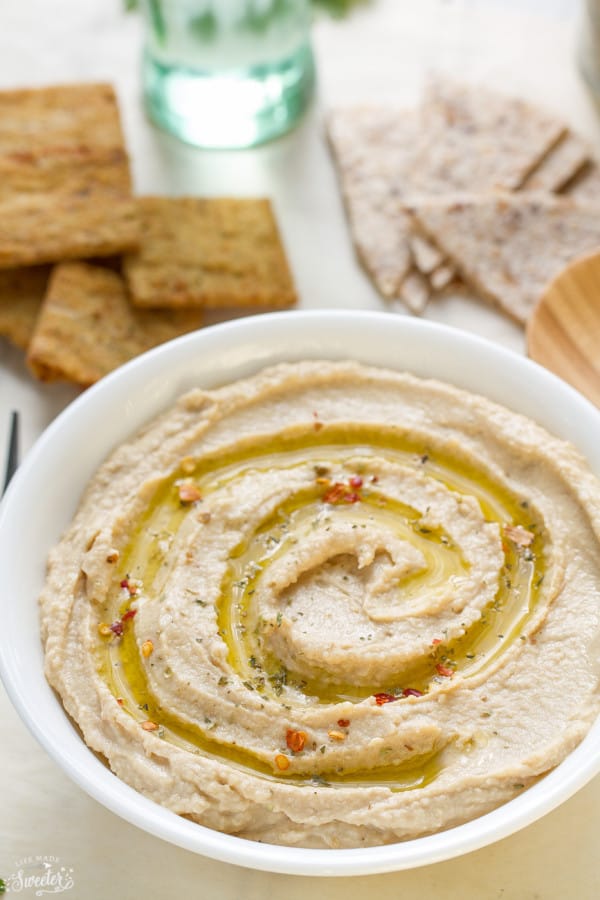
For this Easy Hummus Without Tahini, you will need:
This homemade hummus comes together with a handful of basic ingredients. Here’s everything you’ll need:
- Chickpeas: You’ll need one 15-ounce can.
- Garlic Cloves: I use two.
- Fresh Lemon Juice: About one lemon’s worth.
- Salt: You’ll need half a teaspoon.
- Cumin: This earthy spice adds depth of flavor to the dip.
- Smoked Paprika: For a touch of spice and smokiness, to taste.
- Olive Oil: For consistency.
Plus any other seasonings you like. I love adding roasted garlic to bump up the flavor. Or even some cayenne pepper and red pepper chili flakes for a kick of heat.

How to Make Hummus
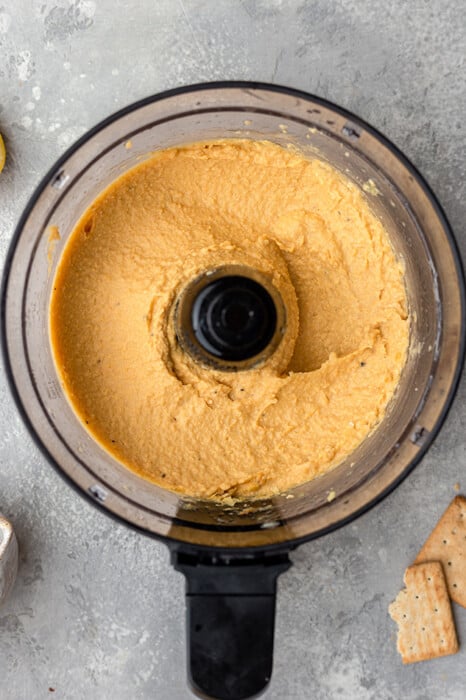
Making hummus at home is a simple, stress-free task. You just to need to blend up all the ingredients in a food processor!
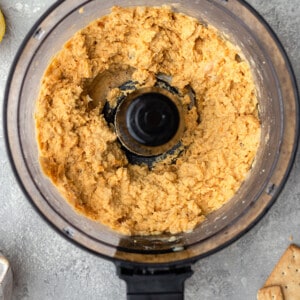
- Blend Ingredients: Drain the chickpeas, reserving ¼ cup of the chickpea water. Add chickpeas, aquafaba, garlic, lemon, salt, cumin and paprika to a food processor. You may need to scrape down the sides a couple of times.
- Add Oil: Keep blending whilst slowly pouring the olive oil in until creamy.
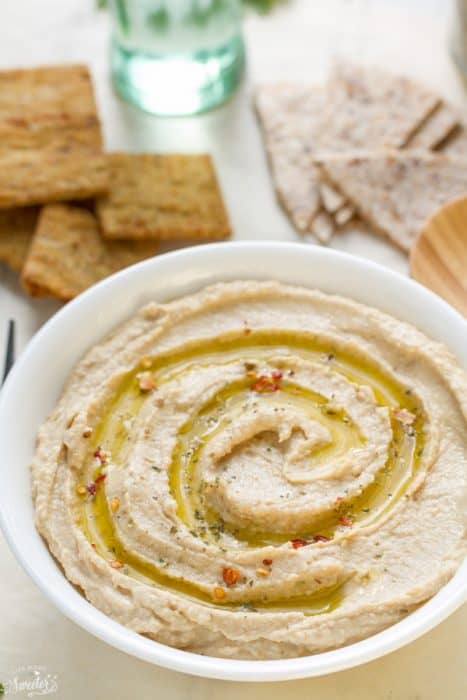
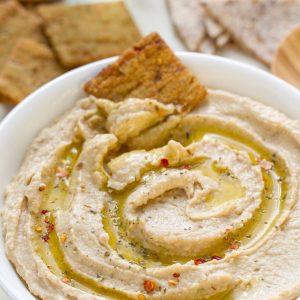
- Enjoy! Serve and top with an extra drizzle of oil and sesame seeds.
Hummus Ideas
Want to change up the flavor profile of this homemade dip? Here are some delicious ideas!
- Extra Spicy Hummus: If you like your hummus with a good amount of heat, throw a chipotle pepper into the food processor with the other ingredients before blending.
- Sweeter Hummus: On the contrary, if you prefer your hummus on the sweeter side, you can swap out the smoked paprika for sweet paprika.
- Hummus with Lime: I’m all about the citrusy notes in this hummus. Fresh lime juice works just as well as lemon juice, but it provides a slightly different flavor. Try it out!
What to Serve with Hummus
This versatile condiment can be served in plenty of yummy ways. These are my top suggestions!
- Serve with Salad: Creamy sweet potato hummus tastes amazing with a fresh Falafel Salad. It’s a healthy lunch or dinner that the whole family will love!
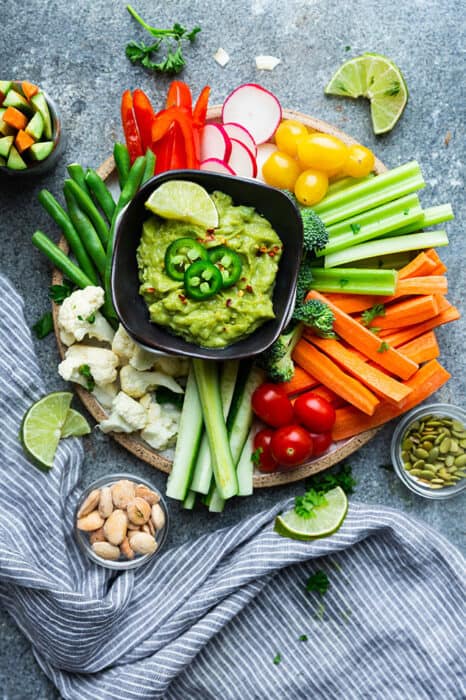
- Pair with Raw Veggies: Homemade hummus is a great tool to get your kids to eat more vegetables and this veggie platter is perfect! It transforms raw carrots and celery into a crave-worthy snack!
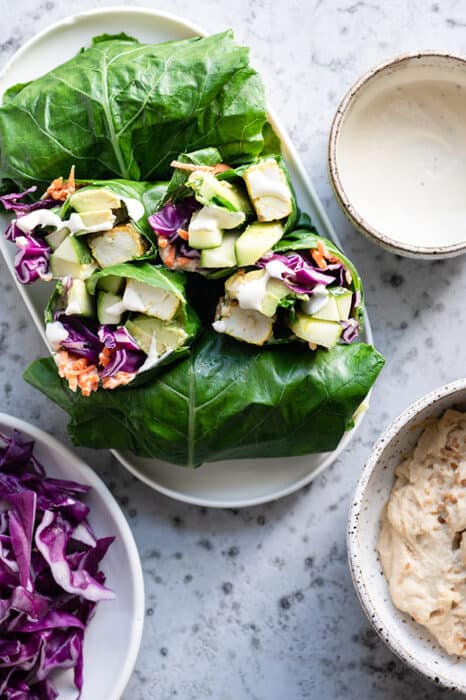
- Serve in a Wrap: My crispy, crunchy Collard Wraps are just begging to be stuffed with a helping of this hearty hummus!
- Pair with Chips: Need a quick snack or appetizer? Simply serve sweet potato hummus as a dip for your favorite chips!
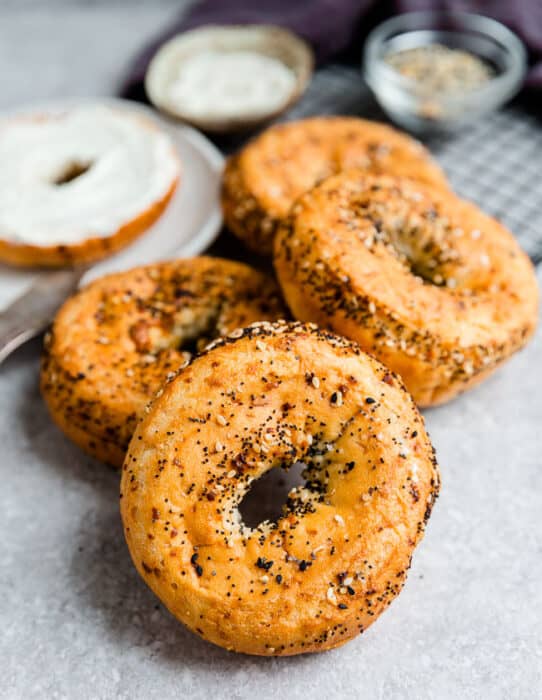
- Spread onto Bagels: I’m obsessed with spreading this hummus onto bread and Homemade Bagels. Yum!
Tips for Success
This recipe is super straightforward, but I do have some helpful tips to share before you get started.
- Add Oil While Blending: Don’t pause your food processor when you add in the olive oil. Pour it in slowly while the dip is pulsing until it gets nice and smooth.
- Season to Taste: Before you serve your hummus, be sure to give it a taste to make sure you’re happy with the flavor.
How to Store Hummus
Keep leftover hummus in an airtight container in the fridge and enjoy it within 2-3 days. If you want a quick way to make sure your hummus stays creamy, drizzle a little bit of olive oil over it before storing.
Can you freeze Hummus?
Yes! You can absolutely freeze hummus so it works great for meal prep!
TO FREEZE: To freeze, be sure to store the hummus in a large airtight and freezer-safe container or portion it out into small containers. Make sure you don’t fill the container all the way to the top and leave some room because it will expand as it freezes.
TO THAW: Once you’re ready to serve, simply thaw out the hummus in the refrigerator the day before you want to use it. If you notice any extra water, that is completely normal. You can just dump out the extra water and use a fork to stir well until you get a creamy consistency again. Enjoy as is or warm in the microwave for a few seconds.
More easy vegan snack recipes:
- 2 15-ounce cans chickpeas , rinsed & drained but reserve 1/4 cup of the liquid to thin out the hummus later
- 2 large garlic cloves if you have time - roasted garlic is awesome in here
- 2-3 tablespoons fresh lemon juice
- 1/2 teaspoon smoked paprika
- 1/4 teaspoon cumin
- sea salt to taste
- black pepper to taste
- 1-2 tablespoons olive oil optional
- chili flakes for garnish
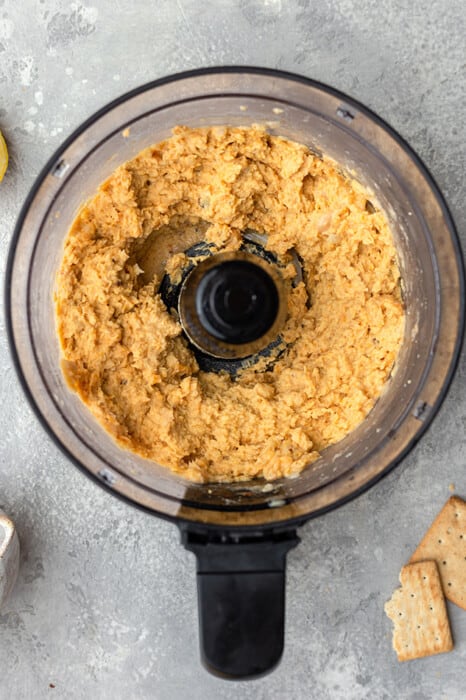
Place chickpeas in a blender or food processor with garlic, lemon juice, paprika, cumin and reserved liquid from the canned chickpeas.
Blend or puree until very smooth, adding more liquid or lemon juice as needed to thin out to desired consistency. Season with salt and pepper and add 1-2 tablespoons of olive oil to help achieve a super creamy texture, if desired.

- Serve on pitas, crackers, veggies, or sandwiches. Adjust seasonings as you like and sprinkle with red chili flakes if desired.

*Can store in an airtight glass container in the fridge for up to 5 days or freezer for up to 3 months.


 Did you try this recipe?


Nadia -
This was delicious! Thank you! We loved that we don’t need tahini!
Marce -
Made this with a bag of frozen garbs about equal to 3 cans. Used 6 cloves garlic, 3 T olive oil, about a cup of water as they had been soaked but not cooked, double the amt of spices, and added 1 T worchestershire sauce, 1 tsp curry and one cup greek yogurt. Turned out very good and creamy. Want to try the other recipe with spinach – yum!
Michelle Bagby -
Good Evening! Wanting to make your recipe for my first attempt at hummus…2 questions:
1..how long will it last in the fridge? (providing we don’t eat it all in one sitting!)
2..can this be frozen? (hoping to take it up for a snow-cation)
thx! Mic
Kelly -
Hi Michelle,
1) The hummus should last 3-5 days in the fridge in an airtight covered container (ours never seems to last that long either since we do want to eat it all in one sitting 😉
2) Yes, this can be frozen in an airtight covered container (be sure to use a container large enough that you don’t have to pack it all the way to the top since this expands). Thaw overnight in the fridge – you can also heat it up if you like it warm. Be sure to give it a good stir before serving and you might have to add a little bit more seasoning since the freezer does change the taste a bit.
Hope that helps, thanks for stopping by!
Kristi @ Inspiration Kitchen -
Kelly this looks GREAT! Nicely done! Have a wonderful week!