Elevate your meal with this Instant Pot Whole Chicken that yields perfectly juicy homemade rotisserie chicken that combines olive oil, sea salt, Greek and Italian seasoning, smoked paprika, garlic, onion, and more. Unleash the power of your pressure cooker (with bonus Oven instructions) with this time-saving, moisture-locking method.
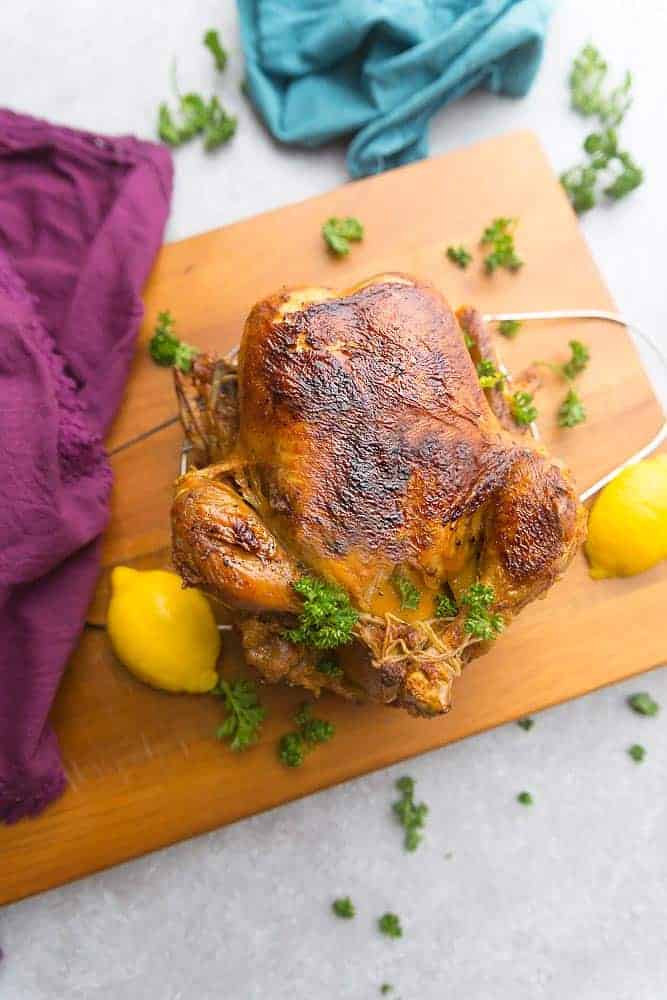
PIN HERE for later and follow my boards on Pinterest for more Instant Pot recipes
Updated February 2024
Perfect Instant Pot Whole Chicken Recipe: Perfectly Juicy and Flavorful
Ever wondered about the magic that unfolds when you toss a whole chicken into the Instant Pot? Well, get ready for a culinary adventure that’s not just about dinner – it’s about making your life easier and your taste buds dance. Picture succulent chicken that practically falls off the bone, all done with minimal effort. Making a whole chicken in your Instant Pot isn’t just cooking; it’s a shortcut to flavorful bliss that’ll have you wondering why you didn’t try it sooner.
And if you don’t have an Instant Pot, we’ve even included instructions for making a rotisserie chicken at home. This roasted whole chicken recipe guarantees a juicy and flavorful outcome every time and promises to be the highlight of your family dinners.

Ingredients You’ll Need:
- Whole Chicken: The star of the show, offering succulent and tender meat.
- Olive Oil: Infuses richness and aids in achieving a golden, crispy skin.
- Sea Salt: Enhances the natural flavors of the chicken.
- Pepper: Adds a touch of warmth and depth to the seasoning.
- Dried Greek Seasoning and Italian Seasoning: An aromatic blend that brings Mediterranean flair to your dish.
- Smoked Paprika: Infuses a smoky, savory element to elevate the taste.
- Garlic and Onion Powder: The dynamic duo that enhances the overall savory profile.
- Onion, Garlic, and Lemon (optional): These aromatic additions enhance moisture and flavor.
- Chicken Stock or Chicken Broth: Essential for creating a flavorful base and ensuring a juicy result.
Instructions: How to make Instant Pot Whole Chicken
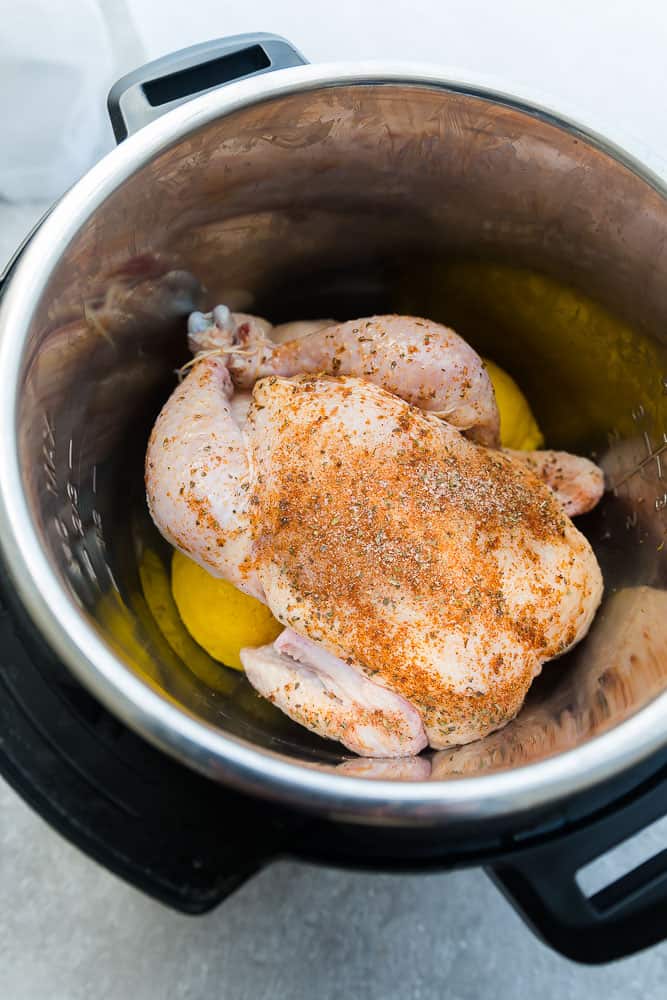
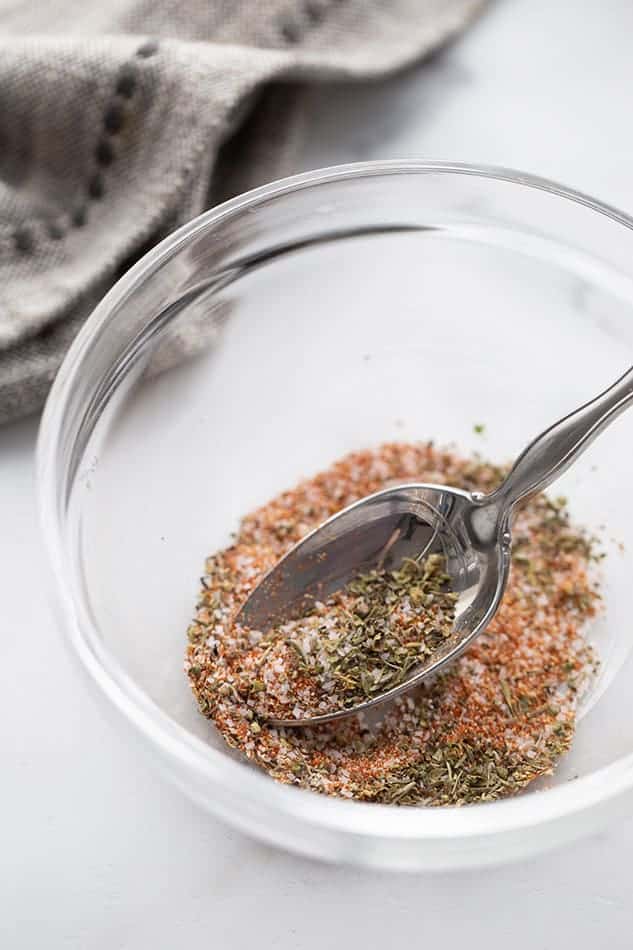
- Prepare the Seasoning: Combine sea salt, pepper, Greek seasoning, Italian seasoning, smoked paprika, garlic, and onion powder in a small bowl.

Instant Pot Method (Fresh Chicken):
- Loosen the chicken skin and rub a portion of the seasoning under the skin, followed by the rest over the entire chicken.

- Sear Chicken: Optionally, sear the chicken in the Instant Pot for a golden exterior, sealing in flavors.
- Add aromatics: Add onion, garlic, and lemon inside the chicken cavity for added moisture and taste.
- Pressure Cook: Cover and lock the lid. Turn the valve to SEALING. Press the MANUAL or PRESSURE COOK button and set timer according to size:
- 18 minutes for a 3 pound (lbs) chicken
- 21 minutes for a 3.5 pound (lbs) chicken
- 24 minutes for a 4 pound (lbs) chicken
- For a FROZEN WHOLE CHICKEN – set to 42 minutes ON HIGH for a 4 lb chicken.
- Loosen the chicken skin and rub a portion of the seasoning under the skin, followed by the rest over the entire chicken.
Oven Roasting Method:
- Preheat the oven and place the seasoned chicken on a roasting pan.
- Roast until the chicken reaches the desired temperature, covering with foil to prevent excessive browning.

- Crisp the Skin: For an irresistible finish, broil the chicken in the oven for a few minutes to achieve a crispy skin.

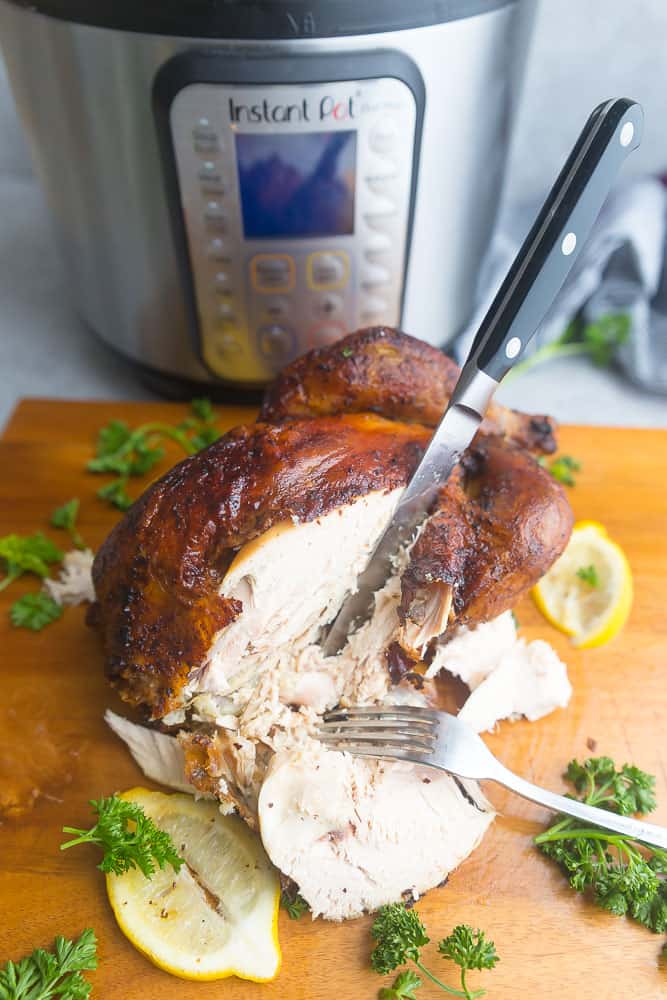
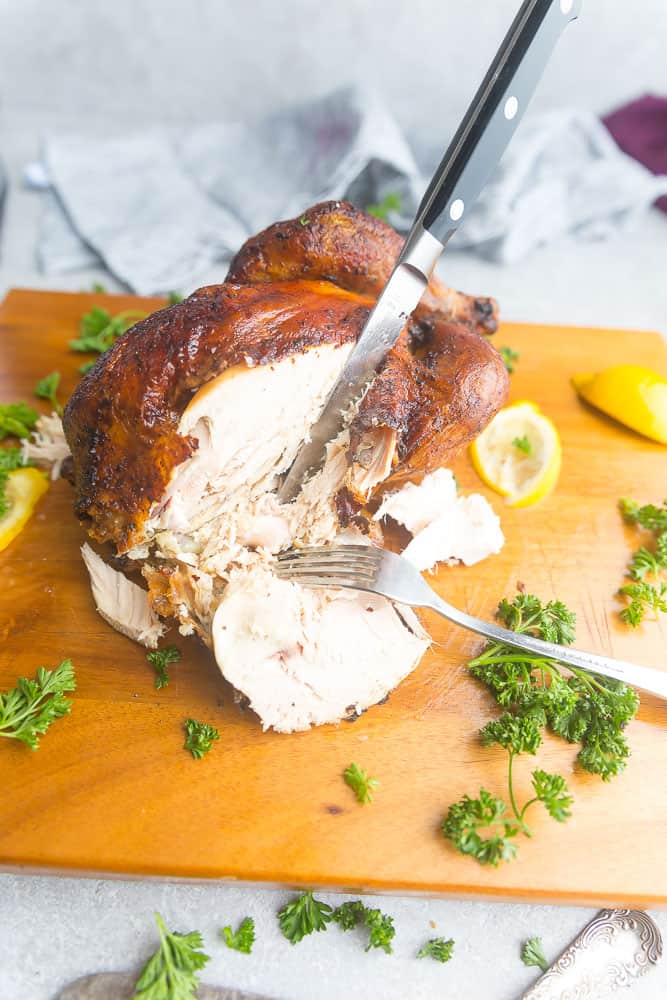
- Serve and Enjoy: Allow the chicken to cool, then slice or shred, serving it with your favorite sides.

Tips for Success:
- Searing Enhances Flavor: While optional, searing the chicken before cooking enhances color and locks in flavors.
- Trivet Placement: Ensure the trivet is correctly positioned to prevent the chicken from sitting in the liquid, maintaining a crispy skin.
- Natural Release: Let the Instant Pot naturally release for at least 15 minutes before quick releasing to ensure juiciness.
- Room Temperature Chicken: Allow the chicken to come to room temperature before cooking for more even cooking.
- Pat Dry Before Seasoning: Pat the chicken dry with paper towels before applying the seasoning for better adherence and crispiness.
- Marinating Time: If time allows, marinate the chicken with the seasoning for an hour or overnight in the fridge for enhanced flavor.
Storage and Freezer Instructions:
- Save Bones for Broth: Don’t discard the bones; store them in the freezer to make a rich and flavorful chicken stock or bone broth later.
- Refrigerator Storage: Store leftover Instant Pot whole chicken in an airtight container in the refrigerator for up to 3-4 days.
- Make-Ahead Prep: Prepare the seasoning mix and marinate the chicken in advance for a quicker cooking process on busy days.
- Freezer Friendly: Freeze shredded rotisserie chicken in portioned bags for convenient use in future recipes.

Serving Suggestions:
- Classic Side Dishes: Pair your instant pot rotisserie chicken with classic sides like air fryer roasted vegetables, mashed potatoes, a fresh caesar salad or a simple green salad.
- Sandwiches and Wraps: Use the shredded chicken in sandwiches or wraps for a quick and tasty lunch.
- Soup and Salad: Add sliced rotisserie chicken to your favorite soups or salads for a protein-packed meal.
- Tacos or Burritos: Shred the oven roasted rotisserie chicken and use it as a delicious filling for tacos or burrito bowls.
- Chicken Salad Wraps: Mix shredded chicken with your favorite chicken salad ingredients and wrap in tortillas or lettuce leaves.
- Rotisserie Chicken Pizza: Top your pizza with rotisserie chicken, barbecue sauce, and your favorite veggies for a tasty twist.
- Stir-Fried Rice: Incorporate homemade rotisserie chicken into a quick and flavorful easy fried rice dish.
Variations:
- Spice It Up: Add chili powder or cayenne for a spicier kick.
- Herb Infusion: Experiment with fresh herbs like rosemary, thyme, or sage for a herbaceous twist.
- Cajun Spice: Add a Cajun twist by incorporating Cajun seasoning into the spice blend for a bold and spicy flavor.
- Lemon Herb Infusion: Insert fresh lemon slices and herbs like rosemary or thyme into the chicken cavity for a citrusy and aromatic touch.
Frequently Asked Questions (FAQs):
Q: Can I use a frozen whole chicken in the Instant Pot? A: Yes, adjust the cooking time to 42 minutes for a 4lb frozen chicken.
Q: How long should I let the chicken rest before slicing? A: Allow the chicken to cool for 5-10 minutes before slicing to retain juices.
Q: Can I skip the broiling step for crispy skin? A: While broiling adds a delightful crispiness, it can be skipped if desired. Adjust based on your preference.
Q: Can I use a different cut of chicken? A: Absolutely! Adjust cooking times based on the cut. Bone-in, skin-on thighs or drumsticks work well.
Q: Can I cook a smaller or larger chicken using the same method? A: Yes, adjust cooking times based on the size of the chicken. Smaller chickens may require less time, larger ones more.
Q: Can I reheat rotisserie chicken without losing its juiciness? A: To maintain juiciness, reheat rotisserie chicken in the oven or air fryer briefly, ensuring not to overcook.
Q: Can I use the carcass to make broth immediately after cooking? A: Yes, the carcass can be used immediately to make a flavorful broth or saved in the freezer for future use.
Q: Can I use fresh herbs instead of dried in the seasoning mix? A: Certainly! Fresh herbs can be substituted, but use a larger quantity as they are milder than dried.
More roasted chicken recipes you will love:
Elevate your meal with this Instant Pot Whole Chicken that yields perfectly juicy homemade rotisserie chicken that combines olive oil, sea salt, Greek and Italian seasoning, smoked paprika, garlic, onion, and more. Unleash the power of your pressure cooker (with bonus Oven instructions) with this time-saving, moisture-locking method.
- 4 pounds whole chicken
- 3 Tablespoons olive oil, divided
- 2 1/2 teaspoon sea salt
- 1 teaspoon pepper
- 1 Tablespoon dried Greek seasoning
- 1 teaspoon dried Italian seasoning
- 2 teaspoons smoked paprika
- 1 teaspoon garlic powder
- 1/2 teaspoon onion powder
- 1 large onion, halved optional
- 2 cloves garlic
- 1 lemon halved; optional
- 1 cup chicken stock or chicken broth
In a small bowl, combine the salt, pepper, Greek seasoning, Italian seasoning, paprika, garlic, and onion powder.
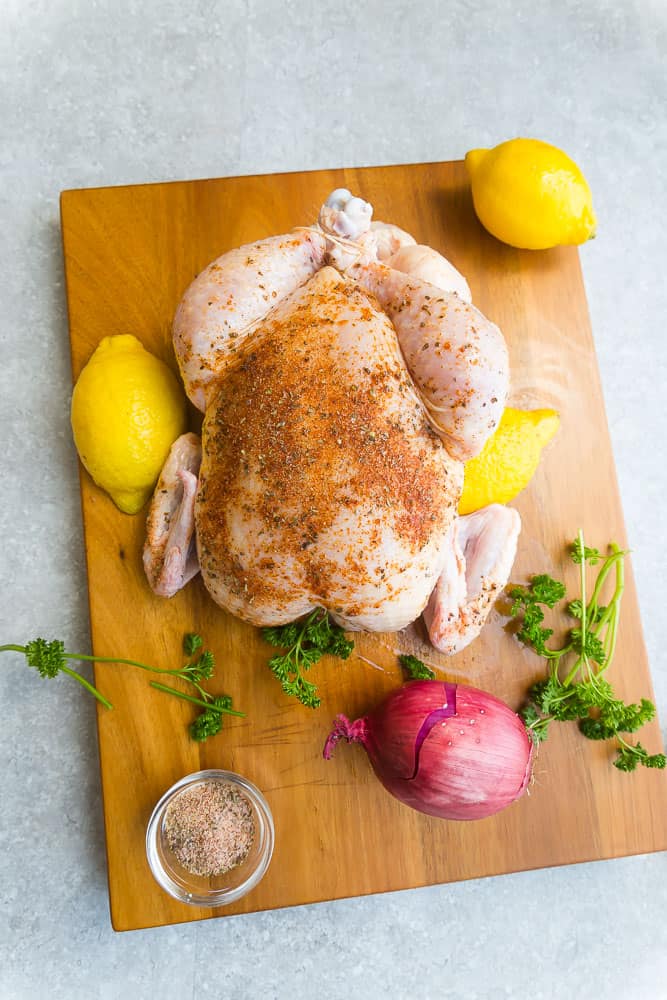
- Gently loosen the skin from the chicken breast with your hands lifting and separating the meat. Rub 1 tablespoon of olive oil followed by a third (1/3) of the seasonings under the skin using your hands and fingers. Next, rub another tablespoon of olive oil and the rest of the seasonings over entire chicken and inside the body cavity.
Place the onion, garlic cloves and lemon inside the cavity of the chicken. This helps to seal in the moisture and add flavor.
YOU CAN SKIP THIS STEP BUT SEARING THE CHICKEN FIRST HELPS TO GIVE IT COLOR AND LOCK IN THE FLAVORS: Press the SAUTE button HIGH. When the word "Hot" appears, swirl in 1 tablespoon olive oil.
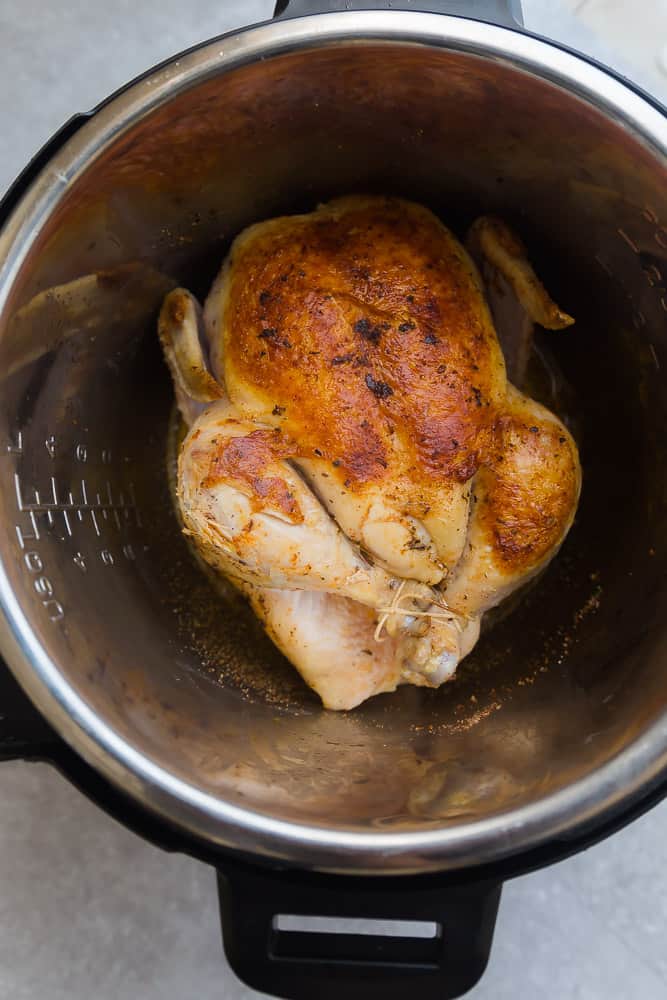
Place the chicken - breast side down, in pot and sear for 5-7 minutes, or until a golden brown. Using tongs and a spatula, flip the chicken over and sear for another 5 minutes, or until brown. Remove chicken and place on a large platter.
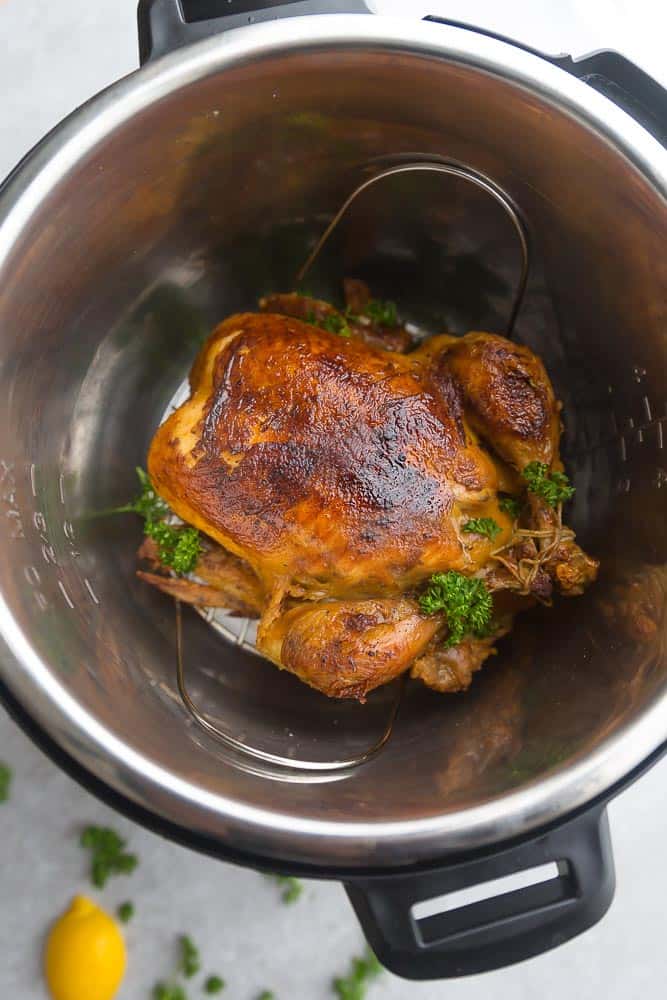
Place a trivet (the one that came with the Instant Pot or use another) inside the inner pot of the Instant Pot. Pour chicken stock or broth in pot. Place trivet on top of the chicken broth then lay chicken on top of trivet, breast side up.
- Cover and lock lid. Turn the valve to SEALING.
Press the MANUAL or PRESSURE COOK button and set timer according to 24 minutes for a 4lb chicken or cook according to size:
* 3 lbs- 18 min
*3.5 lbs- 21 min
* 4 lbs- 24 min
For a FROZEN WHOLE CHICKEN - set to 42 minutes ON HIGH for a 4 lb chicken.
Allow the Instant Pot to come to pressure (this may take about 10-15 minutes).
Once the 24 minutes is up and the Instant Pot beeps indicating the chicken is done, allow to naturally release for at least 15 minutes and then quick release for any extra pressure.
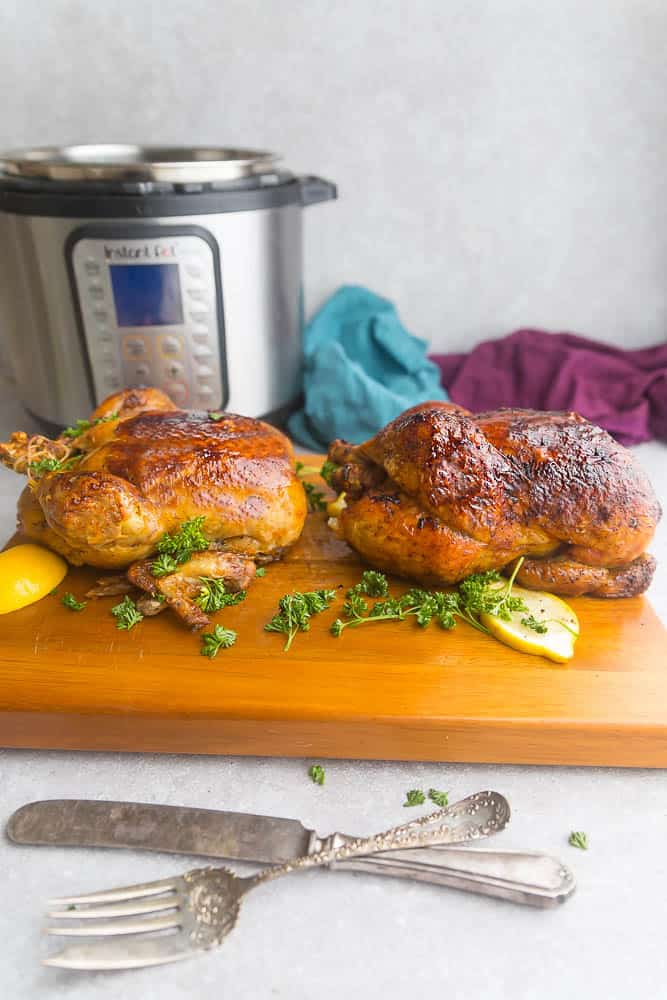
Open lid and transfer chicken to a platter or a large cutting board. Broil in the oven for 4-5 minutes to crisp up the skin.
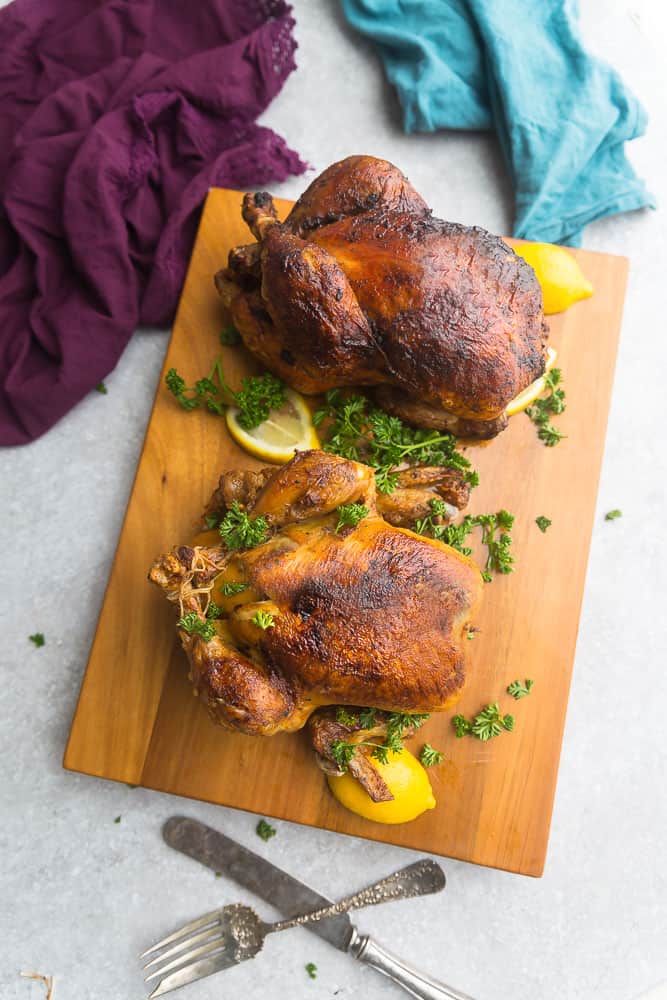
Allow chicken to cool for 5-10 minutes. Slice or shred and serve with your favorite sides.
Preheat oven to 450 F.
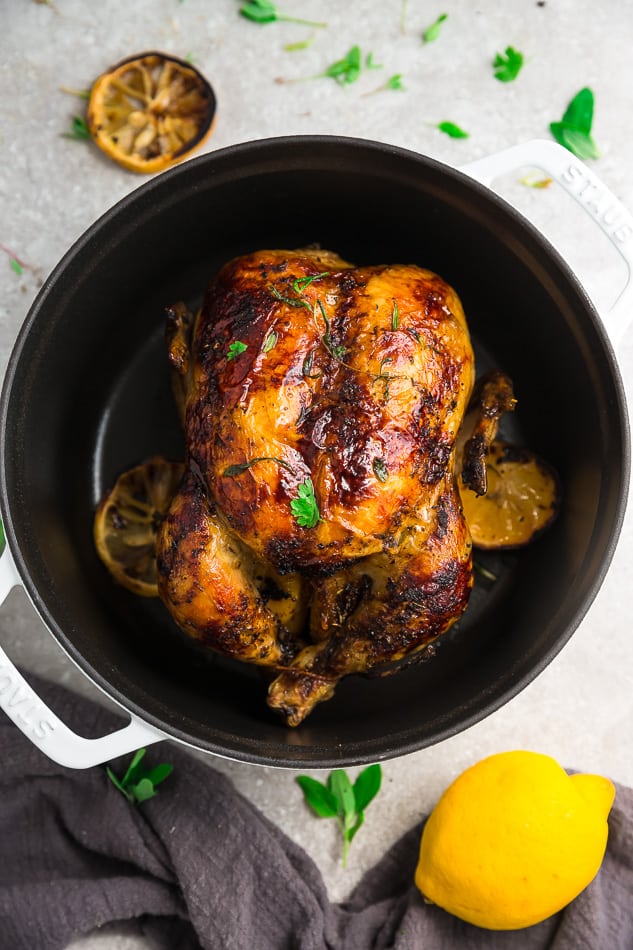
Place seasoned chicken on an oven roasting pan and cook for approximately 30 minutes. Cover loosely with aluminum foil (to prevent too much browning) and cook for an additional 40-50 minutes or until temperature reads 165 F.
Remove roasting pan. Let chicken cool for 5-10 minutes. Slice or shred and serve with your favorite sides.
Save your bones in a freezer bag until you're ready and you can make Chicken stock or bone broth.

 Did you try this recipe?


Joanna -
I was a little skeptical about doing a whole chicken but this turned out delicious!! I shredded the dark meat for soup and cut up the breast for supper. I even strained the left over broth, froze it in ice cube trays and will use to when I make soups/sauces. Will probably get 4 meals out of a whole chicken. Your directions were so easy to follow and didn’t have a bunch of “weird” ingredients.
debra l thompson -
I just made this and it was delicious. The chicken was extremely tender and had an excellent flavor. I followed the directions other than I browned it in a skillet on the stove top instead of the instant pot as i thought it would be easier to handle. I am looking forward to trying some of your other instant pot recipes….this one is a keeper!!
Larry & harriet -
This wAs delicious! Thank you!
S -
this was so easy (not sure why everything is in caps, sorry!)
Turned out great.
Perfectly cooked chicken.
I didnt have greek seasoning but i had all the Herbs necessAry, so i grinded them tOgether in a coffee grinder and presto—greek seasoning.
I am pretty sure i butchered the chickeN when loosening the skin from the meat…but seasOning On the inside of the skin, made a ton of difference. I also stuffed it with the onion lemon and garlic which was awesome.
At the last minute i realized i had no chicken brOth, so i just used the giblets from the chicken, water, salt and the remainDer if the onion i couldnt stuff in the chicken, some carrots and celery and let that all boil and reduce while i prepped the chicken.
So it all worked out even though i was a hot mess throughout the entire process. And this waS the first thing i cooked with an instant pot, and it turned out well.
Great recipe! Thanks!
Emily -
Delicious! I lost some of the skin when turning over the chicken to sear the second side, but it was still good and so much less time and trouble than hovering near the oven (especially in mid summer)!
frannie -
was so delicious, thanks!