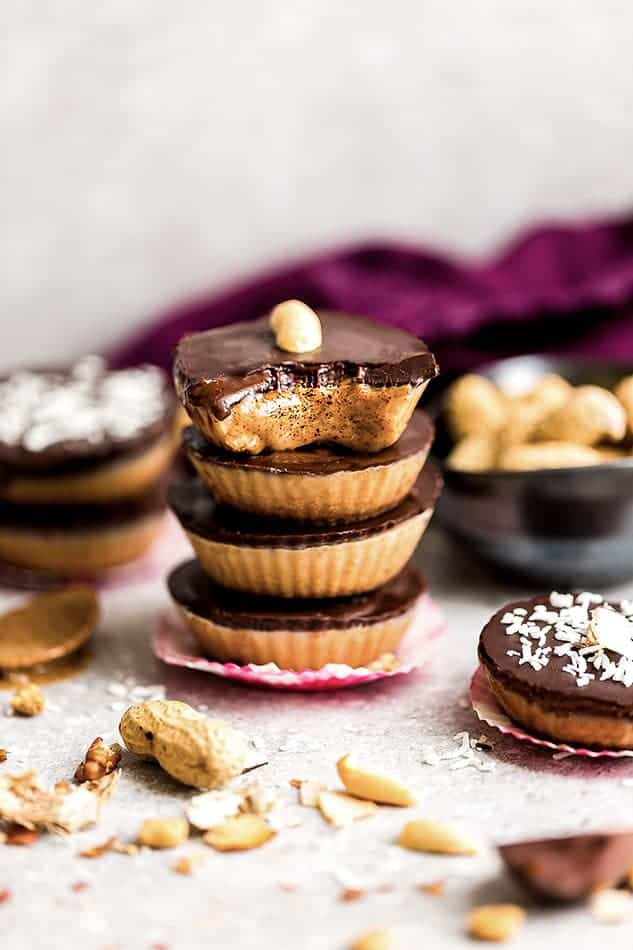
These Peanut Butter Cups are a homemade peanut butter cup that combine layers of creamy peanut butter, maple syrup and a rich dairy-free chocolate coating. It’s a healthy twist on the classic Reese’s Peanut Butter Cups you grew up with made with real food ingredients that are gluten-free, refined sugar-free and vegan.
PIN here for later and follow my boards for more recipe ideas
Delicious Homemade Peanut Butter Cups: A Sweet and Nutty Delight
Are you in the mood for a healthier treat that combines the rich, creamy goodness of peanut butter with the indulgent sweetness of chocolate? These Homemade Peanut Butter Cups are the perfect balance of sweet and nutty, and they’re incredibly easy to make. They capture the irresistible flavors of the classic Reese’s peanut butter cups we all know and love but with wholesome ingredients that are gluten-free, dairy-free, refined-sugar-free and vegan.
Now you can enjoy the delightful combination of peanut butter and chocolate in each bite any time that sweet craving hits with this healthy candy bar recipe. They are sure to impress guests at a Halloween party, or as thoughtful homemade gifts during the holidays.
Whether you’re a seasoned chef or a newbie in the kitchen, this healthy chocolate peanut butter cup recipe is sure to satisfy your sweet tooth and even includes various peanut-free, low carb and keto-friendly options for all your friends and family that may have any dietary preferences.
Recipe Ingredients You’ll Need:
Peanut Butter Layer
Our peanut butter layer is the heart and soul of this scrumptious treat.
- Drippy Peanut Butter: This is the star of the show, providing that unmistakable nutty flavor and creamy texture. If you have peanut allergies or prefer a different nut or seed butter, feel free to make a substitution.
- Maple Syrup: This natural sweetener adds sweetness and a hint of maple flavor. You can choose from various sweeteners like Lakanto sugar-free maple syrup, allulose, yacon syrup, brown rice syrup, organic agave syrup, vegan honey, or date syrup to suit your taste and dietary preferences.
- Vegan Butter or Coconut Oil: This ingredient enhances the creaminess and mouthfeel of the peanut butter layer. If you’re not dairy-free, you can use ghee or unsalted butter as a substitute.
- Vanilla Extract: Just a touch of vanilla extract adds a pleasant aroma and a subtle depth of flavor to the peanut butter layer.
Chocolate Layer
The chocolate layer brings the sweetness and richness to our chocolate peanut butter cups.
- Dairy-Free Chocolate Chips: These are the main source of chocolatey goodness. Opt for high-quality dairy-free chocolate chips such as Pacha’s Chocolate, Hu’s Kitchen, Lily’s Sweets, Eating Evolved, or Enjoy Life. If you’re not dairy-free, regular chocolate chips work perfectly.
- Vegan Butter or Coconut Oil: Similar to the peanut butter layer, this ingredient adds smoothness to the chocolate layer. If you’re not following a dairy-free diet, ghee or unsalted butter can be used instead.
Optional Garnishes
To elevate the flavor and presentation of your healthy peanut butter cups, consider adding these optional garnishes:
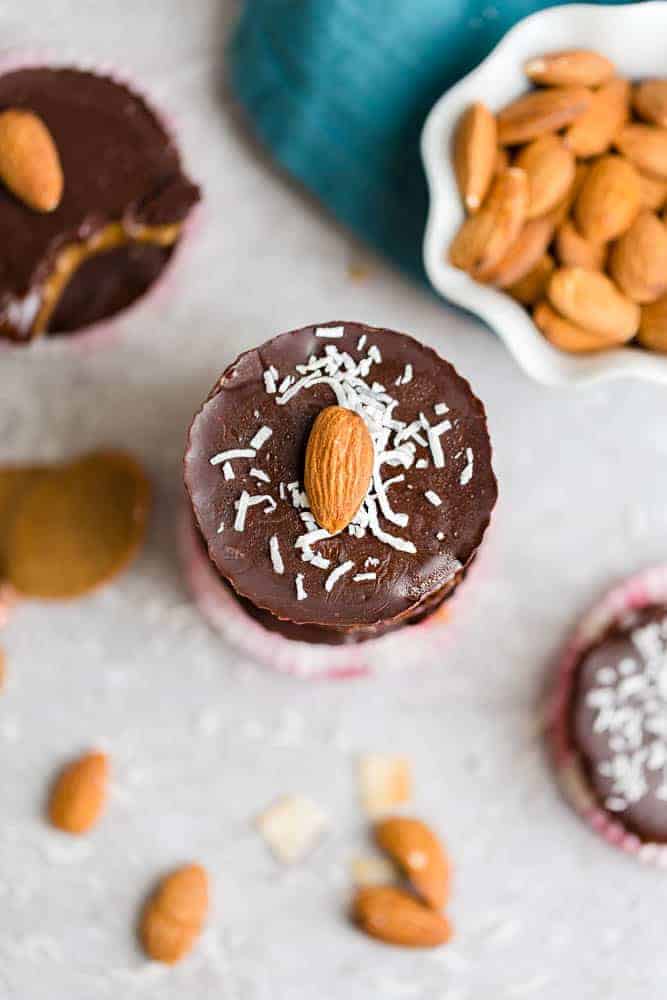
- Maldon Sea Salt or Shredded Coconut: A sprinkle of Maldon sea salt or shredded coconut on top of the chocolate layer can provide a delightful contrast of flavors and textures.
- Peanuts or Nuts of Choice: For an added crunch, place a nut of your choice on top of your peanut butter cups. Get creative and use your favorite nuts to customize your treats.
Instructions: How to make Peanut Butter Cups
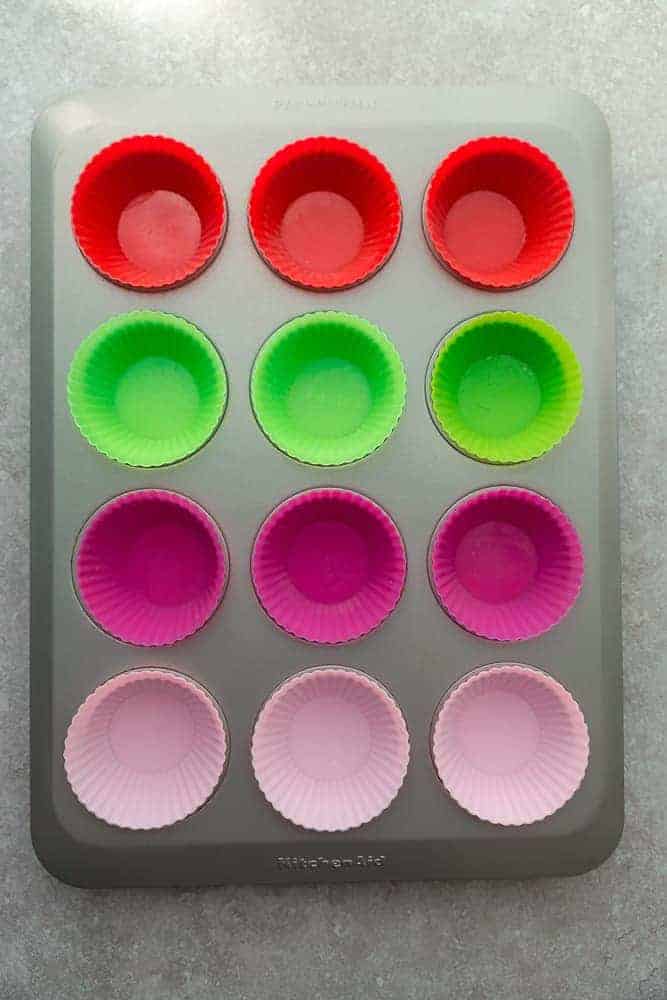
- Prepare Your Muffin Pan: Line a 12-cup muffin pan with silicone or cupcake liners.
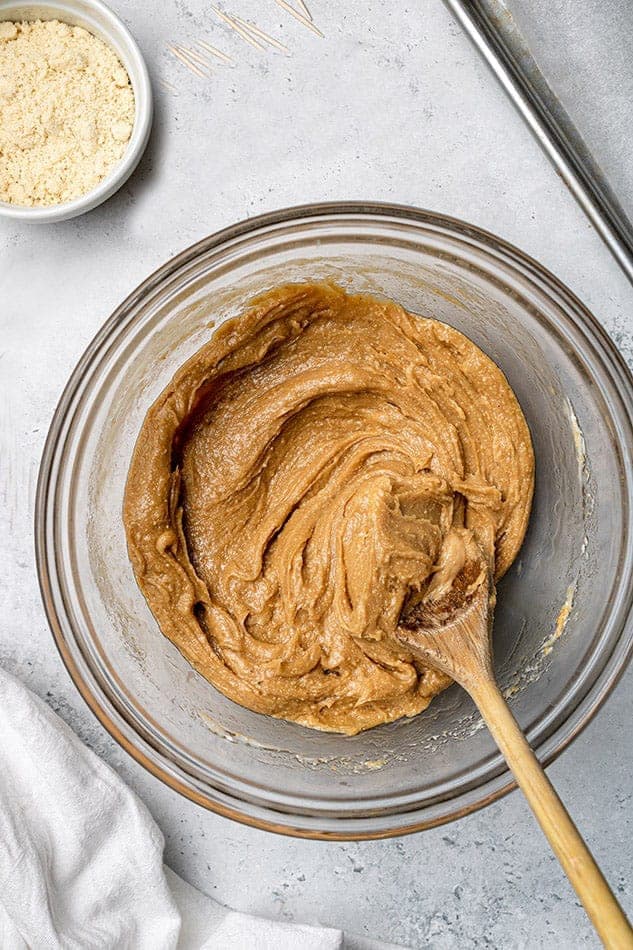
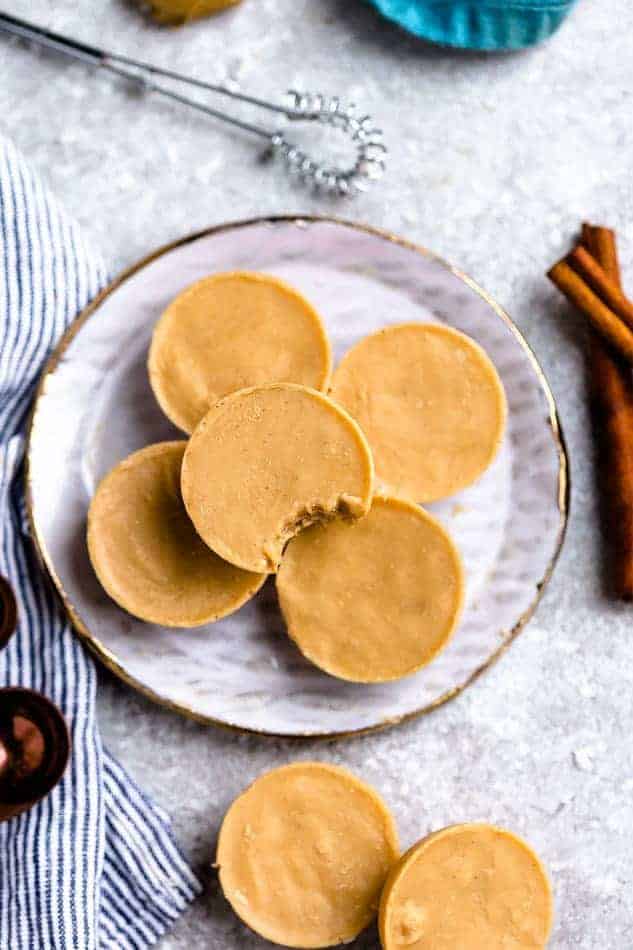
- Create the Peanut Butter Layer: Mix the peanut butter, maple syrup, coconut oil, and vanilla until smooth.
- Layer: Distribute the mixture evenly into each muffin cup. Place in the freezer while you work on the chocolate layer.

- Make the Chocolate Layer: Melt the chocolate and butter over a double-boiler or in a heat-safe bowl in the microwave in 20 second increments, stirring well in between until smooth. Pour the melted chocolate over the peanut butter layer.
- Add optional Garnish: Optionally, add salt or shredded coconut and a nut on top.
- Freeze until set: Freeze for 10 minutes or until set.
- Store and Enjoy: Store your homemade peanut butter cups in the freezer or fridge until ready to enjoy.

Tips for Success
- Use Quality Ingredients: The key to mouthwatering healthy reese’s peanut butter cups is using high-quality chocolate, nut butter, and sweeteners. Invest in the best ingredients you can find for the most delicious results.
- Proper Melting: When melting the chocolate and butter, take your time and avoid overheating. This will prevent the chocolate from becoming grainy or seizing.
- Quick Freezing: To set your healthy chocolate peanut butter cups faster, pop them in the freezer for just 5 minutes after adding the chocolate layer.
Serving Suggestions
Homemade peanut butter cups are a delightful treat on their own, but here are a few serving ideas to enhance your experience:
- Warm and Gooey: Microwave your peanut butter cup for a few seconds to enjoy a warm, gooey center.
- With Ice Cream: Serve alongside your favorite ice cream for a heavenly dessert.
- As a Topping: Crumble peanut butter cups over a bowl of yogurt or oatmeal for a sweet and nutty crunch.
Variations and Substitutions
Get creative with your chocolate peanut butter cups by trying these variations:
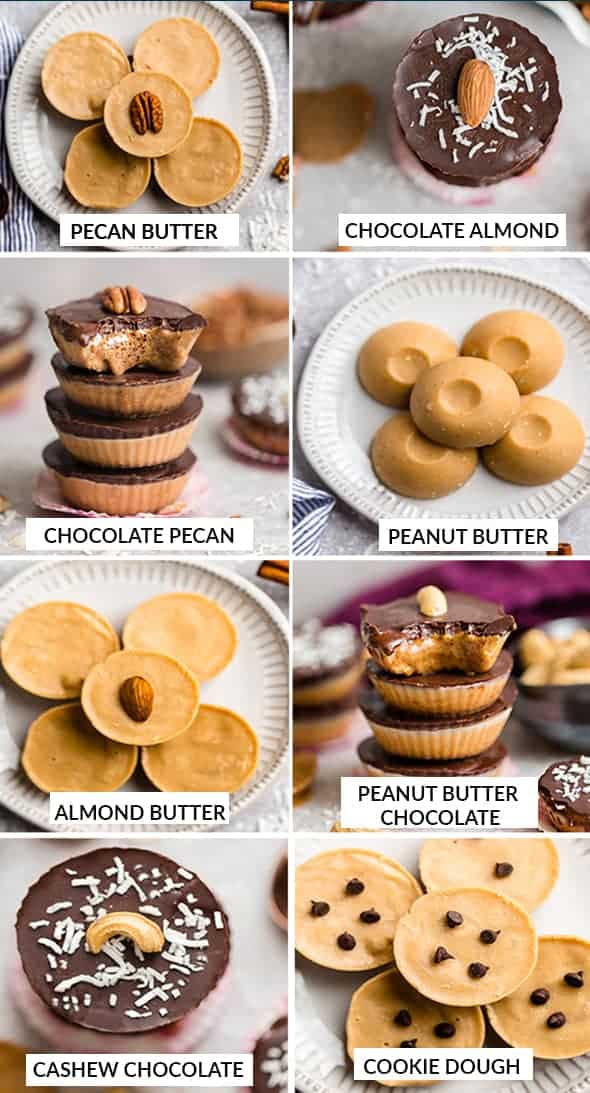
- Different Nut Butters: Experiment with almond butter, cashew butter, or sunflower seed butter for a unique twist.
- Sweetener Swaps: Choose a sweetener that suits your dietary preferences, whether it’s sugar-free, lower-sugar, or a natural alternative.
- Nut-Free: To make these treats nut-free, opt for seed butter and use seeds instead of nuts as garnishes.
Incorporating these variations allows you to customize these healthy peanut butter cups to match your taste and dietary needs.
Storage and Freezer Instructions
If you manage to resist eating all of your homemade reese’s peanut butter cups in one go, here’s how to store them:
- Freezer: For long-term storage, keep your peanut butter cups in the freezer. They’ll stay fresh for several months in an airtight container.
- Fridge: If you prefer a softer, slightly chilled texture, store your peanut butter cups in the fridge for up to a couple of weeks.
FAQs:
- Can I use regular dairy chocolate chips in this recipe? Yes, you can use regular dairy chocolate chips if you’re not following a dairy-free diet.
- What’s the best way to melt chocolate without it seizing? The key to melting chocolate without it seizing is to do it slowly and gently. Use a microwave or a double boiler, and stir the chocolate and butter frequently until it’s smooth and well combined.
- Are there any other nut butter options I can use besides peanut butter? Absolutely! You can try almond butter, cashew butter, or even sunflower seed butter for a different flavor.
- How can I make a lower-sugar version of these copycat Reese’s cups? You can use a sugar-free sweetener or a lower-sugar alternative like allulose to reduce the sugar content in your peanut butter cups.
More chocolate peanut butter recipes you’ll love!
Easy Peanut Butter Chocolate Cupcakes
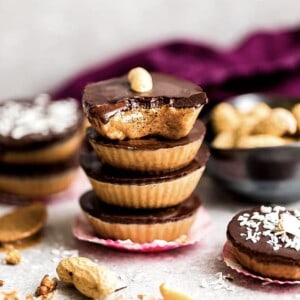
These Peanut Butter Cups are a homemade peanut butter cup that combine layers of creamy peanut butter, maple syrup and a rich dairy-free chocolate coating. It's a healthy twist on the classic Reese's Peanut Butter Cups you grew up with made with real food ingredients that are gluten-free, refined sugar-free and vegan.
- 1/2 cup creamy peanut butter , you can also sub with another nut butter or seed butter of choice for a peanut-free version.
- 4 Tbsp maple syrup , you can also sub with another sticky liquid sweetener of your choice such as Lakanto sugar-free maple syrup, allulose or yacon syrup for a lower sugar-option. Brown rice syrup, organic agave syrup, vegan honey or date syrup will work as well.
- 2 Tbsp vegan butter or coconut oil. You can also use ghee or unsalted butter if you're not dairy-free.
- 1/2 tsp vanilla extract
- 1 1/4 cups dairy-free chocolate chips , such as Pacha's Chocolate, Hu's Kitchen, Lily's Sweets, Eating Evolved or Enjoy Life. Regular chocolate chips work too if you're not dairy-free.
- 1 tbsp vegan butter , or coconut oil. You can also use ghee or unsalted butter if you're not dairy-free.
- Flakey Maldon Salt or Shredded Coconut
- Peanuts , or sub with other nuts of choice such as Almonds, Pecans or Cashews.
Line a 12-cup muffin pan with silicone or cupcake liners. (You can also use mini-muffin tin for a miniature version.)
In a bowl, mix the nut butter, maple syrup, coconut oil and vanilla until well combined and still pourable. (You may have to melt in the microwave in 20 second increments or on the stove over a double-boiler, if too thick.)
Use a spoon to evenly divide mixture into each muffin cup. Chill in the freezer to set while you make the chocolate layer.
Melt the chocolate and butter in a pot on the stove over a double-boiler or in a heat-safe bowl over the microwave in 20 second increments, stirring well in between, until smooth.
Pour the melted chocolate over the peanut butter layer & sprinkle with salt or shredded coconut & top with the nut.
Freeze again for 10 minutes or until set. Store in the freezer or fridge in an airtight container until ready to enjoy. Allow to sit out at room temperature for 2-3 minutes, if too hard.
How to store:
- Freezer: For long-term storage, keep your peanut butter cups in the freezer. They'll stay fresh for several months in an airtight container.
- Fridge: If you prefer a softer, slightly chilled texture, store your peanut butter cups in the fridge for up to a couple of weeks.

 Did you try this recipe?


Leave a Comment