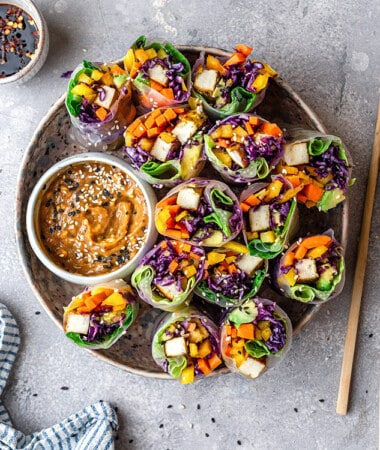


Summer Rolls
These Summer Rolls are a refreshing and nutritious meal filled with crisp veggies, tofu (or your choice of protein), and a creamy peanut sauce. Perfect for a light lunch or appetizer! PIN HERE for later and follow my boards for more recipe Continue Reading
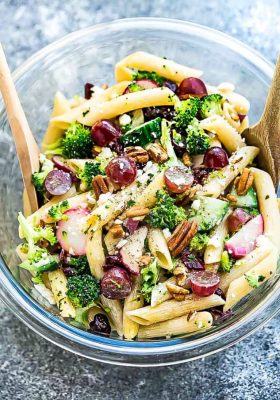
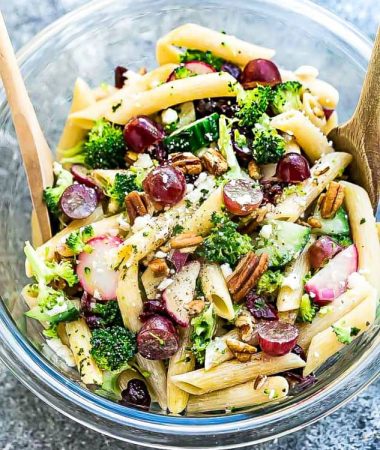
Broccoli Pasta Salad
This Broccoli Pasta Salad is a flavorful way to jazz up your mealtime with vibrant ingredients like gluten-free pasta, fresh broccoli, and creamy dairy-free yogurt dressing. Perfect for any occasion, this dish is a must-try for pasta lovers and Continue Reading
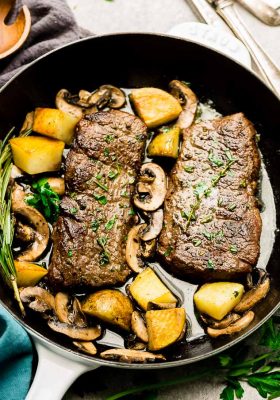
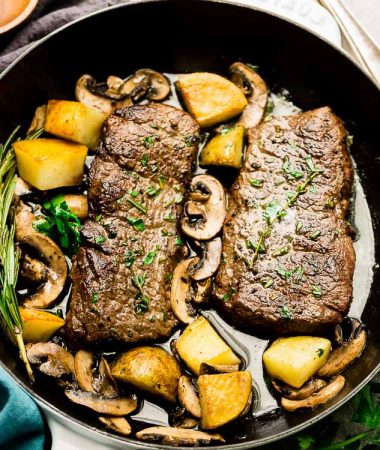
Steak and Potatoes
This Steak and Potatoes recipe combines tender New York strip or rib-eye steaks with golden-brown baby potatoes for a deliciously satisfying dinner. With simple ingredients and easy preparation, it's the perfect hearty meal for any occasion. PIN Continue Reading
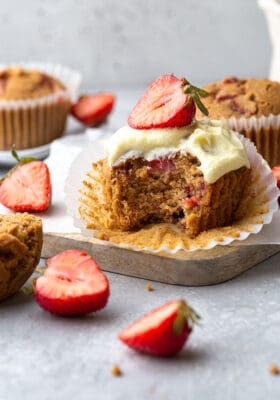
Strawberry Muffins
These Strawberry Muffins are a scrumptious and wholesome treat, crafted with almond flour, coconut flour, and juicy strawberries for a burst of flavor in every bite. Perfect for breakfast or snacking, these muffins are gluten-free, grain-free, and Continue Reading