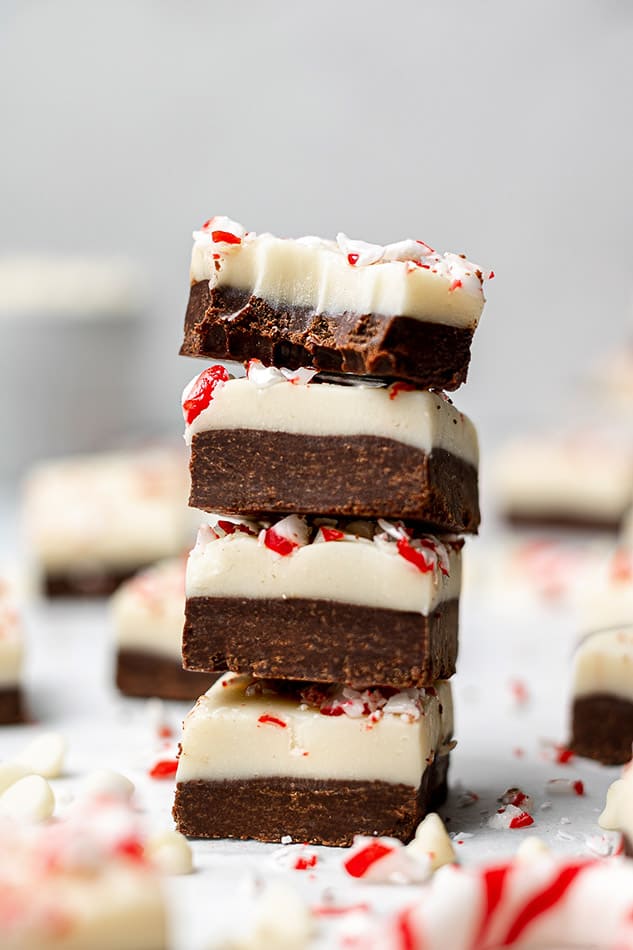
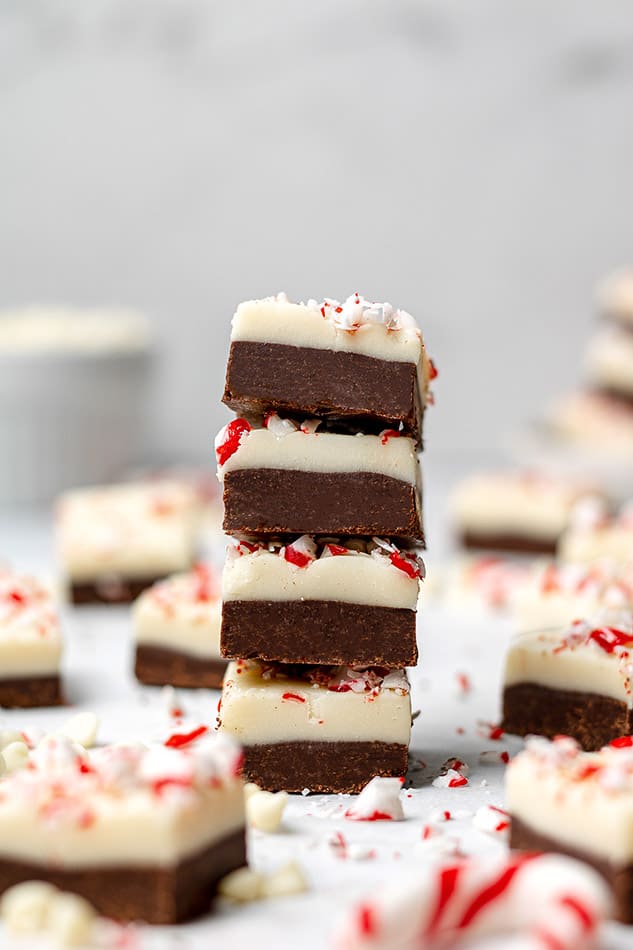
This White Chocolate Peppermint Fudge is sweet, creamy and easy to make with creamy layers of dark chocolate chips, white chocolate chips and condensed coconut milk and crushed peppermint. It’s the perfect easy holiday treat and makes a delicious gift to package up for neighbors, friends and family! Freezer-friendly, vegan, dairy-free and gluten-free.
PIN HERE for later and follow my boards for more recipe ideas
Updated December 2023
White Chocolate Peppermint Fudge Recipe
Looking for a decadent yet healthy treat for the holidays? This White Chocolate Peppermint Fudge is an easy homemade fudge recipe made with creamy layers of rich dark chocolate, a smooth white chocolate layer and optional crushed sugar-free peppermint candies.
If you want a no bake Christmas dessert or need a last-minute holiday gift, this fudge recipe couldn’t have come at a better time.
This homemade fudge recipe is also vegan, dairy-free and can be made low carb, keto or paleo, It’s a beautiful-looking treat filled with chocolate and peppermint goodness.
Why we love this creamy fudge recipe
This layered white chocolate fudge is deliciously decadent and makes the perfect treat to satisfy that sweet tooth craving.
The best part about making homemade fudge around Christmas is that you can package it up for friends and family. They’re going to love receiving this if they’re a fan of the sweet and salty combo! It so good and will be hard to stop at just one!
Luckily, this healthy fudge recipe is not only delicious, it’s also made without any refined sugars, dairy and is vegan and gluten-free.
How to Make White Chocolate Peppermint Fudge
- Prepare the pan: Line an 8″ X 8″ pan with parchment paper or foil and spray lightly with nonstick spray
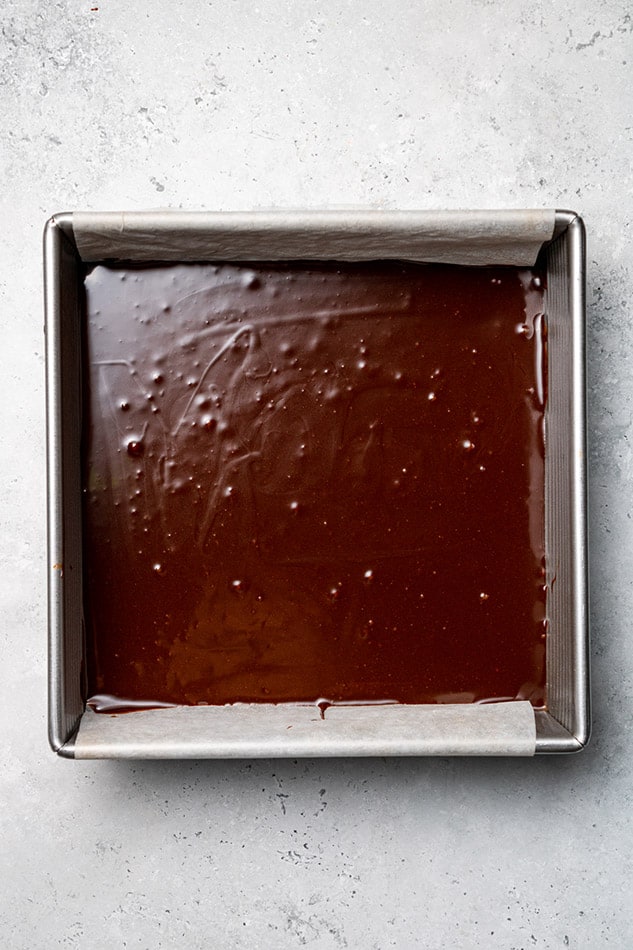
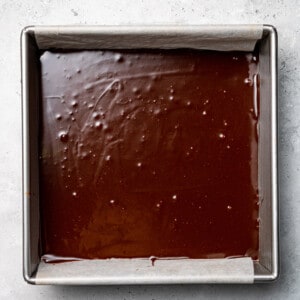
- Make the chocolate layer: Add the chocolate, sweetened condensed milk and maple syrup to a medium pot over low heat, while stirring frequently.Once the mixture is smooth and combined, remove from heat and stir in vanilla. Pour into the prepared pan and spread evenly with an offset spatula. Place the pan in the freezer while you make the white chocolate layer.

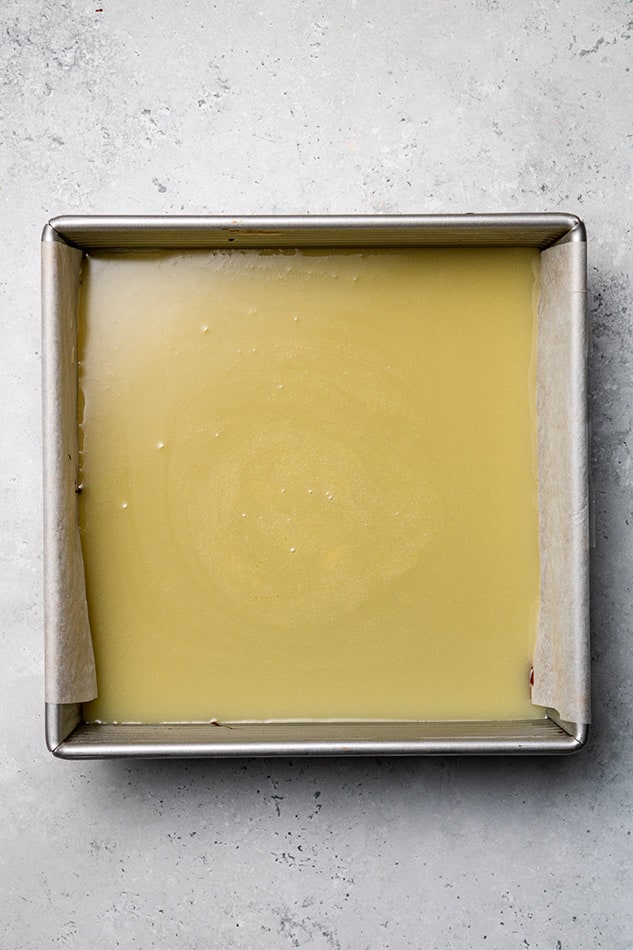
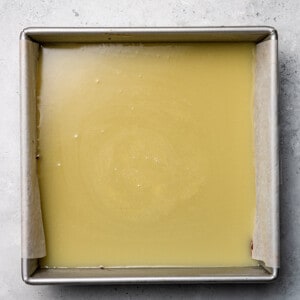
- Make the white chocolate fudge: In a large heat-safe bowl, add the white chocolate chips, sweetened condensed milk and maple syrup and continue stirring until smooth. Remove pot from heat then add vanilla and salt if using. Remove the pan from the freezer and spread the white chocolate layer on top of the chocolate fudge layer using an offset spatula.

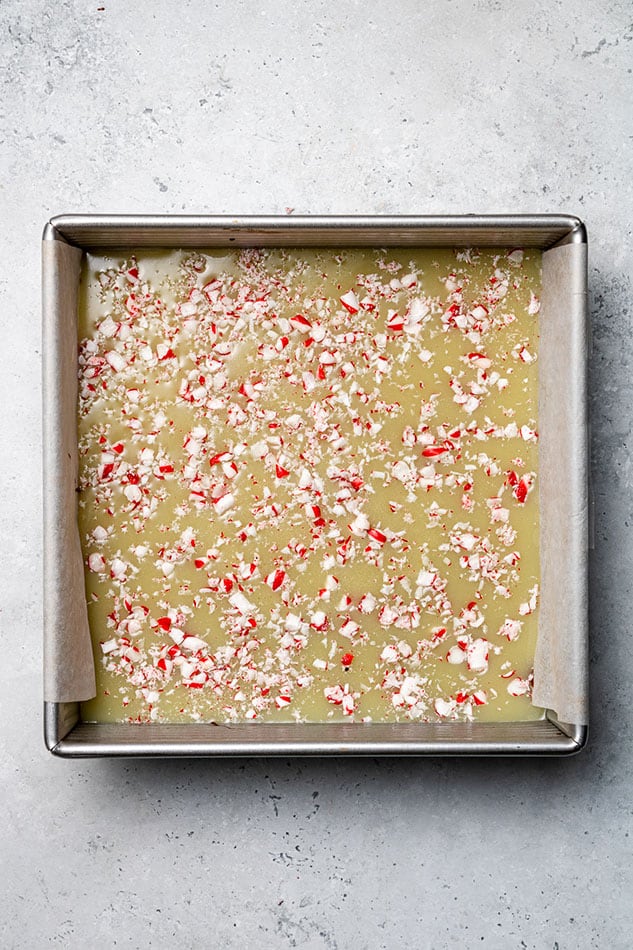
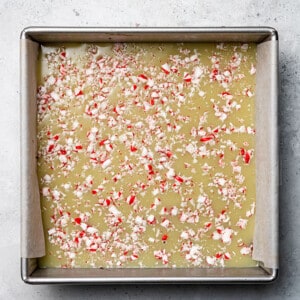
- Chill: Top with crushed peppermint candies. Allow to set for about 3 hours or place in the fridge or freezer to speed up the process.

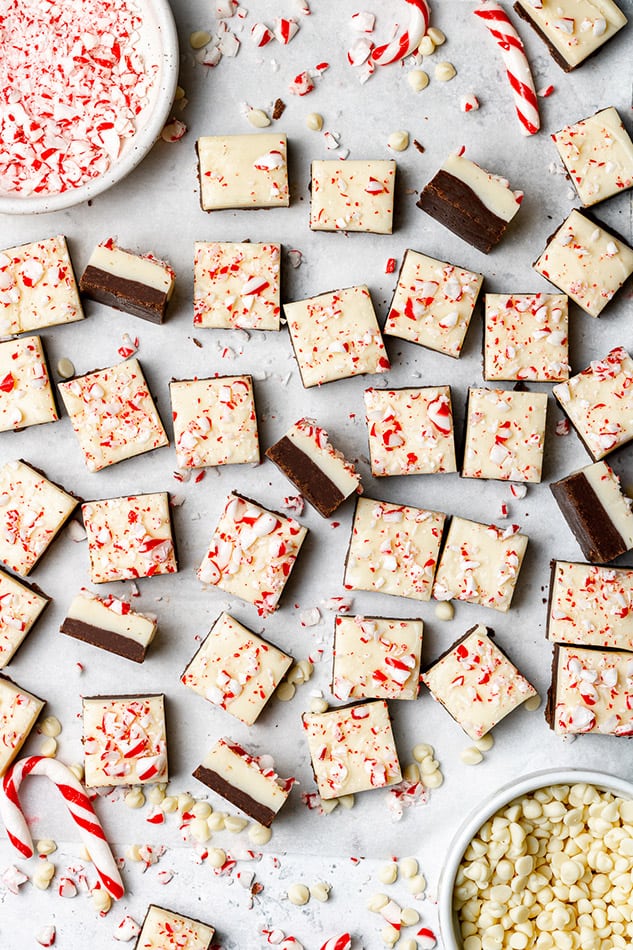
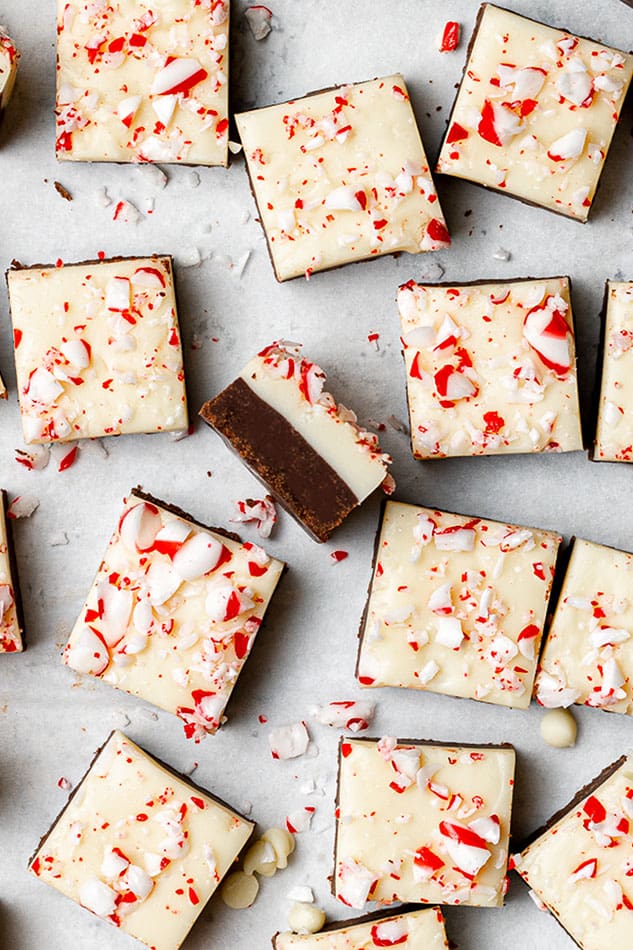
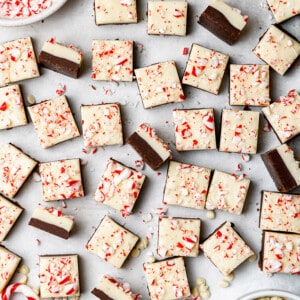
- Cut into squares: Once the fudge is set, use the parchment paper overhang to lift the fudge out from the pan. Use a sharp knife to cut into 1-inch pieces. Store in an airtight container in the fridge for up to 1 week or in the freezer for up to 3 months.
Tips for Success
- Quality Chocolate Matters: Invest in high-quality dark and white chocolate for a luxurious and smooth texture.
- Line the Pan: Lining your loaf pan with parchment paper will help you pull your fudge right out when it’s finished. Be sure not to skip this step, or it may stick to the pan.
- Mix Candies into Fudge: You can never have enough peppermint crunch, in my opinion. Make your fudge even mintier by mixing in some crushed peppermint in addition to sprinkling it on top.
- Don’t Cook on High Heat: If you’re melting your chocolate over the stove, be sure the burner is set no hotter than medium.
- Gentle Heating: Stir frequently and use low heat to melt the chocolate layers slowly, preventing burning.
- Crush Peppermints in a Bag: The easiest (and cleanest) way to crush your peppermint candies is by putting them in a sealed plastic bag and using a rolling pin or a wooden spoon to crush them up.
- Quick Freezing: Speed up the setting process by placing the fudge in the freezer for a quicker indulgence.
Homemade White Chocolate Fudge Variations
- Toppings – add chopped peanuts or shredded coconut for a nice crunch.
- Maple syrup – you can sub with Lakanto sugar-free maple syrup to make this white chocolate fudge keto or use coconut nectar or honey if not vegan.
- Coconut oil – you can also sub with vegan butter OR ghee if not dairy-free
- Nutty Delight: Stir in a handful of chopped toasted nuts, such as pecans or almonds, into either the dark or white chocolate layer for an irresistible crunch.
- Coconut Bliss: Introduce a tropical twist by mixing shredded toasted coconut into the white chocolate layer.
- Dark Chocolate Lovers Dream: For the chocoholics, skip the white chocolate layer and go all-in with a double layer of dark chocolate goodness.
- Swirled Elegance: Instead of distinct layers, use a toothpick to create a beautiful marble pattern by swirling the dark and white chocolate layers together.
- Caramel Drizzle Extravaganza: Drizzle a layer of gooey caramel between the chocolate layers for a decadent caramel-chocolate fusion.
- Cookie Crumble Magic: Mix in crumbled chocolate cookies, like Oreos, into the white chocolate layer for a delightful cookie crunch.
- Spiced Wonder: Add warmth to the fudge by incorporating a pinch of cinnamon and nutmeg into either chocolate layer.
Serving Suggestions
Storage and Freezer Instructions
Storage:
- Airtight Enclosure:
- Store fudge in an airtight container to preserve flavor and prevent odors absorption.
- Tip: Layering with parchment paper prevents sticking.
- Refrigeration Duration:
- Keep fudge in the fridge for one week for optimal freshness.
- Tip: Allow fudge to soften at room temperature before serving.
Make-Ahead Tips:
- Time-Saving Delight:
- Prepare fudge in advance for stress-free entertaining.
- Tip: Plan steps, starting with the dark chocolate layer and allowing it to set before the white chocolate layer.
- Set and Forget:
- Use the freezer to expedite setting, allowing you to prepare ahead and focus on other tasks.
- Tip: Double the batch for a readily available sweet treat.
Freezer Guidelines:
- Freezing Perfection:
- Freeze fudge for up to three months to prevent freezer burn.
- Tip: Wrap individual pieces in parchment for easy portioning.
- Thawing Gracefully:
- Thaw fudge in the refrigerator for a smooth texture.
- Tip: Speed up thawing at room temperature or use the microwave defrost function.
- Freeze for Gifting:
- Freeze extra batches in festive containers for thoughtful gifts.
- Tip: Include serving suggestions for an enhanced recipient experience.
Frequently Asked Questions (FAQs):
- Q: Can I use regular sweetened condensed milk instead of the dairy-free version in the recipe?
- A: Absolutely! Customize the recipe to your dietary preferences by opting for either sweetened condensed coconut milk or the classic dairy version.
- Q: Are there gluten-free options for the candy cane garnish?
- A: Yes! Choose gluten-free candy cane options like YumEarth or Wholesome Sweets for a delightful, gluten-free, and vegan-friendly touch.
- Q: How can I speed up the setting process for the fudge?
- A: Place the fudge in the freezer for a quicker setting time, especially handy when time is limited or cravings strike.
- Q: What if I notice freezer burn on the fudge?
- A: If freezer burn is detected, trim the affected areas for a more enjoyable experience before serving.
- Q: Can I mix and match the suggested variations in the blog post?
- A: Absolutely! Get creative and combine different variations to make the White Chocolate Peppermint Fudge uniquely yours.
- Q: Is there a recommended way to thaw the fudge for optimal texture?
- A: Thaw the fudge in the refrigerator for a smooth texture. For a quicker thaw, place the fudge at room temperature for a short time or use the defrost function on your microwave.
More easy fudge recipes you will love:
This White Chocolate Peppermint Fudge is sweet, creamy and easy to make with creamy layers of dark chocolate chips, white chocolate chips and condensed coconut milk and crushed peppermint. It's the perfect easy holiday treat and makes a delicious gift to package up for neighbors, friends and family! Freezer-friendly, vegan, dairy-free and gluten-free.
- 1 1/2 cups chopped dairy-free dark chocolate or dairy-free dark chocolate chips , we like Hu' s Kitchen, Pascha's Organics or Lily's Sweets - regular dark chocolate works too if not dairy-free.
- 1/2 cup Sweetened condensed coconut milk , we like this brand but you can also sub with regular sweetened condensed milk if not dairy-free.
- 1 teaspoon vanilla extract
- 1/4 teaspoon peppermint extract , or more if you prefer a stronger peppermint flavor
- 1/8 tsp fine sea salt
- 1 1/2 cups chopped dairy-free white chocolate or dairy-free white chocolate chips , we like Pascha’s organic or Lily's Sweets for lower sugar / lower car. You can use regular white chocolate too if not dairy-free.
- 1/2 cup Sweetened condensed coconut milk , we like this brand but you can also sub with regular sweetened condensed milk if not dairy-free.
- 1 teaspoon vanilla extract
- 1/4 teaspoon peppermint extract , or more if you prefer a stronger peppermint flavor
- 1/8 tsp fine sea salt
- 1-2 tablespoons crushed red and white candy canes or peppermint candies. For vegan Crushed Sugar-free, Vegan Peppermint Candies. You can also use YumEarth or Wholesome Sweets Candy Canes for a gluten-free vegan option.
- Line an 8" X 8" pan with parchment paper or foil and spray lightly with nonstick spray
Chocolate Layer: Add the chocolate, sweetened condensed milk and maple syrup to a medium pot over low heat, while stirring frequently. Once the mixture is smooth and combined, remove from heat and stir in vanilla. Pour into the prepared pan and spread evenly with an offset spatula. Place the pan in the freezer while you make the white chocolate layer.

- White Chocolate Layer: In a large heat-safe bowl, add the white chocolate chips, coconut cream and maple syrup and continue stirring until smooth. Remove pot from heat then add vanilla and salt if using.

Remove the pan from the freezer and spread the white chocolate layer on top of the chocolate fudge layer using an offset spatula. Top with crushed peppermint candies.
Allow to set for about 3 hours or place in the fridge or freezer to speed up the process.

Once the fudge is set, use the parchment paper overhang to lift the fudge out from the pan. Use a sharp knife to cut into 1-inch pieces. Store in an airtight container in the fridge for up to 1 week or in the freezer for up to 3 months.

How to store: Once your fudge has set in the freezer, you can transfer it to the fridge. Just be sure to keep it in an airtight container. You can layer the fudge with parchment paper to keep it from sticking to itself. This fudge will stay fresh in the fridge for two weeks!
How to freeze: You can keep it in the freezer for extended storage. It's perfect for making in advance! Frozen fudge will last for up to 6 months, if stored properly. Simply thaw it overnight in the fridge before enjoying.

 Did you try this recipe?


olivia -
came out delicious!
Agness -
This was so delicious! Thanks