
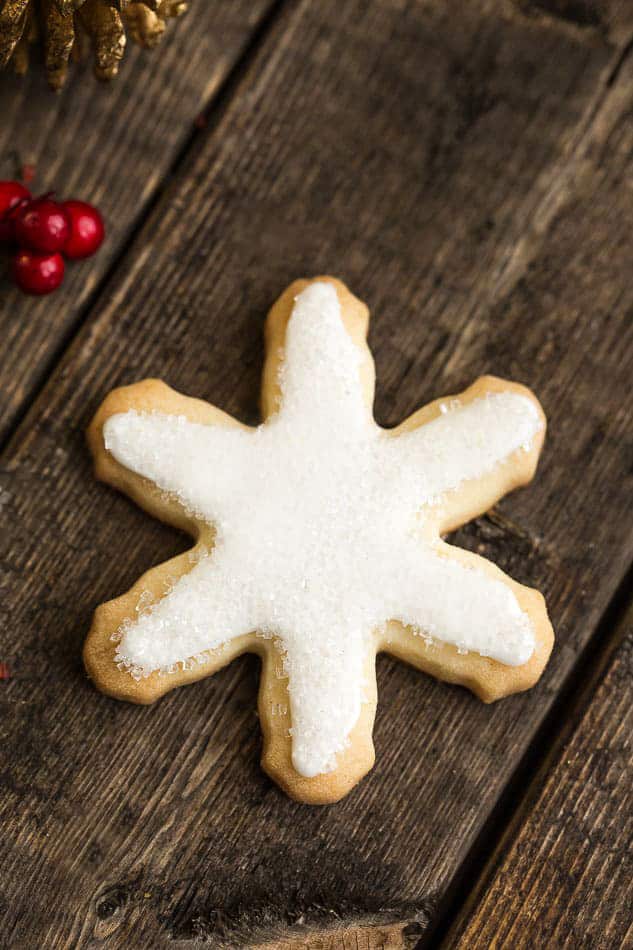
These are the best Cut Out Sugar Cookies for making decorated cut out shapes with perfect edges. These iced sugar cookies bake up soft, chewy, flavorful, and are easy to make with just 6 ingredients.

PIN for later and follow my boards on Pinterest for more recipe ideas
Updated November 2023
Perfect Cut Out Sugar Cookies: A Festive Delight for Every Occasion
As the festive season approaches, what better way to usher in the holiday spirit than with a batch of intricately decorated Christmas sugar cookies? These delightful Cut Out Sugar Cookies are easy to make and bake up soft, golden with the most perfect edges for decorating.
These edible masterpieces add a touch of magic to your seasonal celebrations. They are perfectly festive and will become a family favorite for your holiday cookie platters, Christmas gifting, or any festive occasion.
Not only are is this sugar cookie recipe easy to make, but it’s so simple to customize with gluten-free, dairy-free, vegan and lower sugar options. Whether you’re enjoying them yourself or sharing with loved ones, these festively decorated cookies are sure to be a hit.

Ingredients You’ll Need:
For the Cut Out Sugar Cookies
- Gluten-Free 1-to-1 Baking Flour: Crafted for a light, tender cookie. You can also opt for all purpose flour if you’re not gluten-free.
- Granulated Organic Cane Sugar: Sweeten your cookies with a touch of organic goodness. You can also use another granulated sugar or granulated sweetener such as Lakanto or Swerve for a lower sugar option.
- Fine Sea Salt: Elevates the flavors and balances the sweetness.
- Vegan Butter: Provides the perfect buttery texture; swap with regular butter or ghee if you’re not dairy-free.
- Vegan Cream Cheese: Adds a delightful creaminess; use regular cream cheese for a non-dairy-free option.
- Pure Vanilla Extract: Infuses a rich, aromatic flavor.
For Decorating Cookies:
- Royal Icing or Frosting: Express your creativity with a spectrum of colors.
- Sprinkles: Add a festive touch to your cookies.
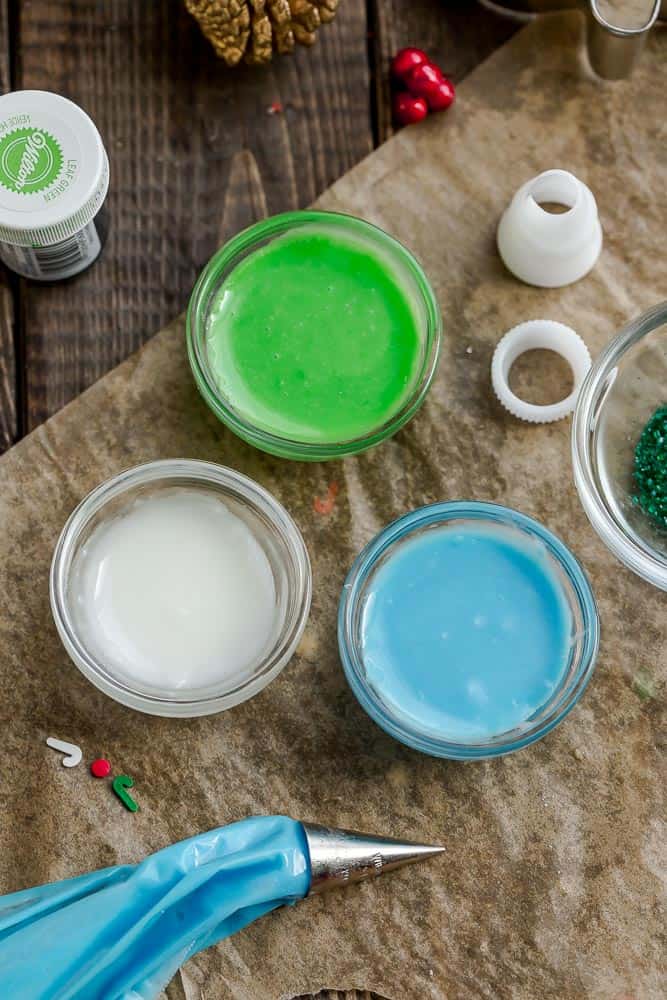
Royal Icing Recipe:
- Sifted Powdered Sugar: A sweet canvas for your cookie decorations.
- Meringue Powder: Creates a smooth, glossy finish.
- Pure Vanilla Extract: Enhances the icing with a hint of vanilla.
- Warm Water: Adjust for desired icing consistency.
- Optional: Gel Food Coloring
Instructions: How to make Cut Out Sugar Cookies
- Mix the Dry Ingredients: In a stand mixer, combine flour, sugar, and salt until well-blended.
- Incorporate Butter and Cream Cheese: Gradually add butter and cream cheese until the dough forms clumps. Mix in vanilla until incorporated.

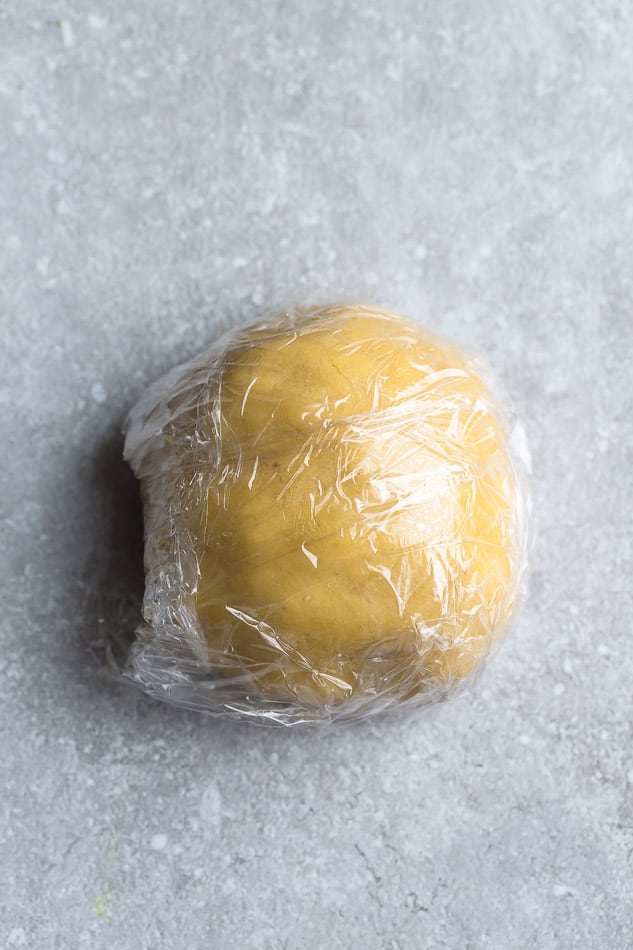
- Chill the Dough: Divide and shape the dough into discs, wrap and chill for at least 45 minutes.

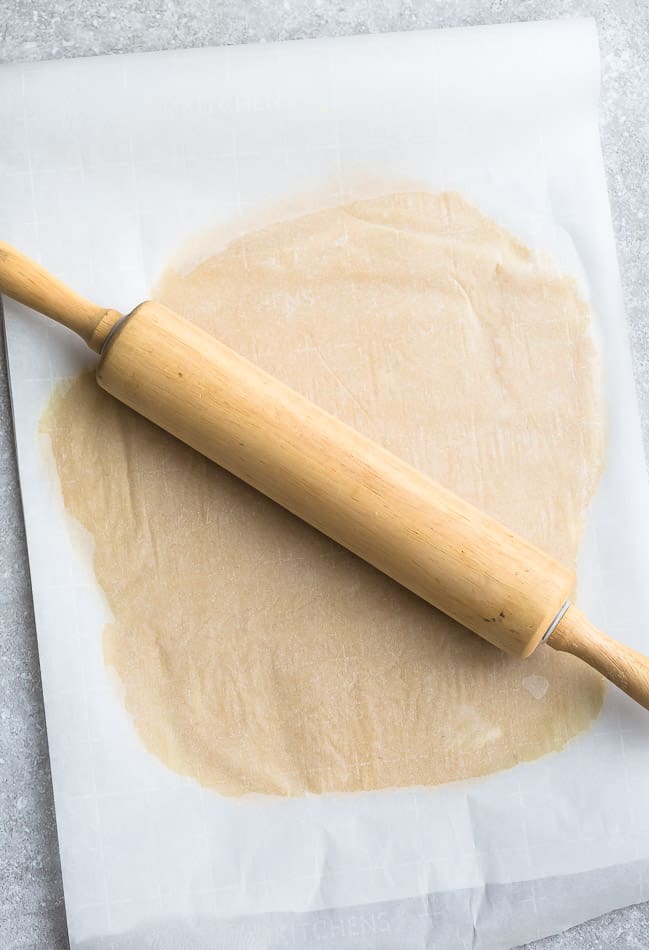
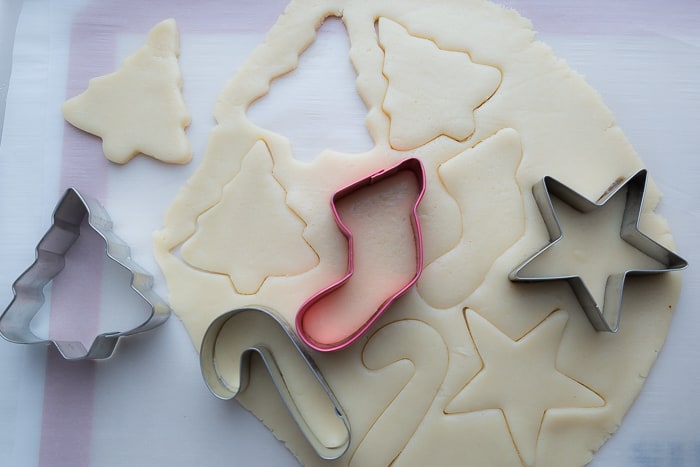
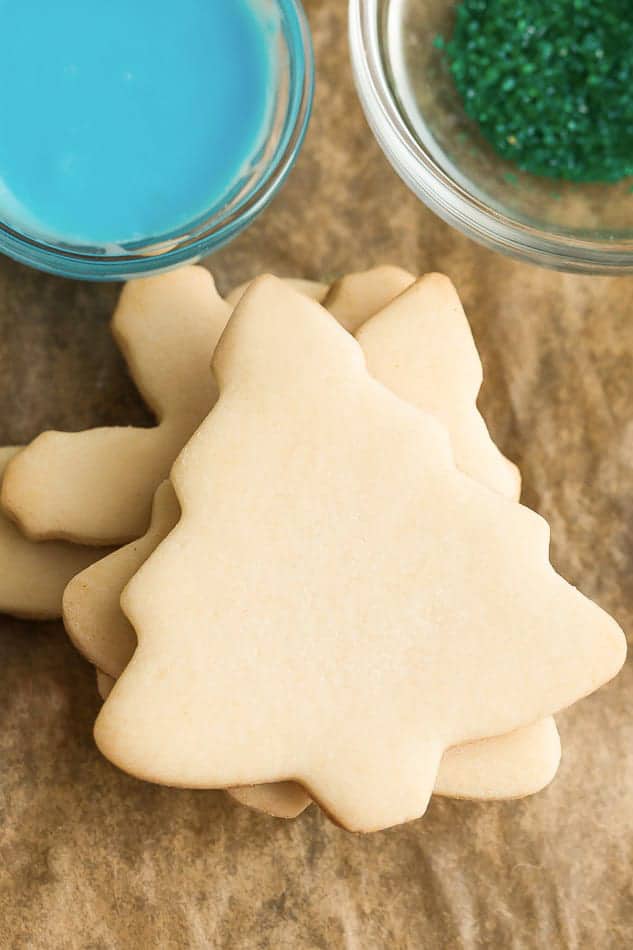
- Roll and Cut: Roll out the dough using parchment paper.
- Cut cookies into shapes: Use cookie cutters to cut the cookies into festive shapes.
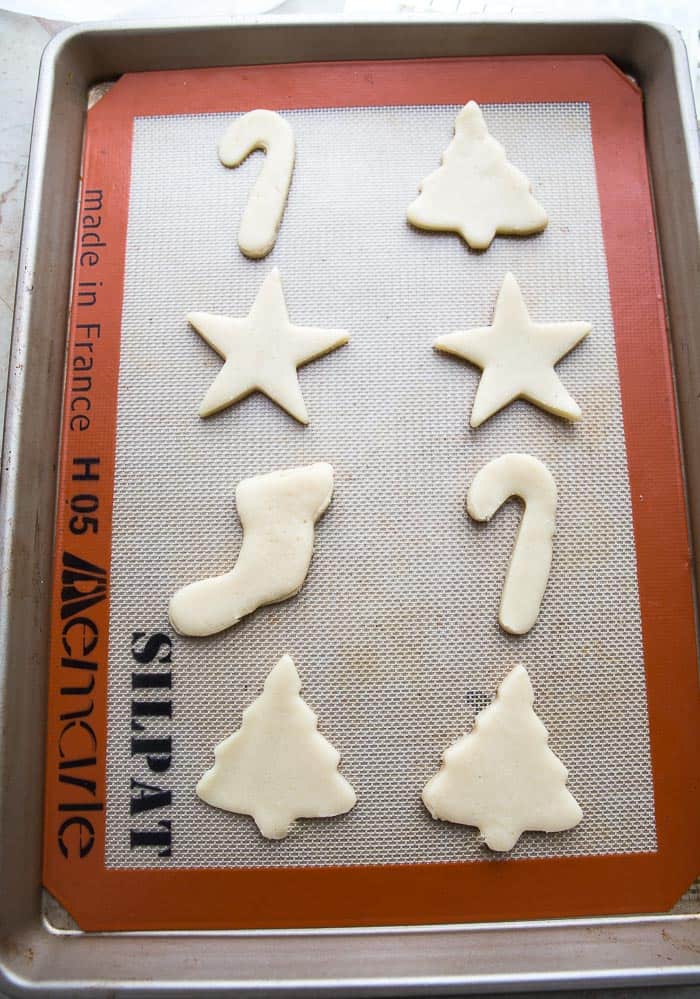
- Freeze: Place cookies on a lined baking sheet and freeze.

- Preheat and Bake: Preheat the oven and bake cookies until the edges are golden brown.
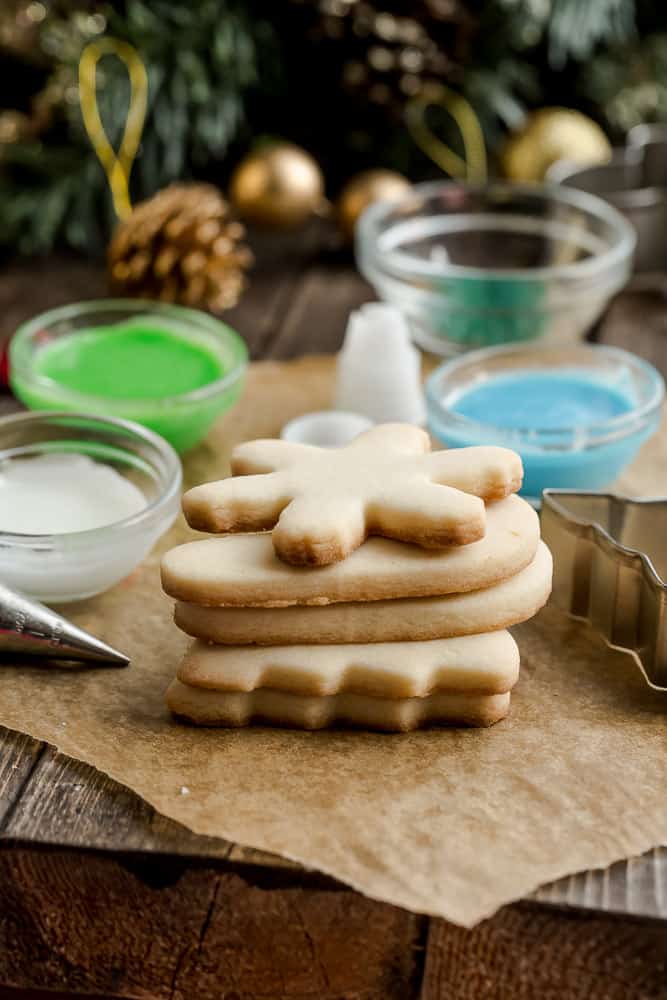

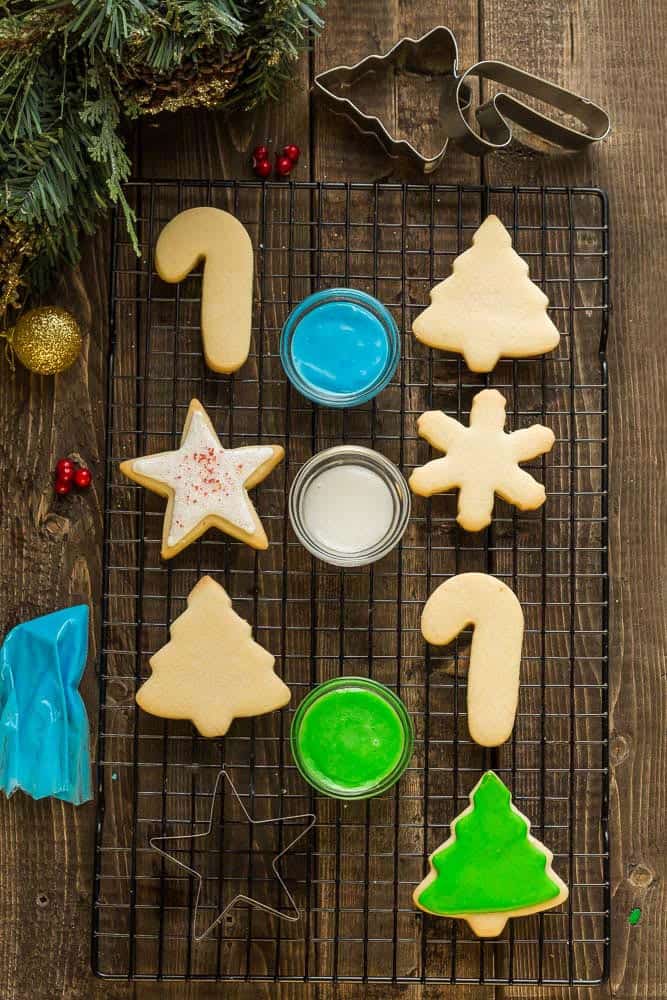
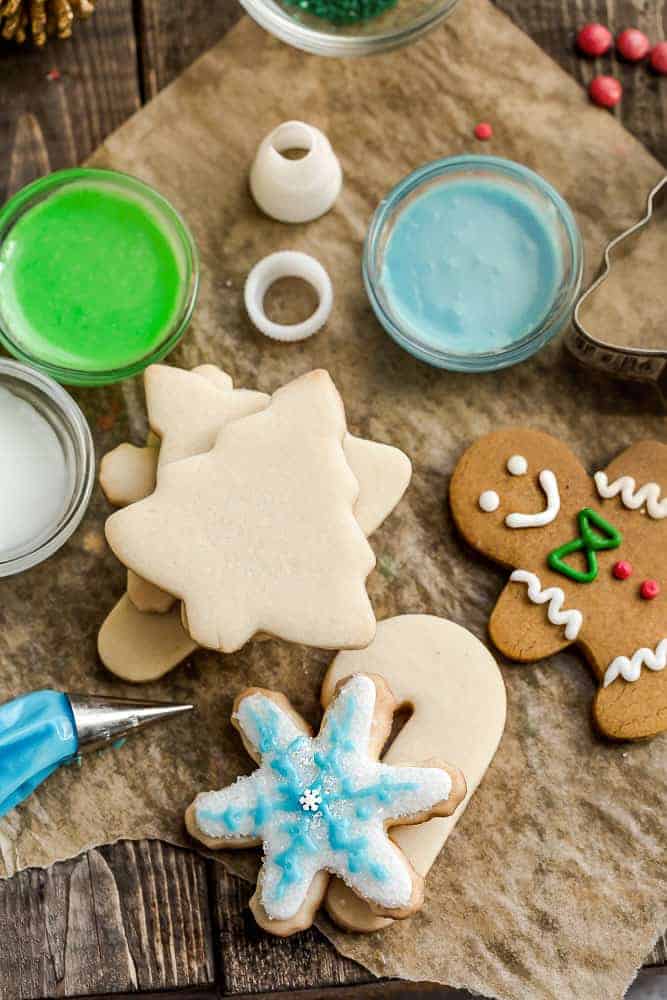
- Cool and Decorate: Allow cookies to cool, then unleash your creativity with frosting and decorations.
How to make Royal Icing:
This versatile icing is perfect for adding a decorative and colorful touch to your Cut Out Sugar Cookies.
- Mix ingredients: Blending sifted powdered sugar and meringue powder, adding vanilla extract, and gradually mix in warm water until stiff peaks form.
- Water: Adjust water for consistency and incorporate gel food coloring if desired.
Buttercream Frosting vs. Royal Icing: Decoding the Sweet Showdown
When it comes to topping off your delectable treats, the battle between Buttercream Frosting and Royal Icing is a sweet showdown worth exploring. Each has its unique characteristics, and choosing the right one depends on the desired taste, texture, and decorative outcome of your baked masterpieces.
Buttercream Frosting:
Texture: Buttercream is renowned for its creamy, luscious texture. It’s smooth, velvety, and adds a decadent richness to your desserts.
Flavor: The buttery goodness of this frosting complements a wide range of flavors. It can be easily infused with various extracts, fruits, or chocolate for a personalized touch.
Decoration: Ideal for piping intricate designs, borders, and rosettes, buttercream offers versatility in cake decoration. Its pliability makes it a favorite for intricate cake detailing.
Consistency: Buttercream maintains a soft consistency, making it easy to spread and work with. It’s perfect for creating a polished finish on cakes and cupcakes.
Royal Icing:
Texture: Royal icing dries to a hard, smooth finish, making it ideal for creating a crisp and firm surface on cookies or gingerbread houses.
Flavor: While not as rich as buttercream, royal icing provides a subtle sweetness that allows the flavors of the baked goods to shine. It’s a perfect companion to sugar cookies.
Decoration: The real star of intricate cookie decorating, royal icing hardens quickly, allowing for intricate detailing and flooding techniques. It’s the go-to choice for creating beautifully adorned, edible works of art.
Consistency: Royal icing can be adjusted to various consistencies, from stiff for intricate details to thin for flooding large areas. This adaptability makes it a must-have for cookie decorators.
Tips for Success: Crafting the Perfect Sugar Cookies
Let’s uncover some secrets that will elevate your Iced Sugar Cookies to perfection. From ingredient nuances to handling techniques, these tips ensure your cookies not only taste amazing but also look like edible works of art.
- Chill the Dough: Ensures the cookies hold their shape during baking. Chilling the dough helps it to become stiffer and hold up. In fact, we chill our dough twice – once before cutting and then again after to ensure that the dough is cold so the cookies don’t spread.
- Work with Small Batches Of Dough: Instead of rolling out the entire batch of dough, section off into two (or four) sections. That way when you go to work with it, you will have that stiffer consistency, and it will roll easier. Just keep the dough you aren’t using at the moment in the fridge until you are ready for it.
- Cutting Sugar Cookies: When cutting out your sugar cookies, try to keep your cuts as close together so that you re-roll any scraps in order to use all of your dough.
- For thinner, crispier sugar cookies: Roll cookie dough thinner (about 1/8″) and look for the edges of the cookies to be turning golden brown to know that they are done.
- For thicker, softer sugar cookies: Roll dough to about 1/4″, and watch for cookies to be just beginning to turn lightly golden around the edges. Let them cool completely on the cookie rack as they may break if you try to move them while they’re still warm.
- Freeze Before Baking: Prevents spreading for precise cookie shapes.
- Rotate the Pan: Achieve evenly baked cookies.
- One Pan at a Time: Bake one pan at a time on the center shelf for even baked cookies each time.
- Room Temperature Ingredients: Ensure butter, cream cheese, and eggs are at room temperature for a smoother dough.
- Precision in Measurement: Use precise measurements for consistent results.
- Parchment Paper: Use parchment paper when rolling out the dough to prevent sticking.
- Avoid Overmixing: Mix until ingredients are just combined to prevent a tough texture.
- Cooling: Let the cookies cool for just a minute or two on your baking sheet, then transfer to a cooling rack. We highly recommend using a cooling rack, as it helps stop the cooking process and cools the cookie easier. Make sure the cookies are fully cooled off before you decorate, or the frosting or icing can melt off the cookie.
- Custom Cookie Shapes: Have fun with unique cookie cutter shapes to personalize your treats.
Serving Suggestions
Serve these iced sugar cookies at parties, gatherings, or as a delightful treat with your favorite hot beverage like our Peppermint Hot Chocolate, Gingerbread Latte or this Homemade Peppermint Mocha Latte.
Variations and Substitutions
Bored of the classic sugar cookie? Fear not! Here are some variations that will add flair for crafting the perfect sugar cookies. Get ready to impress with every bite!
- Flour Swap: Use all-purpose flour if not following a gluten-free diet.
- Sweetener Options: Choose from Lakanto monk fruit, Swerve, or your preferred sweetener.
- Butter Choices: Opt for vegan, unsalted, or ghee based on your dietary preferences.
- Citrus Zest: Add a burst of flavor by incorporating lemon or orange zest into the dough.
- Spice Infusion: Elevate the taste with a pinch of cinnamon or nutmeg in the dry ingredients.
- Nutty Crunch: Mix in finely chopped nuts such as almonds or pecans for added texture.
- Chocolate Lover’s Twist: Fold in mini chocolate chips for a chocolatey surprise in every bite.
- Fruity Delight: Experiment with dried fruit bits like cranberries or apricots for a fruity kick.
Storage and Freezer Instructions
The joy of a perfectly baked cookie shouldn’t be short-lived. Discover the best methods for storing this sugar cookie recipe, whether you’re saving them for a special occasion or creating a stash for unexpected sweet cravings. From freezing dough to preserving decorated masterpieces, we’ve got your storage concerns covered.
- Fridge: Store cookies in an airtight container in the refrigerator for up to a week.
- Long-Term Storage: To keep cookies fresh longer, freeze cookie dough for up to 2 months, allowing for quick baking whenever a sweet craving strikes. Add a slice of bread to the storage container to maintain moisture.
- Freezing Decorated Cookies: Freeze decorated cookies in a single layer before stacking to prevent smudging.
Freezing Cookie Dough
- Portioning Dough: Freeze individual cookie dough balls for quick, on-demand baking.
- Thawing Instructions: Thaw dough in the refrigerator overnight for easy handling.
- Pre-cut and Freeze: Cut out cookie shapes, freeze on a baking sheet, then transfer to a bag for convenient baking.
Storing Decorated Cookies
- Layering with Parchment: If stacking decorated cookies, place parchment paper between layers to preserve intricate designs.
- Avoid Humidity: Store decorated cookies in a cool, dry place to maintain the icing’s texture and prevent sogginess.
Frequently Asked Questions (FAQs): Your Ultimate Guide to making the Best Sugar Cookies
Q1: Can I use regular all-purpose flour instead of gluten-free flour?
Absolutely! Feel free to substitute regular all-purpose flour if you’re not following a gluten-free diet. The recipe is flexible to accommodate various dietary preferences.
Q2: How can I prevent my cookies from spreading too much during baking?
Chilling the dough is the key. Ensure it rests in the refrigerator for at least 45 minutes, or up to 2 days, to maintain the cookie shapes during baking. Additionally, a brief stint in the freezer before baking helps prevent spreading.
Q3: Can I freeze the cookie dough for later use?
Certainly! Portion the cookie dough into individual balls for convenient freezing. Thaw the dough in the refrigerator overnight before baking, and you’ll have freshly baked cookies in no time.
Q4: What’s the secret to beautifully decorated cookies?
For intricate designs, layer decorated cookies with parchment paper to preserve the details. Also, store them in a cool, dry place to maintain the texture of the icing and avoid sogginess.
Q5: How long do decorated sugar cookies stay fresh?
Decorated cookies can be stored in an airtight container for up to a week. For longer freshness, consider placing a slice of bread in the container to maintain moisture.
Q6: Can I customize the flavor of the cookies?
Absolutely! Experiment with variations such as adding citrus zest, spices like cinnamon or nutmeg, chopped nuts, or even mini chocolate chips for a personalized touch to your cookies.
Q7: What’s the best way to freeze decorated cookies?
Freeze decorated cookies in a single layer before stacking. Once frozen, stack them with parchment paper between layers to prevent smudging and maintain the integrity of the designs.
Q8: Can I use different shapes for the cookies?
Certainly! Have fun with various cookie cutter shapes to suit different occasions. Customizing the shapes adds a personal touch to your delightful treats.
Q9: Can I store the cookie dough in the freezer for an extended period?
Yes, you can freeze the cookie dough for up to 2 months. Simply thaw it in the refrigerator before use for hassle-free baking.
Q10: How can I add color to my royal icing?
Experiment with gel food coloring to achieve vibrant and diverse colors for your royal icing. Add it gradually until you achieve your desired shades.
More holiday cookies you will love:
50+ Must Have Christmas Cookies for the Holiday Cookie Platter

These are the best Cut Out Sugar Cookies for making decorated cut out shapes with perfect edges. These iced sugar cookies bake up soft, chewy, flavorful, and are easy to make with just 6 ingredients.
- 2 1/2 cups sifted gluten-free 1-to-1 baking flour , you can also sub with all purpose flour if you're not gluten-free
- 3/4 cup granulated superfine sugar , you can also sub with another granulated sugar or granulated sweetener such as Lakanto monk fruit sweetener, Swerve or other sweetener of choice for a lower sugar option.
- 1/4 teaspoon fine sea salt
- 1 cup vegan butter , you can also use unsalted butter or ghee, softened and cut into 1/2-inch pieces,
- 2 Tablespoons vegan cream cheese , softened. You can also use regular cream cheese ifyou're not dairy-free
- 2 teaspoons pure vanilla extract
- Royal Icing or Frosting in various colors
- Sprinkles
- 4 cups sifted powdered sugar or powdered sweetener of your choice , such as Lakanto powdered monk fruit sweetener or Powdered Swerve for a lower sugar option
- 3 Tablespoons meringue powder
- 1/2 teaspoon pure vanilla extract
- 6-8 Tablespoons warm water less for stiff icing and more for thin icing
- Gel food coloring optional
- In a stand mixer fitted with the paddle attachment turned to low speed, mix the flour, sugar, and salt together until combined.
- Add butter, one cube at a time, and mix until the dough looks crumbly and slightly wet, about 2 minutes.
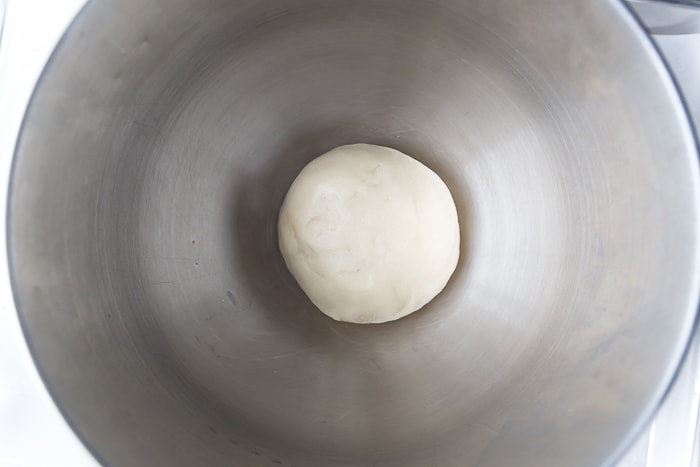
- Add the vanilla and cream cheese, and beat for another 30-60 seconds until the dough just begins to form large clumps, scraping down the sides of the bowl as needed.
- Gather the dough with your hands, and knead just until it sticks together. Divide the dough in half and shape into discs. Wrap each half in plastic and chill in the refrigerator for at least 45 minutes (or up to 2 days).
- Line two large baking sheets with parchment paper. Set aside. When ready to roll, remove and unwrap one dough disc from the fridge.
- Place a large piece of parchment paper on a flat surface, then put the dough in the center. Place another large parchment paper on top of the dough and using your rolling pin, roll the dough into 1/4 inch thickness (1/8 inch for thinner cookies). Place the rolled out dough with parchment paper in the freezer for 10 minutes. Grab the other dough ball and repeat.
- Remove the first dough sheet from the freezer and remove the top parchment paper. Cut into shapes with cutters of your choice. Place cut cookies on lined baking sheets, about 1 inch apart and place in freezer again for 10 minutes (to prevent spreading). Repeat with the other dough sheet and any scraps.
- Preheat oven to 375° F.
- Bake cookies, one sheet at a time, on the middle rack for 8-10 minutes, rotating the pan halfway, or until edges are light golden brown (do not overbake).
- Allow cookies to cool on baking sheet for 3 minutes, then transfer to wire rack to cool completely.
- Frost or decorate cookies as desired.
- eat all ingredients together until icing forms peaks, about 7 minutes. Tint with gel food coloring as desired and frost cookies.
*Total time includes chilling
Adapted from America's Test Kitchen
How to store:
- Fridge: Store cookies in an airtight container in the refrigerator for up to a week.
- Long-Term Storage: To keep cookies fresh longer, freeze cookie dough for up to 2 months, allowing for quick baking whenever a sweet craving strikes. Add a slice of bread to the storage container to maintain moisture.
- Freezing Decorated Cookies: Freeze decorated cookies in a single layer before stacking to prevent smudging.
Freezing Cookie Dough
- Portioning Dough: Freeze individual cookie dough balls for quick, on-demand baking.
- Thawing Instructions: Thaw dough in the refrigerator overnight for easy handling.
- Pre-cut and Freeze: Cut out cookie shapes, freeze on a baking sheet, then transfer to a bag for convenient baking.
Storing Decorated Cookies
- Layering with Parchment: If stacking decorated cookies, place parchment paper between layers to preserve intricate designs.
- Avoid Humidity: Store decorated cookies in a cool, dry place to maintain the icing's texture and prevent sogginess.


lorraine -
made these with my kids last night and they were a hit! our new-go to 🙂 thanks!
Natalie H -
This recipe was amazing! Thanks – my kids loved them!