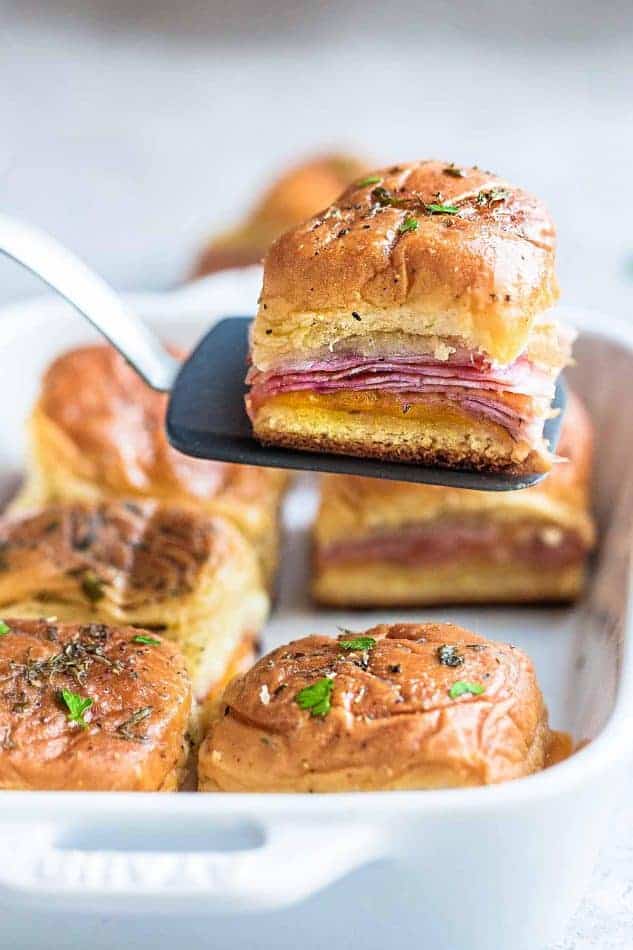
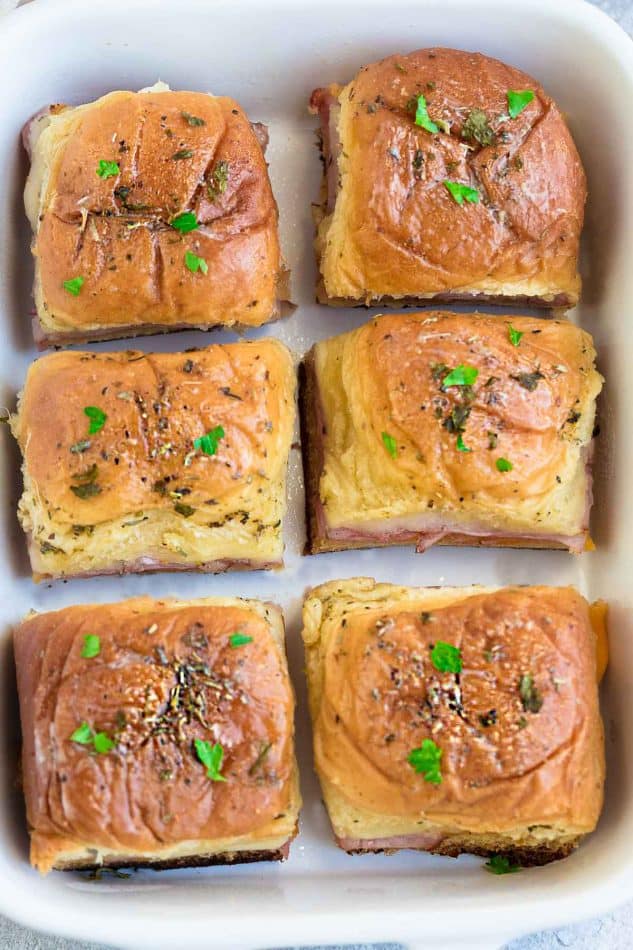
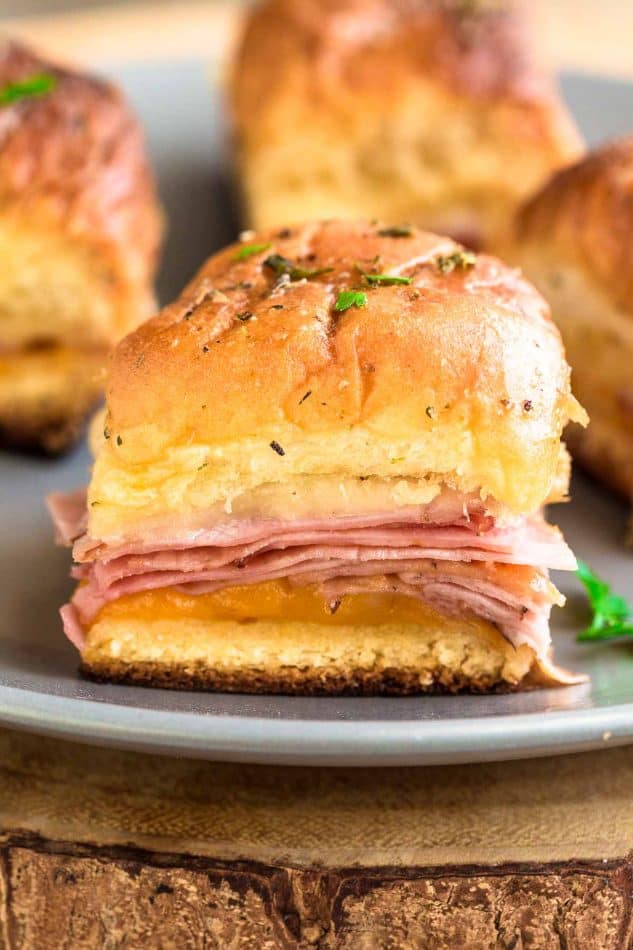
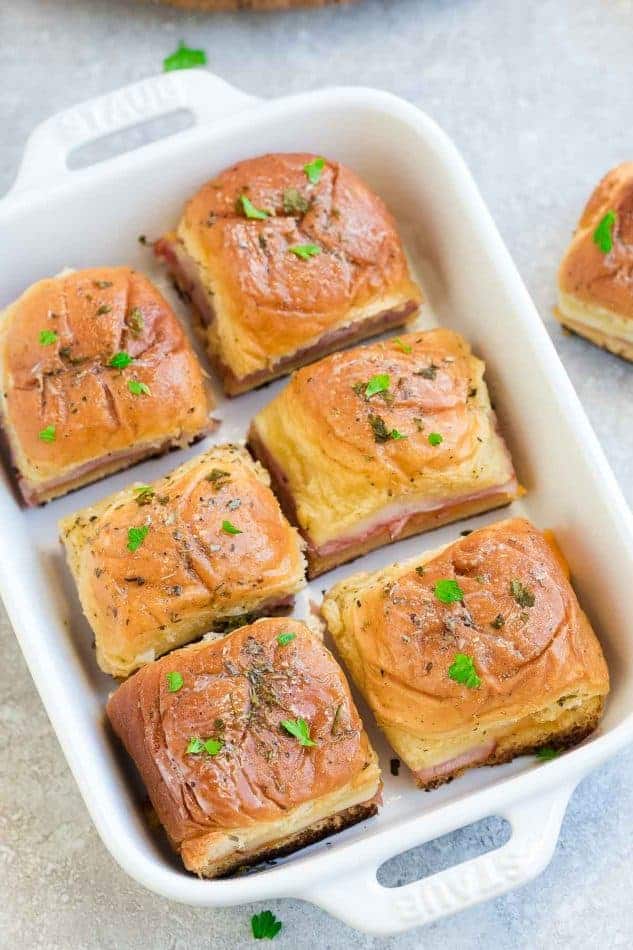
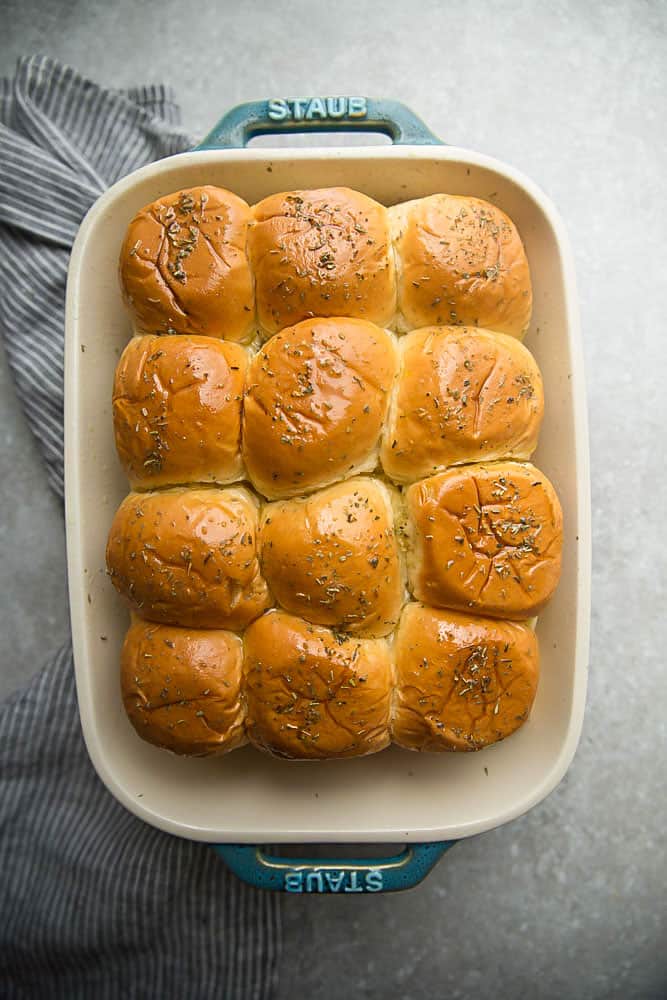
These Ham and Cheese Sliders are easy to make with oven-roasted ham, two types of melty cheese and a buttery garlic sauce over soft Hawaiian-style rolls. They are a guaranteed crowd-pleaser and make the perfect easy party snack or appetizer and a great way for using up leftover Easter ham.
Pin for later and follow me on Pinterest for more recipe ideas
Updated February 2024
Easy Ham and Cheese Sliders Recipe
Looking for a quick and easy family-friendly recipe? These Ham and Cheese Sliders are always a crowd-pleaser and could not be more simple!
They’re hot, gooey and are just perfect for using up any leftover slow cooker ham (or you can even use turkey) from Thanksgiving, Christmas or Easter. They’re made with soft Hawaiian-style rolls, oven roasted ham and two kinds of melty cheese.
Plus, you can easily make them gluten-free, low carb, keto or dairy-free with just a few simple substitutes.
The best part is, these sliders are super easy to make and definitely don’t stick around for very long. These bite-sized sandwiches are super versatile and would make a quick and easy weeknight dinner or as an after-school snack but would also make a great addition to summer parties, potlucks, and get-togethers.
And if you’re looking for more sandwich recipes, these BBQ Chicken Sliders, Chicken Parmesan Sliders or these Buffalo Chicken Sliders are always a big hit on game days and disappear so quickly.
Ingredients You’ll Need:
Making baked ham and cheese sliders could not be more simple. All you need are just a few ingredients that you most likely already have in your fridge or kitchen pantry. This recipe is super easy to customize with swaps for gluten-free, low carb, keto or dairy-free.
Melted Butter Topping:
- Butter: Choose your favorite, opt for ghee or go dairy-free with vegan alternatives like Miyokos or Violife.
- Garlic Powder: For that irresistible aromatic kick.
- Italian Seasoning: A medley of herbs to enhance the flavor profile.
Ham and Cheese Sliders:
- Hawaiian or Soft Dinner Rolls: Opt for King’s Hawaiian for a sweet touch or go keto with gluten-free, paleo, grain-free options like Unbun or Slice of Life.
- Thinly Sliced Baked Ham Slices: Make your own Baked Ham or buy pre-cooked ham at the supermarket. For storebought, recommend Applegate’s Organics Slow Cooked Ham, Black Forest Ham or Honey Ham for a nitrate-free option.
- Cheddar Cheese Slices: Choose your preferred brand or go dairy-free with Violife or Chao.
- Swiss Cheese Slices: For a mild and melty layer; substitute with Violife for a dairy-free alternative.
How to Make Ham and Cheese Sliders
20 minutes. That’s about all it takes to prepare this knockout appetizer! To see how easy they are to make, follow the step-by-step instructions or watch the video below:
- Heat Oven: Preheat the oven to 350°F.
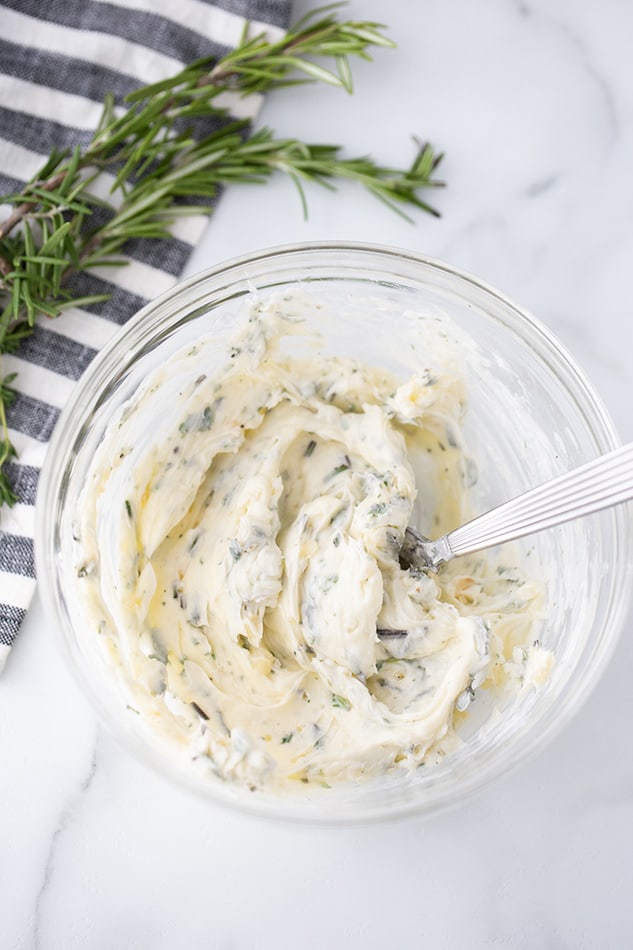
- Make Garlic Butter Topping: In a small bowl, mix together the butter with garlic powder and Italian seasoning.

- Slice Buns: Split your slider buns in half. Then, place one half in the bottom of a greased 11×7 or 9×13-inch baking dish. Continue until all bottom buns are in place.
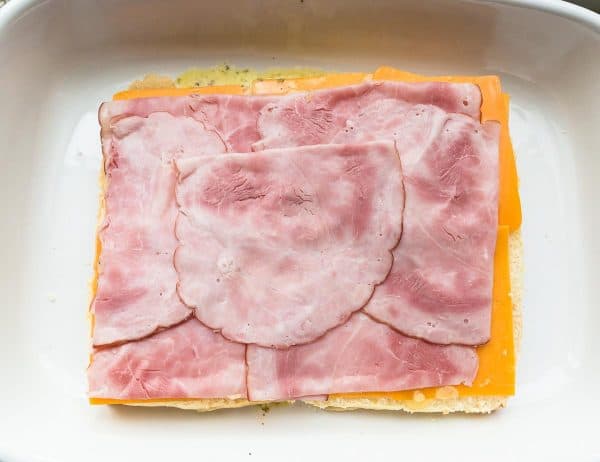
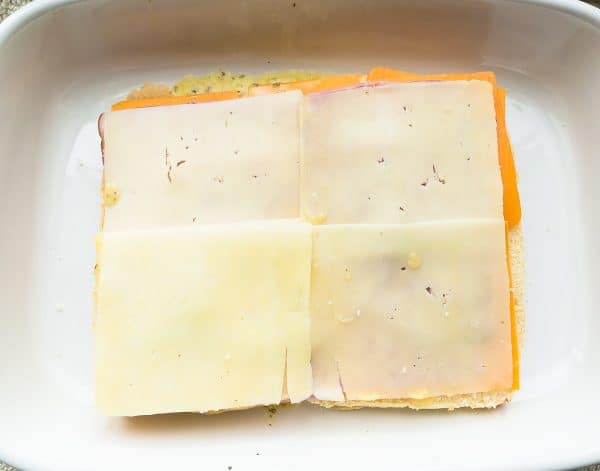
- Build Layers: Brush a little bit of the melted butter topping onto the rolls. Top them with slices of cheddar cheese on the bottom layer.
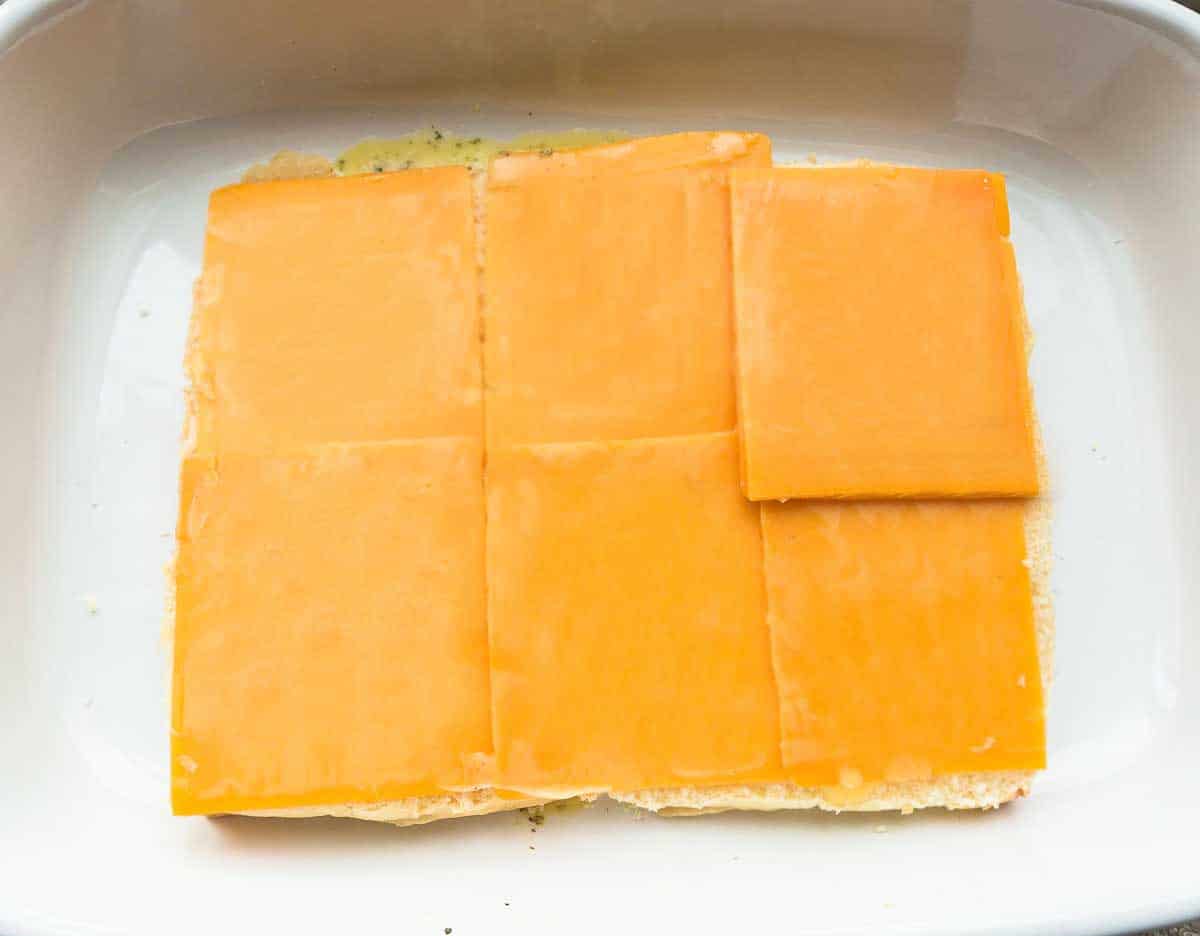
- Then with the ham slices.

- Followed by the Swiss cheese.

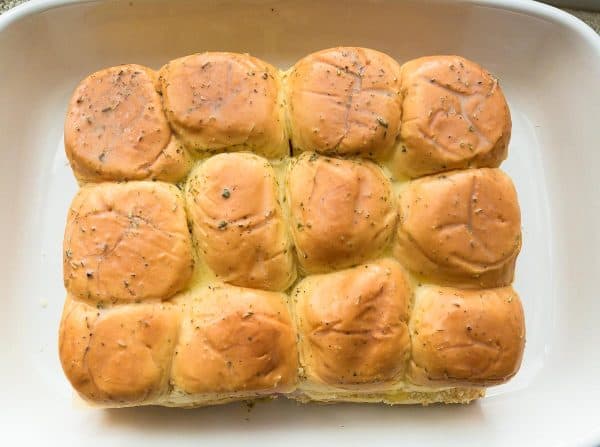
- Place the other halves of the rolls on top, then brush the tops with the remaining garlic butter sauce.

- Bake: Cover the sliders with a sheet of aluminum foil and bake them in the preheated oven for about 12-15 minutes, or until the cheese is gooey and melted.
- Cut & Serve: Use a sharp knife to separate the individual sliders and serve them immediately with a sprinkle of grated Parmesan, if desired. Sliders are best served warm and fresh.
Tips for Success: Mastering the Art of Slider Perfection
This straightforward recipe is great for beginners. Here are a few tips and tricks for perfect ham and cheese sliders!
- Grease the Pan: Before you place the your buns in the pan, be sure to grease it with a little bit of butter or cooking spray. Otherwise, the bread will stick to the bottom of the pan.
- Bread Integrity: Opt for fresh, high-quality rolls to ensure they hold up to the layers without becoming soggy.
- Season to Taste: The garlic butter topping calls for half a teaspoon each of garlic powder and Italian seasoning. Feel free to taste it and adjust those amounts as desired.
- Don’t Skip the Foil: If you don’t cover your sliders with aluminum foil while they’re baking, the buns will cook too quickly and may end up burning.
- Slice Before Serving: Even though you used separate buns for these sliders, they will kind of all mold together once they’re baked. Following along with the lines from the buns, carefully separate the sandwiches with a sharp knife.
- Temperature Control: Allow the sliders to cool for a few minutes after baking to make slicing easier and prevent cheese from oozing excessively.
- Serve Warm: These sliders aren’t the same if they’re not fresh, warm and gooey! You can store leftovers for later, but we highly recommend enjoying at least one while they’re fresh.
- Herb Boost: Experiment with adding fresh herbs to the melted butter topping for an extra burst of flavor.
- Customize Spices: Tailor the garlic powder and Italian seasoning ratios to your preference for a personalized touch.
Variations and Substitutions: Customize to Your Heart’s Content
There are tons of ways to switch up these classic sliders! These simple ideas will add a little something extra to the dish.
- Spicy Kick: Add a layer of pepper jack cheese or sprinkle crushed red pepper for a spicy twist.
- Breakfast Sliders: Turn these into breakfast delights by swapping ham with crispy bacon and adding a fried egg.
- Mediterranean Twist: Substitute ham with slices of prosciutto and incorporate feta cheese for a Mediterranean-inspired flavor.
- Use Mini Burger Buns: If you’d like, you can opt for mini burger buns rather than Hawaiian rolls. These make a great burger substitute for picky eaters who don’t like beef.
- Add Seeds: Adding poppyseeds or sesame seeds to the tops of your sliders is a great way to introduce some more flavor and texture. They’ll stick right onto the rolls, thanks to the garlic butter sauce!
- Add a Condiment: Dijon mustard, mayonnaise or even relish would all be tasty additions to these mini sandwiches.
Serving Suggestions: Elevate Your Spread
These baked sliders are super easy to pair with other dishes. Here are some of the things we love serving alongside them:
- Savory Sauces: Provide an assortment of dipping sauces like tangy barbecue, honey mustard, or a homemade aioli to elevate the flavor profile.
- Fruit Fusion: Pair sliders with a fruit compote or chutney for a sweet and savory contrast.
- Mini Slider Bar: Set up a DIY slider station with various toppings like pickles, sliced tomatoes, and different cheese options for a customizable experience.
- Salad: Nothing says “summer picnic” like hot ham and cheese sliders and a cool, refreshing Caesar Salad.
- Fries: Burgers with fries, sandwiches with fries, sliders with fries! These Air Fryer Fries taste amazing with everything. And they’re so easy to make with minimal oil!
- Soup: Need some serious comfort food? Serve these sliders beside a steaming bowl of Vegan Chili or Broccoli Soup. Yum!
Storage and Freezer Instructions: Savor the Flavor Anytime
- Storage: To store leftovers, transfer to an airtight container and store in the refrigerator for up to 3 days.
- Reheating Magic: For reheating, pop the sliders in a toaster oven to maintain that coveted crispy texture.
- Freezer Timeframe: Freeze unbaked sliders for up to 2 months, ensuring a quick and tasty solution for unexpected guests.
- Individual Wrapping: Wrap each slider individually before freezing to make it easy to grab just what you need.
Make-Ahead Suggestions: Convenience at Its Best
What’s great about making these sliders is that you can make them ahead of time or freeze any leftovers for another meal.
- Make-ahead Prep in Advance: After assembling the mini sandwiches in a large casserole pan, wrap the pan tightly in plastic wrap or place in and keep in the refrigerator until the next morning or freezer (for up to 2 months) until ready to bake.
- Freeze Unbaked: Freeze unbaked sliders for a convenient option when unexpected cravings or guests strike. Perfect for busy days or spontaneous gatherings.
Frequently Asked Questions (FAQs):
Q1: Can I make these sliders ahead of time for a party? Absolutely! Assemble the sliders a day in advance, cover, and refrigerate. Bake them right before serving for the freshest taste.
Q2: Can I use different types of bread? Certainly! Experiment with your favorite rolls or even try a savory bread like rosemary focaccia for a unique twist.
Q3: How do I prevent the rolls from getting too soggy? To keep the sliders crispy, consider lightly toasting the inside of the rolls before assembling.
Q4: Can I make these sliders vegetarian? Absolutely! Swap ham for grilled veggies or marinated tofu and choose your favorite plant-based cheese.
Q5: Can I freeze leftovers? Yes, individually wrap leftovers and freeze. Reheat in the oven for a quick and delicious snack.
Q6: What rolls to use? You can use also use any other soft dinner rolls or mini burger rolls you have.
- Soft King’s Hawaiian rolls are always a hit
- Use these keto rolls from Unbun or these Carb Wise rolls from Slice of Life for low carb or keto guests
More ham and cheese recipes you will love:
Keto Frittata with Asparagus, Ham and Goat Cheese
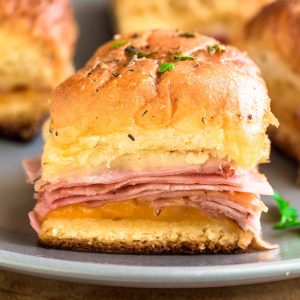
These homemade Ham and Cheese Sliders feature oven-roasted ham, two types of cheese and a buttery garlic sauce over gluten-free, Hawaiian-style rolls. This easy appetizer is a guaranteed crowd favorite!
- 2-3 Tablespoons butter , melted - to keep this dairy-free, use vegan butter. We like Miyokos.
- 1/2 teaspoon garlic powder
- 1/2 teaspoon Italian seasoning
- 1 12 count package Hawaiian or Soft Dinner Rolls , Soft King's Hawaiian rolls are always a hit with my guests that have no dietary issues. To make keto sliders, we will use these gluten-free, paleo, grain-free keto rolls from Unbun or these Carb Wise rolls from Slice of Life. Another gluten-free sweet roll option (not low-carb) are these Brioche-Style Sweet Rolls from Canyon Bakehouse.
- 12 slices baked ham For dairy-free and gluten-free, use Applegate's Organics Slow Cooked Ham, Black Forest Ham or Honey Ham (they are made with no nitrates)
- 9 slices cheddar cheese For dairy-free, use this vegan cheddar from Violife or Chao.
- 9 slices Swiss cheese For dairy-free, use the Provolone slices from Violife.
Preheat oven to 350°F.
In a small bowl, Mix together the butter with garlic powder and Italian seasoning and brush over tops of rolls.
- Split your slider buns in half, place one half in the bottom of a 11x7" or 9x13" baking dish.
Brush a little bit of melted butter topping on the rolls. Top with slices of cheddar cheese on the bottom layer, layer with ham slices then top with Swiss cheese. Place the other half of the rolls on top and brush top of rolls with remaining butter mixture. Cover with aluminium foil (or parchment paper) and bake in preheated oven for about 12-15 minutes or until the cheese is melted.
- Slice into individual sliders and serve immediately with a sprinkle of grated Parmesan, if desired. Sliders are best warm and fresh.
Recipe Video
How to store:
- Storage: To store leftovers, transfer to an airtight container and store in the refrigerator for up to 3 days.
- Reheating Magic: For reheating, pop the sliders in a toaster oven to maintain that coveted crispy texture.
- Freezer Timeframe: Freeze unbaked sliders for up to 2 months, ensuring a quick and tasty solution for unexpected guests.
- Individual Wrapping: Wrap each slider individually before freezing to make it easy to grab just what you need.
- Make-ahead / Prep in Advance: After assembling the mini sandwiches in a large casserole pan, wrap the pan tightly in plastic wrap or place in and keep in the refrigerator until the next morning or freezer (for up to 2 months) until ready to bake.
- Freeze Unbaked: Freeze unbaked sliders for a convenient option when unexpected cravings or guests strike. Perfect for busy days or spontaneous gatherings.

 Did you try this recipe?


T hampton -
I use ham and turkey on these sliders! And sometimes I use Colby jack and provolone. Use the same seasonings and ALWAYS A HIT!!!
Melanie -
yum, these are so good! made them for a party and a big hit, thanks!
DiAna -
These are simple and delicious!
Patricia -
Yum! These were amazing! Making them again for Superbowl!
Henry -
These came out perfectly! Thank you!